Cloud Ruins
Back to The Messenger
Cloud Ruins
Power Seals: 1
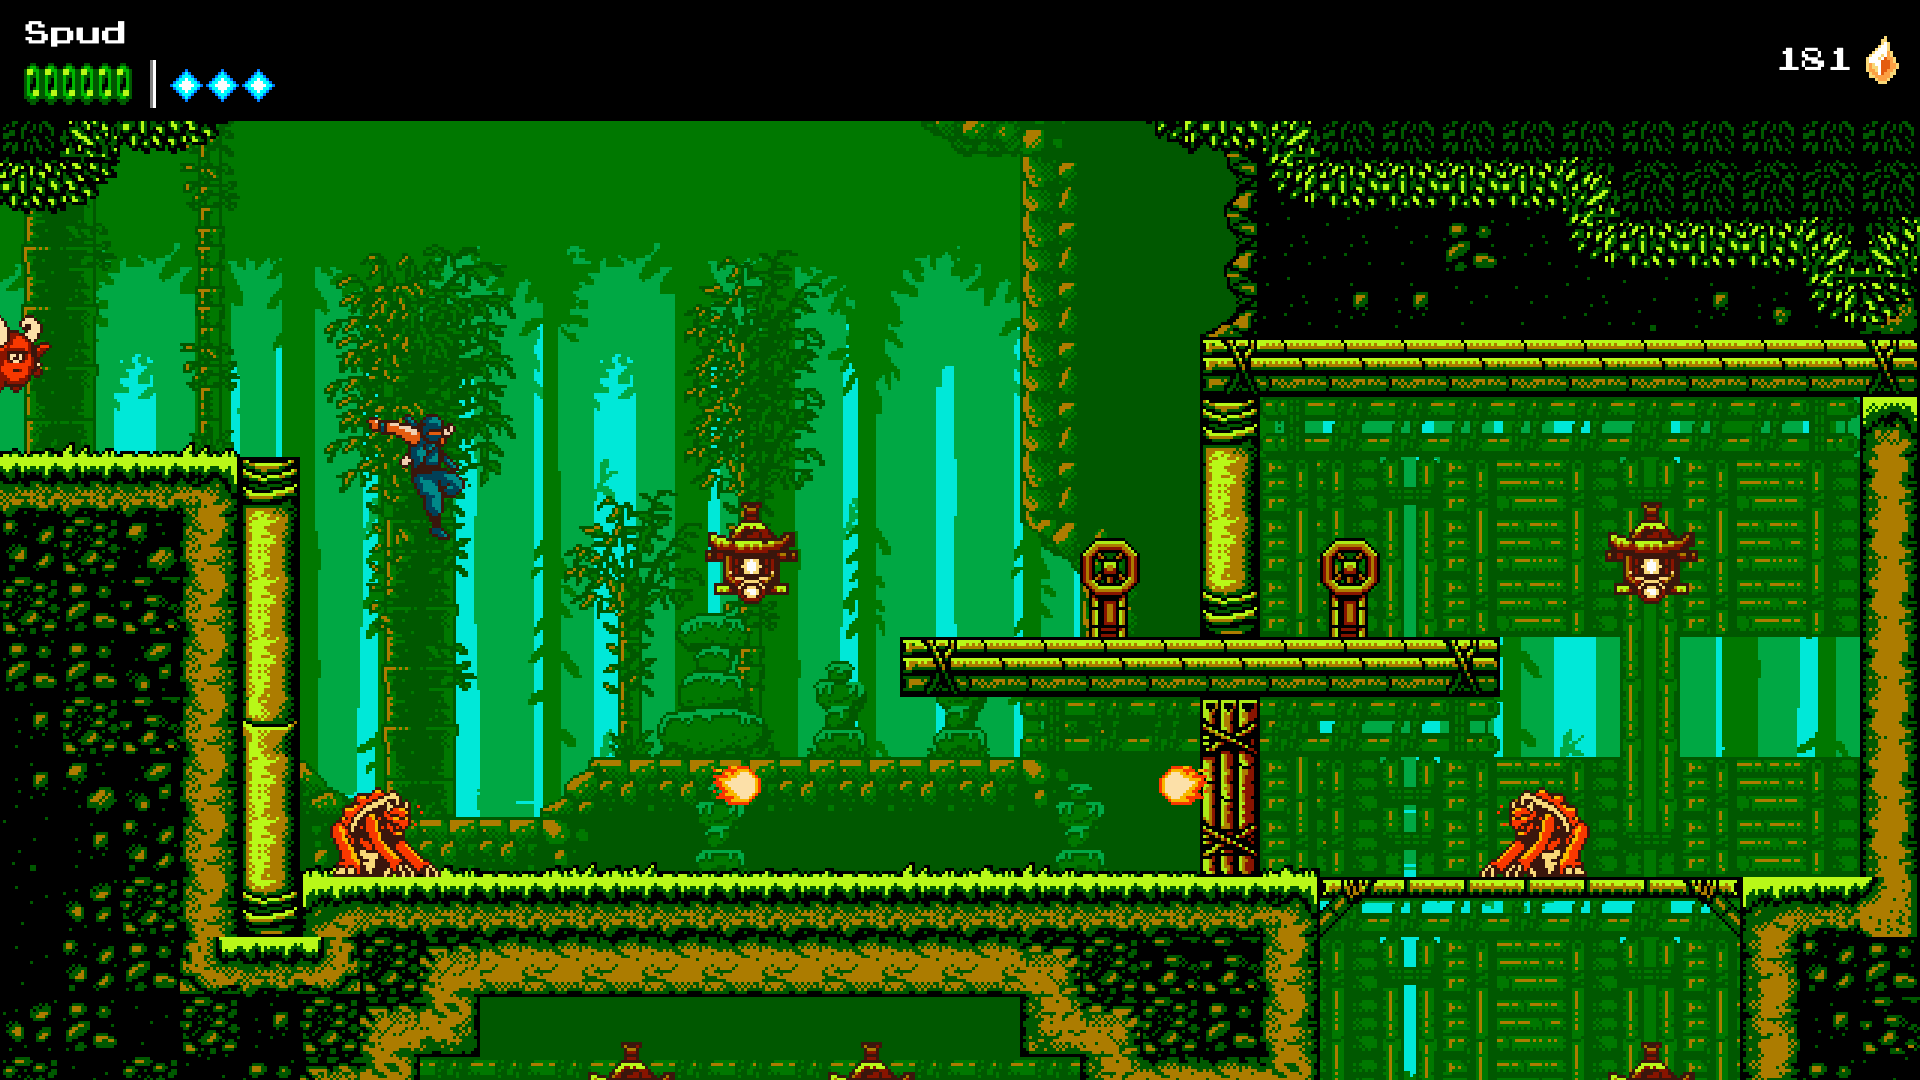
The Cloud Ruins is quite a pretty location. We’ll be finding one Power Seal along the way, with another 3 to find the next time you come back here. At the end of this level you’ll face the Sky Serpent.
Make your way to the right, up and then over to the bounce pad. Bounce up and head past the pink spheres to the firs shop.
Checkpoint #1 (Shop)
Drop down and use the bounce pad to get up on right side. Continue to the right and break the blocks so you can get through. Watch out for the spikes underneath the blocks.

Float up over the next spikes and climb up to the top. Head to the right and drop down. If you drop straight down, past the pink spheres you’ll find a large Crystal.

Climb back up and use the ring to get across to the right. Float up and continue on your way to the right for the next checkpoint.
Checkpoint #2
Drop down to the right and glide past the spikes. Use the Ghosts to grapple across to the right and climb up. Make your way to the right and climb up the spike walls.
Drop down the other side and break the block to the lower left. Inside you’ll find a circle of Time Shards. Head back out and jump across the gap to the next shop.
Checkpoint #3 (Shop)
Just past the shop you’ll have the first chase scene. Run from the Sky Serpent as fast as you can. Use the lanterns to make it over any gaps. Once you’re past the cloud section the serpent will fly away.
Checkpoint #4 (Shop)
Climb up and then down past the crushers. Head to the right, up and around and then down past the moving spikes to the next checkpoint.
Checkpoint #5
Drop down and then use the glide and grapple on the ghosts to make it past the larger gaps.

Once you’ve gone as far as you can to the right start climbing up. Grapple across to the right and drop down for the next shop.
Checkpoint #6 (Shop)
Just to the right is the second chase scene. This one is slightly more difficult with more drops to your death between the clouds. Once you reach the other side of the clouds the Serpent will leave you alone.
Checkpoint #7 (Shop)
Head up past the moving spikes and continue to the right. Use the ring to grapple across the row of spikes. Make your way down to the next checkpoint.
Checkpoint #8
Break the blocks to the left and drop down for a secret room. use the moving platforms and the lantern to grapple over to the right. Climb up for Power Seal #11.

Climb back up to the checkpoint and head to the right. Drop down and grapple across the gap. Climb up to the next shop.
Checkpoint #9 (Shop)
When you run to the right you’ll start the third and final chase scene. This one is the most difficult as you’ll have large gaps and a Demon in the way who’s also running from the Serpent. When you get to the other side the Serpent will fly away.
Sky Serpent Boss Fight
Just to the right you’ll find the final Shop before the boss fight. This time you’re fighting the Sky Serpent.

When the Serpent dashes down it will destroy part of the cloud floor. When it charges at you head on you can hit it in the head and it will move out of the way. You can use this to your advantage to hit it again.
Eventually the Serpent will shoot fireballs from the other side of the screen. This is a good time to fire a shuriken at it. Once you hit it once the floor will be replaced with clouds and the cycle will repeat.
If you’re out of Shurikens you’ll need to cloud step on the fireballs. Once the Sky Serpent has been defeated he’ll become your friend and the Demon of the Underworld will appear.
Back: Tower of Time Next: Underworld