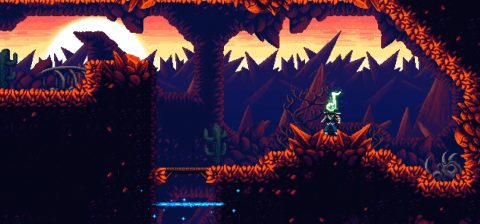
Key of Strength
Back to The Messenger
Howling Grotto
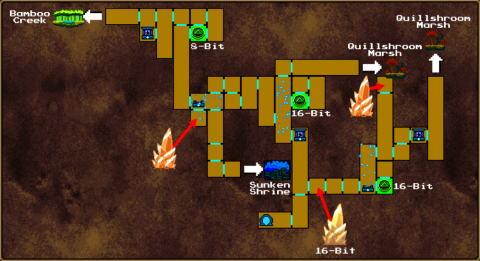
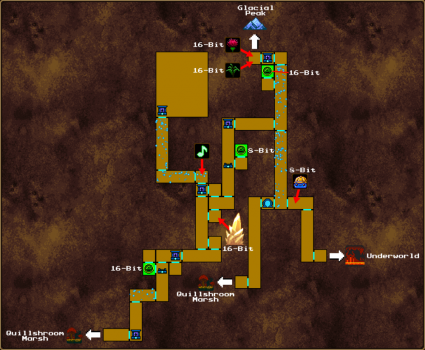
From the Tower of Time HQ take the portal to Howling Grotto. Make your way across to the right and then up all the way to the Shop. There is a Power Seal to the right but you’ll need to be in 8-Bit to get access to it. For now head past the shop and continue to the left.
Power Seal #17
Jump up to the Time Barrier so that you’re in 8-Bit and drop back down. Go back to the right past the Shop and glide down the cavern. At the bottom take the exit to the right.
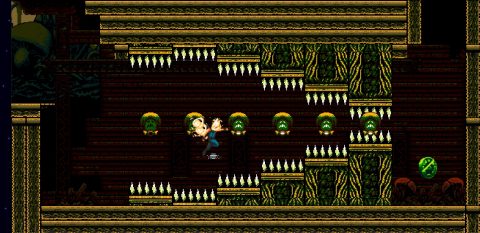
Continue to the right to a Checkpoint and then jump up to a Time Barrier. Change the time to 16-Bit and drop back down to the Checkpoint. Now you can swim through the small tunnel to the right. On the next screen you’ll find Power Seal #17.
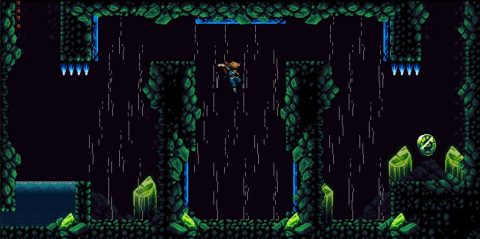
Once you have the Power Seal you can climb up and around the crushing room. You can’t get out of this area in 16-Bit so jump back up the previous cavern and change the time to 8-Bit. Drop down and head back to the left.
Power Seal #18
Make your way up the cavern to the Shop more or less in the center of the map. Head to the left, jump up to the Time Barrier to change the time to 16-Bit and then climb up about halfway up and break the block on the right side.
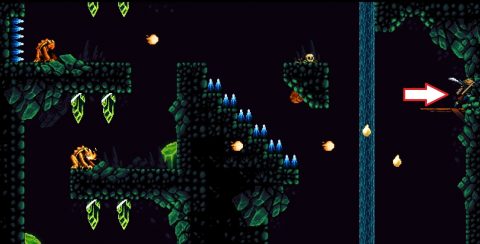
Use the Lamps and sliding blocks to make your way over to Power Seal #18. From the moving block on the left side you’ll need to glide down to the right and grapple onto the next moving block. Jump on top of it and then jump over the spikes to the power seal.
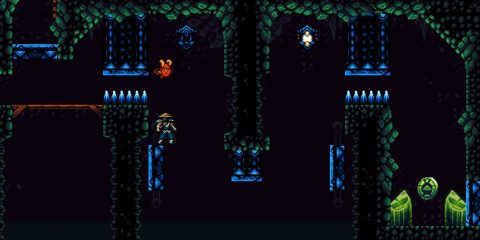
Once you grab it the barrier to the right will open, giving you an easy way to get back out. From the power seal room go back to the cavern to the left.
Looking for the Exit
Now we’re just looking for the exit leading to the Quillshroom Marsh. Make your way up the cavern to the next screen above. Head to the right and swim along the river. This leads to the Quillshroom Marsh.
Quillshroom Marsh
When you pull up out of the river you can go up or to the right. The path to the right leads to the Searing Crags but we want to grab a few things while we’re here so climb upwards.
Seashell
When you go one screen to the right you’ll pass a Time Barrier changing the time to 8-Bit. You need to be in 8-Bit to get to the Seashell. Make your way up and then over to the left.
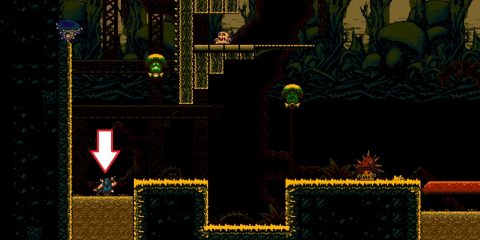
You can see the tunnel down in 16-Bit but the Seashell will be missing. In 8-Bit you can sink down in the mud if you know the right location. Once you find the pit shown in the image below sink down and you’ll drop down to a secret area. You’ll pass a Checkpoint and a Shop along the way.
There’s only one way to go from here so make your way along the caverns until you find the Seashell. Exit the room on the right side and you’ll come back up by the Shop.
Power Seal #19
Make your way back to the right, all the way to the Shop in the center of the map. From here head to the right and use the Time Barrier in between the spikes to change to 16-Bit. Go back to the Shop to the left and a path will be open in the bottom right side where you can drop down.
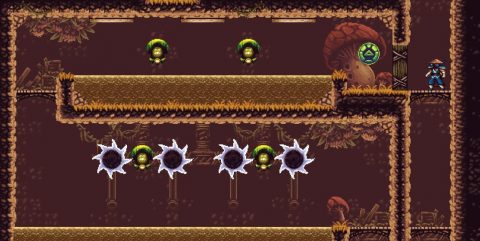
Make your way around the spinning blades and up to Power Seal #19. Climb back up to the Shop and continue making your way to the right.
Power Seal #20
You will need to be in 8-Bit to get the next Power Seal so go through the time barrier in the spiked area and then continue on your way to the right.
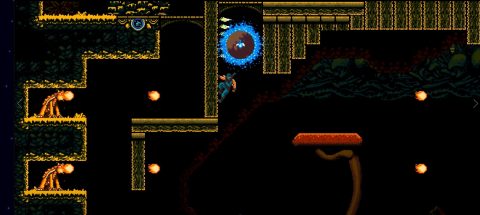
You’ll need to use the Magic Fireflies to get rid of the spikes and make a path up. First cloud step from one of the fireballs up to the highest platform. Then hit the Fireflies so their barrier grows and jump up the ledges to the area above.
Head across to the right and use the Lamps to dash over to Power Seal #20.
Climb up the wall and make your way back around to the Fireflies. Hit them again and drop down. From here make your way east (right), past where you fought the Queen of Quills and change the time to 16-Bit on the next screen. Continue to the right to enter the Searing Crags.
Searing Crags
Power Seal #21
Make your way to the right, up, right and up again. In 16-Bit you’ll notice an exit on the left side with a Checkpoint right next to it. Take the exit to the left.
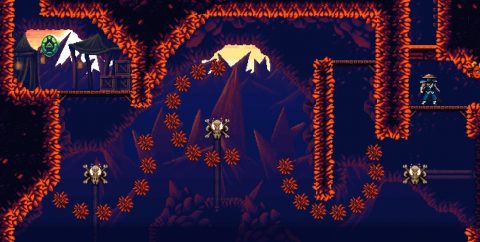
Make your way past the spiky spheres and use the Lamps to dash over to the left side where you can pick up Power Seal #21. You may find it easier to damage boost through the last two sets of spheres.
Climb up the wall and make your way back around to the previous chamber. Continue your upwards climb but once you get to the final climb upwards in the last chamber make sure you change the time to 8-Bit.
Astral Tea Leaves
Go back to see Colos and Suses and plant the Astral Seed in their little garden. Drop back down to the Time Barrier and change the time to 16-Bit.
Before climb back up to the garden drop down the shaft to the bottom. Run to the left and open the Portal back to the Tower of Time HQ. You can now use this to quickly get back to the Searing Crags or across to the Underworld.
Climb up to Colos and Suses and pick both the Power Thistle and Astral Tea Leaves.
Power Seal #22
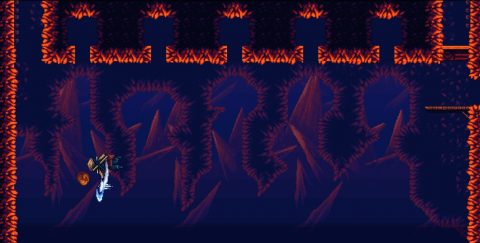
While you’re in 16-Bit drop down just a little and break the block on the left so you can walk through. You’ll need to jump and glide and spam downward attack to cloud step over to the left. If you jump just after the first stone drops you have a good chance of making it.
Climb up for Power Seal #22. Head back to the chamber and drop down. Change the time to 8-Bit and climb back up one last time to see Colos and Suses.
Give them the Power Thistle so they can finish their brew and they’ll be so thankful that they’ll throw you over to a new area.
Key of Strength
Make your way down and follow the cavern around. You’ll need to change from 8-Bit to 16-Bit and back again multiple times before breaking a block in the lower left. Drop down and make your way over to the right for the Key of Strength.
Drop down and use the Shop to head back to the Tower of Time HQ.
Back: Key of Hope Next: Key of Love


