Underworld
Back to The Messenger
Underworld
Power Seals: 1
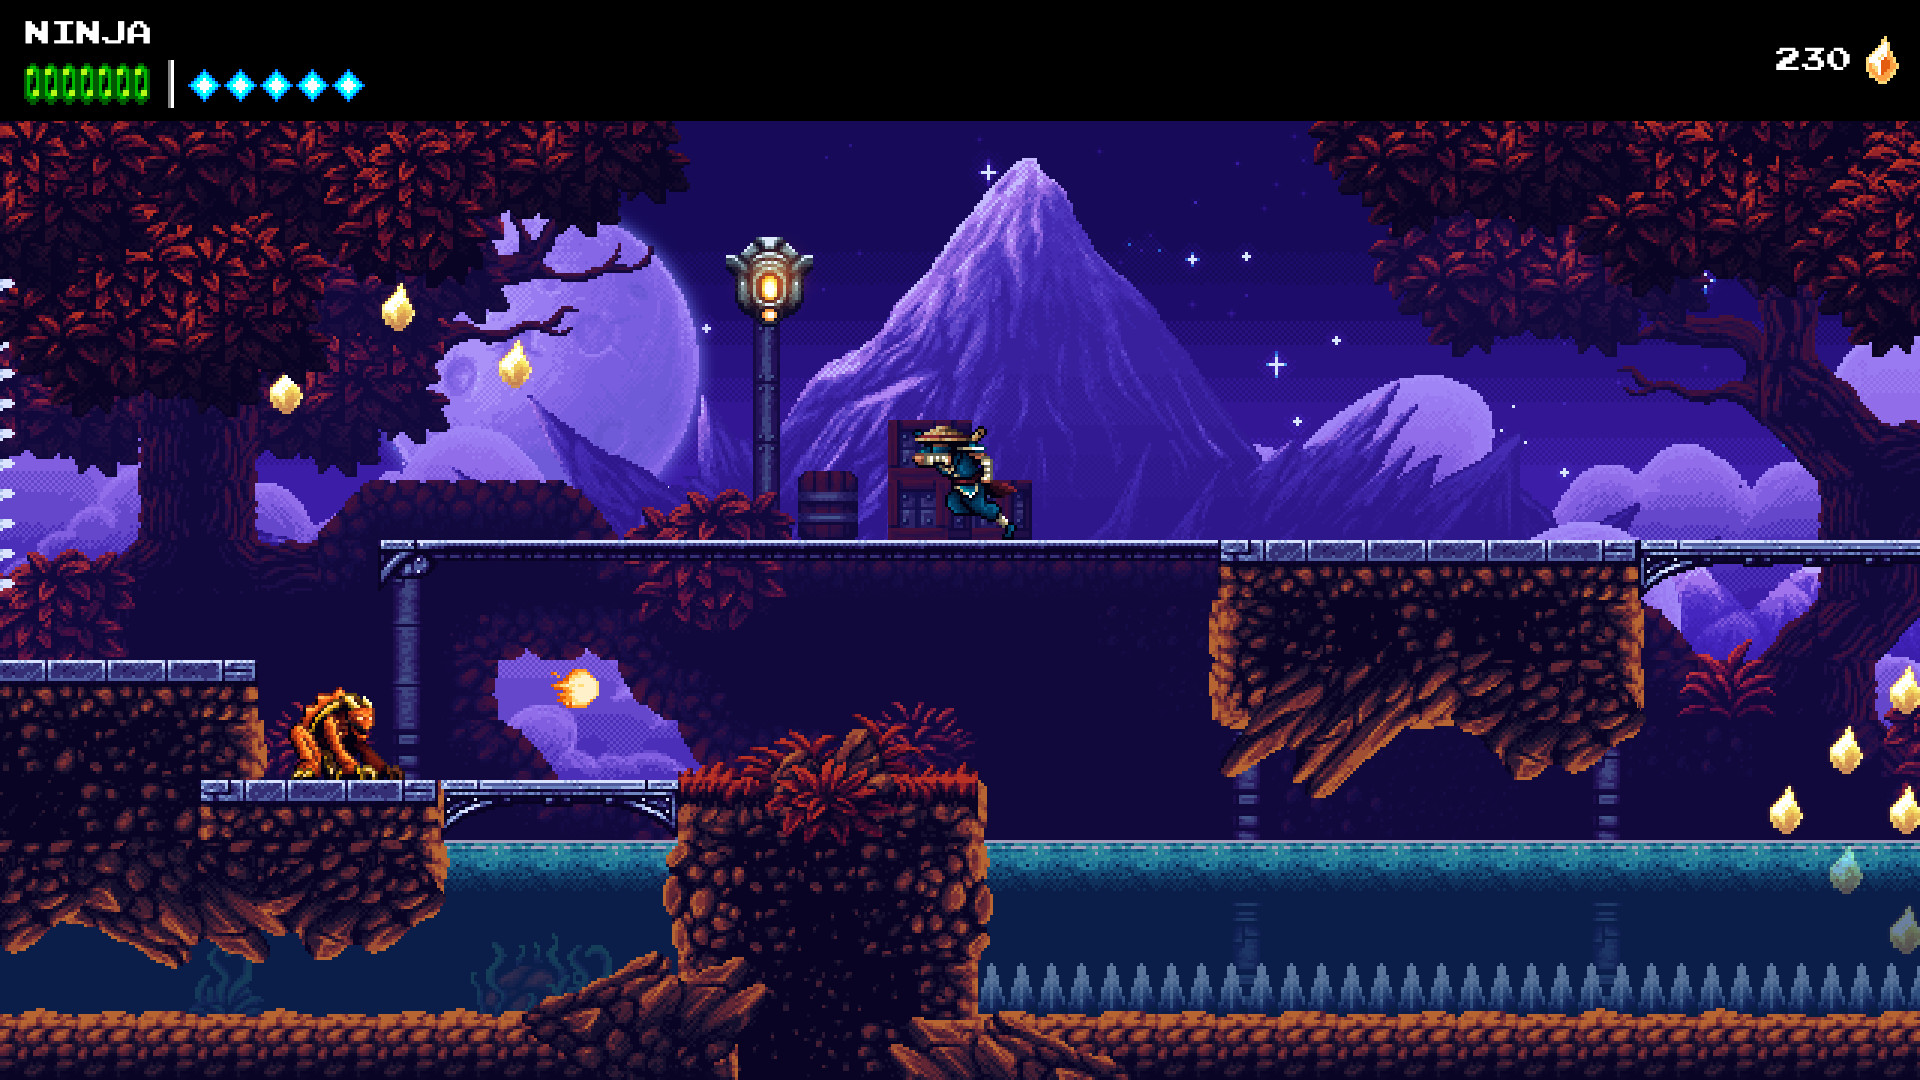
This is the final level for the linear section of the game. There are 4 Power Seals in this area but you can only find one on your first visit. Head to the right for the first shop.
Checkpoint #1 (Shop)
Float down when the lava retreats, use the lamp to dash across to the right and then climb up. Continue to the right and down.
Use the Gremlins that appear from the three holes to cloud step up the wall and head across to the next checkpoint.
Checkpoint #2
Make your way up the next section of the cavern. This level is not too difficult but just be patient as you navigate the spikes, lava and enemies. Up the top of this cavern is another shop.
Checkpoint #3 (Shop)
Continue to the right, drop down and run as fast as you can to avoid the spikes. On the next screen you’ll need to use the Gremlins to make it across the lava pit. When you hit a Gremlin all the Gremlins will disappear and new Gremlins will appear from the empty holes.

Drop down and glide down. Navigate past the dripping lava, blades and enemies to the bottom where you’ll find the next shop.
Checkpoint #4 (Shop)
Head to the right and as soon as you see the ocean of lava at the bottom of the screen you’ll need to move quickly. The lava will rise up behind you so climb up the cavern and don’t fall!

Once you reach the top take the only exit to the right for the next checkpoint.
Checkpoint #5
On the next screen jump and glide to the right. Grab the wall and climb up. Break the blocks at the top right and go through for a large Crystal.

Go back and drop down. Glide down while avoiding the enemies and spikes. Then head to the right. When you see the lava receding on the next screen float down after it. To the lower left you’ll find another exit.
Use the rope dart to glide across the gaps when the lava has lowered.

When you get up on the left side take the next exit to the left. Drop down for Power Seal #12.

Head back and go through the barrier that lowers. Climb up to a previous area and head to the right. This time use the lamps to make it across to the other side.
Glide down another cavern all the way to the bottom. Head to the right and you’ll find the final Shop before the boss fight.
Barma’thazel Boss Fight
This boss fight can appear quite tricky to begin with. The Demon Lord will charge at you and then hover in the left or right corner while fire consumes the floor.

The trick for this fight is to use the grapple whenever he charges towards you. This gives you a few frames of invincibility and also does one point of damage to the Demon.
For the Gremlin section remember that each gremlin changes position when you hit one of them. Gremlins will appear from all empty holes and all gremlins that are already out will disappear.
The third attack is probably the most difficult. Barma’s weapons will connect together with fire will spin around. Try to time your jumps over it when the swords will be at their lowest. You can get unlucky with this attack and have to take a few hits.
Once the boss has been defeated you’ll be taken to the Tower of Time HQ where you can select your location from a number of open portals.
Back: Cloud Ruins Next: Key of Hope