Part 15: Wall of Holy Prohibitions
Back to Blasphemous
Wall of Holy Prohibitions
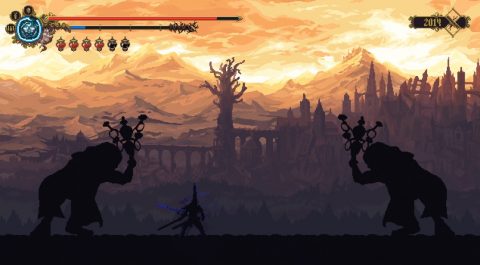
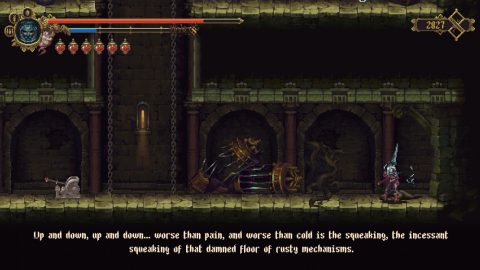
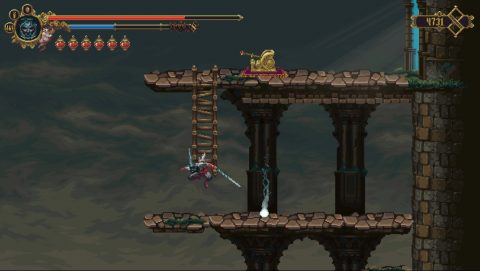
Enter into the Wall of Holy Prohibitions and you’ll immediately find a Corpse on the ground. As you move forwards into room #1 you’ll be ambushed by 2 giants.
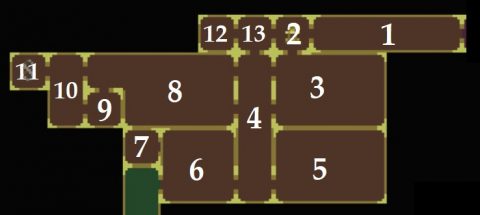
Continue into room #2 for the shrine. The room to the left is closed off for now so head down the ladder to room #3. In these rooms you’ll find numerous doors that need a variety of keys. You should have already purchased the Key of the Inquisitor from Candelaria’s shop. The other keys you’ll find along the way.
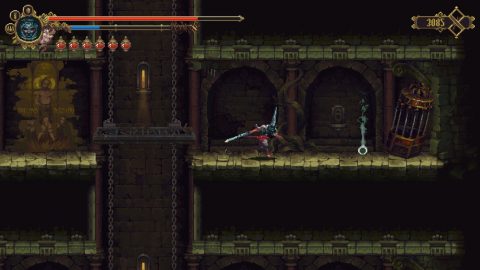
The two doors on this level need the Key of the Secular and the Key of the Scribe. You won’t have these yet so head to the right and pull the lever. Ride the lift down to the middle level. The door to the far left needs the Key of the Inquisitor. Use it and go inside.
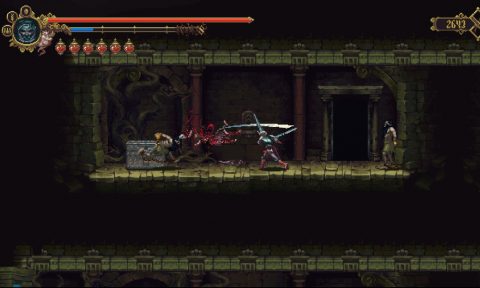
Take out the enemies and go through the next door. You’ll come back out near a silver chest. Open it for Empty Bile Vessel #8.
Go back through the two doors and enter the door nearest the lift which doesn’t need a key. There’s an item to the left but as you approach it the floor will gave way and you’ll fall down. Luckily there’s another item down here, the Key of the Secular.
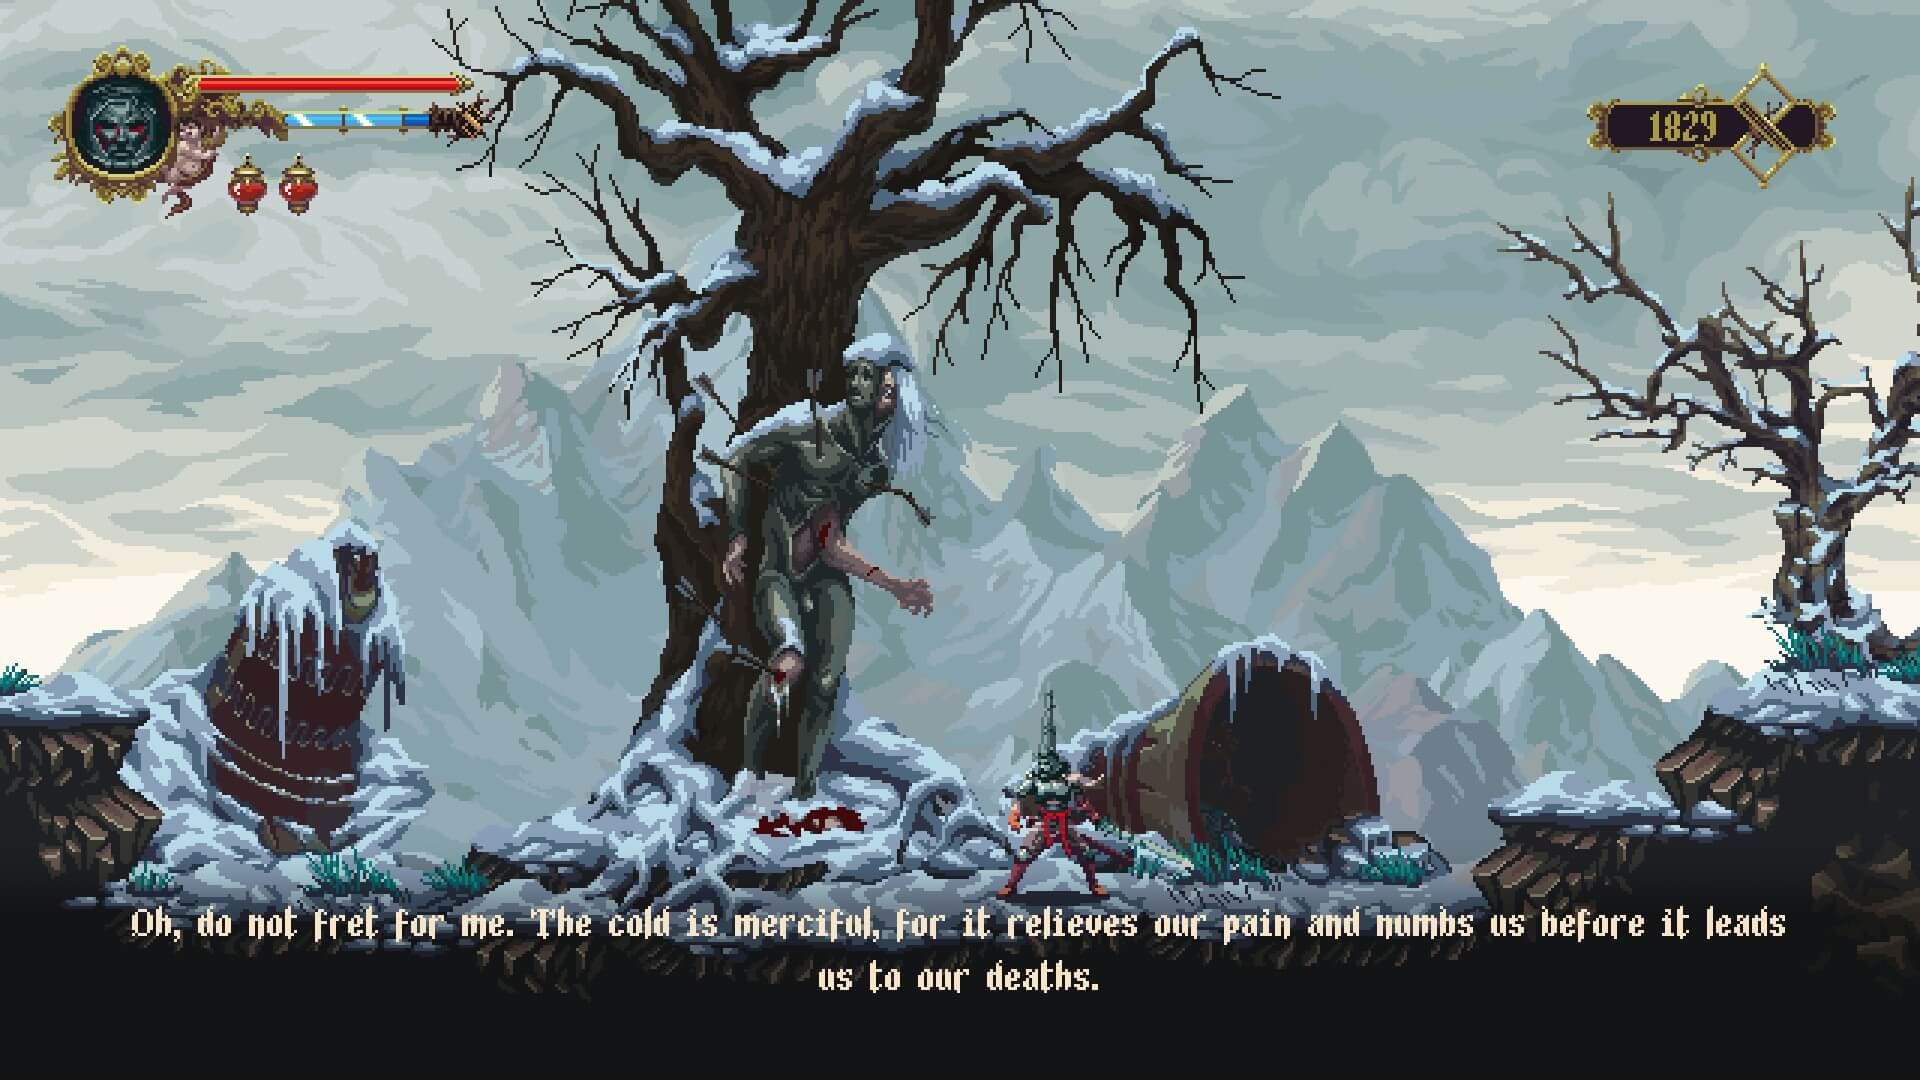
The door here needs the Key of the Secular. Use it and you’ll be on the lowest level of this room. The door here leads to the lower left exit so leave it for now. Instead walk to the right and talk to the Corpse. It gives you a clue the next secret.
To open the gate above you’ll need to send the lift up and down 5 times. Keep pulling the lever until the gate in the middle floor finally opens. Behind it you’ll find Rosary Bead #31 Quirce’s Scorched Bead).
Jump over the lift and go into the first door on the left side. This is where we fell down. Jump over the gap to find Collectible #39 (Ulna of Koke).
Go back and drop down to the lowest level. Take the door to the left and break the wall to the left. Go through the next door to appear at the lower left corner of the room. Take the exit to room #4.
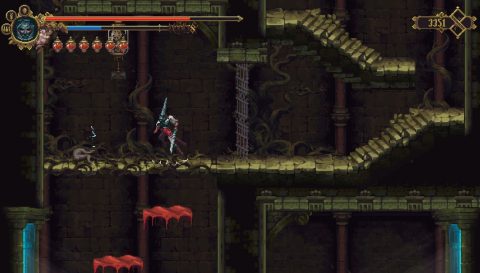
Head down the stairs and then up on the left side. Use the blood sand to get up to the Corpse and gate mechanism to open up the shortcut.
Drop down to the ground and take the exit to the right to room #5. The first door you come across needs the Key of the Scribe so leave it for now. The lever is on the right side of the lift. Pull it and ride the lift up.
Break the secret wall to the left halfway up and pick up Collectible #40 (Phalanx of William). Drop down, call the left lift down and ride it up again. This time ride it up to the top and go through the door. You’ll use the Key of the Secular.
Go through the next door and you’ll find the Key of the Scribe. Go back through the doors, drop down to the ground and go through the door on the left using the Key of the Scribe. Inside you’ll find Child of Moonlight #36.
Leave and take the right lift up to the top. Enter through another door that needs the Key of the Scribe. Inside you’ll find Collectible #41 (Hamate of Vukelich).
Drop down and return to room #4 take the exit above back to room #3. Ride the lift back up to the top left and enter the door that needs the Key of the Scribe. Inside you’ll find Collectible #42 (Temporal of Joel).
Return to room #4 and take the lower left exit to room #6. The lower left exit to the left takes you to the Patio of the Silent Steps. You can pull the lever to open up the shortcut. If you climb down to the lower ledge you’ll find some Quicksilver.
Back in room #6 enter the door by this exit which needs the Key of the Inquisitor. Use the twisted root and blood sand ledge to get up to Collectible #43 (Jaw of Ashgam).
Leave and ride the left lift up. The right lift doesn’t go all the way to the ground.
Get off at the top and use the Key of the Scribe to enter the door. Go through the next door and you’ll be on the other side of the left lift. Break the secret wall to the left and go through for Oil of the Pilgrims #6.
Go back and slide under the wall to land on the right lift below. Jump over to the ledge to pull the lever, jump back and ride the lift up to the top.
Slide under the wall to the right and pick up Rosary Bead #32 (Sphere of the Sacred Smoke). The door leads to an empty room if you’re following along with this walkthrough.
Go back to room #4 and take the exit above to the left to room #8. When you walk to the right the gates to the left and right will close on you. Then a Lionheart enemy will ride down the lift and attack. Kill it and then ride the lift up.
Jump off onto the middle platform and go through the door using the Key of the Inquisitor. Inside you’ll find Collectible #44 (Phalanx of Zeth). Leave, drop back down and ride the lift all the way to the top.
Open the door to the left using the Key of the Scribe and go through. You’ll find Child of Moonlight #37. Just one more to go!
Go through the next door and walk to the right to pick up the collectible. The floor will break and you’ll go crashing down to the boss fight.
Quirce Boss Fight
Quirce has a flaming sword and teleports around the room. Sometimes he’ll stomp downwards, leaving behind a flaming pillar. He also likes to grab onto the roof and send the flaming sword circling around the room.
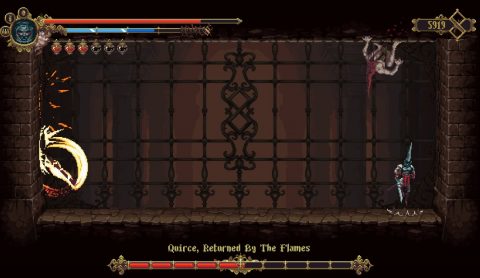
This boss if fairly slow compared to some others so his attacks aren’t that difficult to avoid. For the second half of the fight he tends to send out more flaming pillars.
Once Quirce has been defeated the left wall will break. Go through to room #10 to meet Deogracias. Climb up and go to the left for the Confessor Statue, and to the right to open up the gate and to grab the Key of the High Peaks.
Go back through the door to the small room and into the next door. Run to the right and go through the door on the other side of the lift using the Key of the Scribe. Drop down and go through the next door. Jump across the gap and break the mechanism to open the gate above.
Drop down and take the lift to the left up. Head to the right, through the open gate and out the right exit to the top left corner of room #4. Climb the ladder up to room #12.
Go right to open the shortcut back to the Shrine, then go left for Child of Moonlight #38.
Use the Key of the High Peaks on the elevator and you’ll be taken up to the Convent.
Convent of Our Lady of the Charred Visage
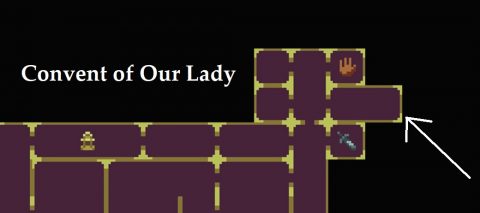
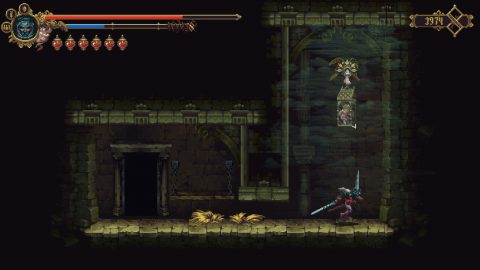
Walk to the left into the building and pull the lever to lower the ladders above and below. To the left you’ll find Our Lady of Six Sorrows #6. Above her is Mask #3 (Mirrored Mask of Dolphos), and to the top right you’ll find the Teleporter.
Next: Part 16: Confessor Statue Arenas
Back: Part 14: Archcathedral Rooftops