Part 11: The Sleeping Canvases
Back to Blasphemous
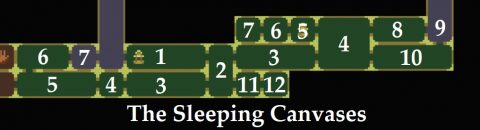
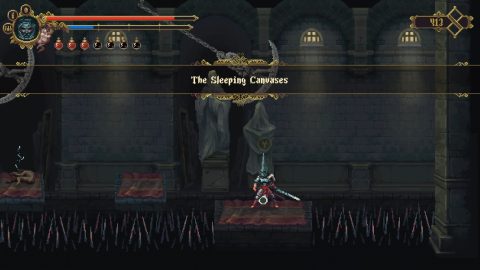
The Sleeping Canvases
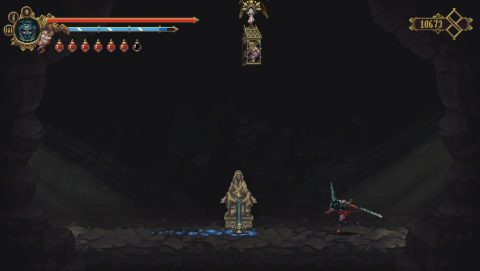
From the Shrine in room #1 jump across the spikes and take out the Canvas, Bronze Statues and the Sleepless Tomb. Head into room #2, drop down and pick up Medicinal Herb #6 (Sooty Garlic) from the ledge on the right. There’s also a Corpse on the ground.
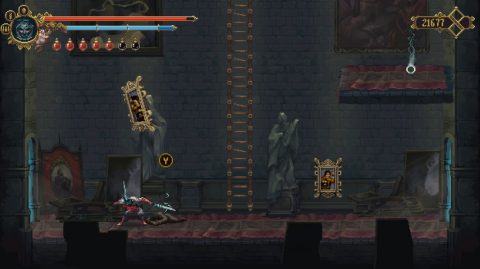
The room to the lower right holds a secret but you need the large red and blue wax beads to access it. So instead take the lower exit to the left.
Slide or jump over the swinging blades, taking out the Statues and the four-legged beast, the Amargura, at the end. Continue into room #4 where you’ll find a Corpse and Candelaria Shop #3.
Enter the shop to find Rosary Bead #26 (Wicker Knot), Empty Bile Vessel #6 and the Key of the Inquisitor. You’ll want them all, especially the Key which costs 9999 Tears. Come back for it if you don’t have the money for it right now.
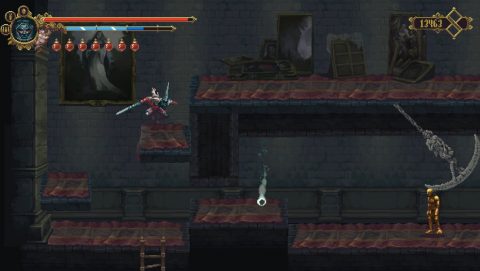
Take the exit to the left to room #5. Make your way past the swinging blades while avoiding the insta-death spike pit below.
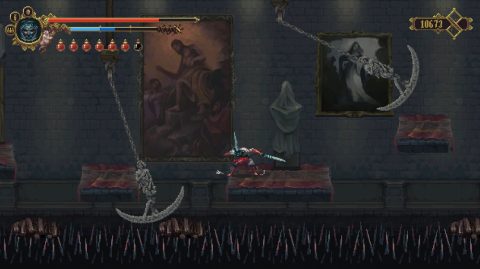
Take the lower exit to the left for the Big Bead of Blue Wax and also Child of Moonlight #23. Use the Prayer (Taranto to My Sister) to reach.
Take the exit to the left for Collectible #29 (Kneecap of Sebastien) and to open the gate back to Mercy Dreams. The fast travel point is in the room just above and to the right so you might want to go back to Albero and deliver the herbs to Tirso for 10,000 Tears.
Take the teleporter back to Mercy Dreams, Go down the ladder and to the right back to room #5 of The Sleeping Canvases.
From here climb up the ladder above to room #6. You’ll notice some Quicksilver on the ground but you’ll need to loop around to grab it.
Take the right exit to room #7 for Oil of the Pilgrims #5, then continue right, opening the gate along the way, until you’re back at the Shrine in room #1.
Make your way over to room #4 and take the exit to the top left, room #5. Inside you’ll find a Shrine and Corpse. Room #6 has a large painting of a bull. Interact with it to speak with the NPC Moonchild Jocinero. If you’ve rescued at least 20 Children of Moonlight you’ll be rewarded with Relic #5 (Linen of Golden Thread). This thread lets you drop off edges that would normally kill you.
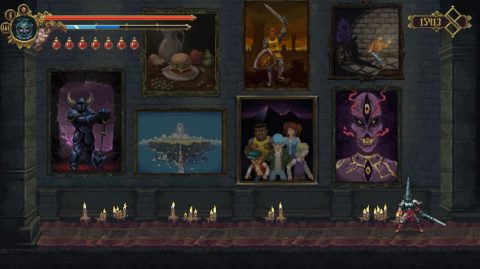
Duck down and break the pillar to the left. Slide through to the Secret Easter Egg Room. You may notice some of these pictures from other games.
Head over to room #8 for the boss fight.
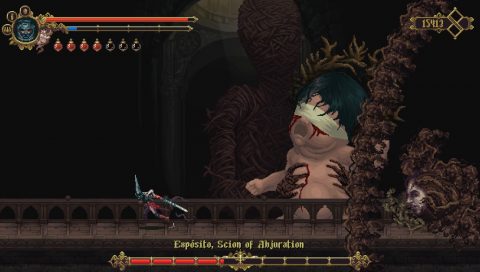
Exposito Boss Fight
This boss has a face with a worm-like body. It twists around and drops acid from above. Only the face can be damaged and one section of the body
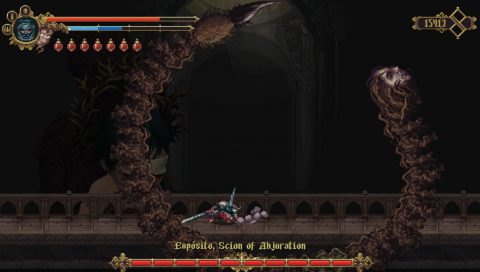
When Exposito stays still on one side of the screen and shoots out fireballs try to stay directly underneath so you can get in a few hits.
Watch out for the baby in the background who will come forwards and try to grab you. Slide away from it when you see it approaching.
Once Exposito has been defeated head to the right to access the lift in the Library, room #9. Instead of taking the lift climb up the blood sand ledges and twisted roots to find Child of Moonlight #24.
Drop down and ride the lift up. The room to the left has the Mea Culpa Altar #4. Then the room to the right has the Mask #1 (Embossed Mask of Crescente). Head right again for the Big Bead of Red Wax. Break the wall to open up the shortcut.
Go back to the lift and ride it back down. Make sure you’re wearing the Linen of Golden Thread relic and drop off the edge on the right side of the lift. You’ll land in room #10 below, right next to Collectible #30 (Nasal Bone of Charles).
Jump over the spikes to the Corpse and continue to the left. Break the gate mechanism and go through to room #4. Make your way around to room #11.
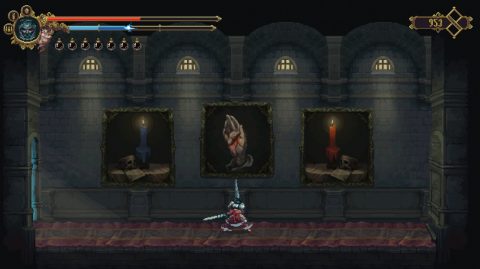
Equip the Large Red and Large Blue Wax Rosary Beads and the candles in the painting will light up. Hold the ranged attack to draw blood and the secret room #12 will open up. Go through for Mea Culpa Heart #4 (Molten Heart of Boiling Blood).
Make your way back to the lift and climb up to the Mother of Mothers.
Next: Part 12: Mother of Mothers
Back: Part 10: Library of Negated Words