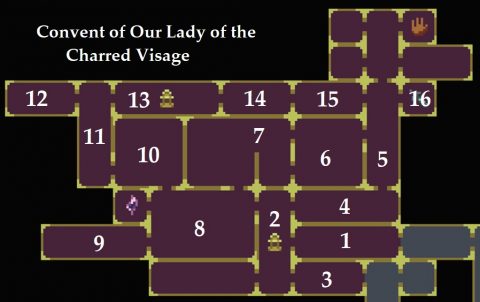
Part 5: Convent of Our Lady of the Charred Visage
Back to Blasphemous
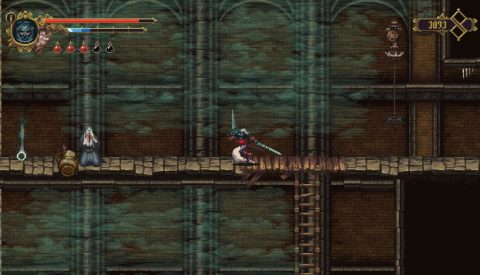
When you enter from the Graveyard of the Peaks you’ll be in room #1. Head across to the left but be very careful of the Sister in the hallway. She can take off about half health with one swing. Make your way to room #2 where you’ll find the Shrine.
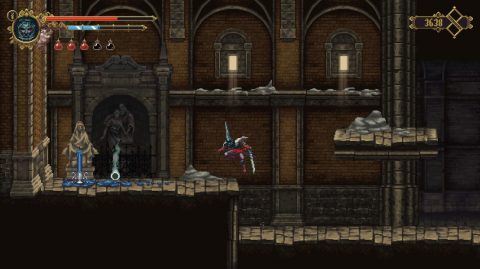
From here drop down to the bottom left for Corpse #7. The room to the bottom left is filled with mist so instead go to the bottom right to room #3. Make your way to the next room with the lift and then one more room to the right to find Mea Culpa Heart #2 (Heart Of the Unnamed Minstrel) behind a gate.
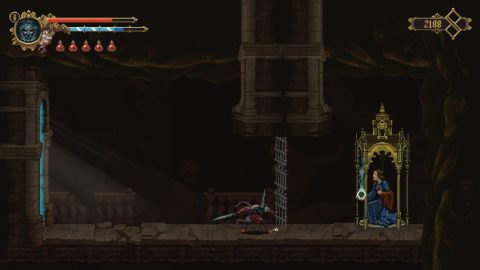
Approach the gate and hold the ranged attack button to sacrifice blood. The gate will open so you can grab the item. Go back to the left and take the lift down. There’s a room above that you couldn’t reach earlier. Climb on top of the lift and then the exit above to the right.

Inside you’ll find Our Lady of Six Sorrows #2 where you can increase your max health. Take the lift back up and head back up to the Shrine in room #2.
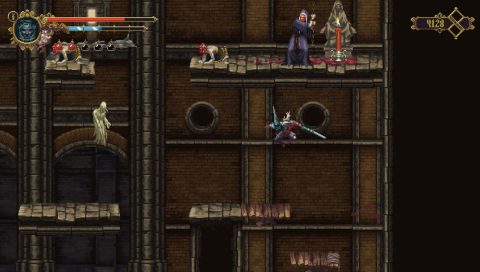
Take the ladder up on the right and enter room #4. Head across to the right and take the ladder up to room #5.
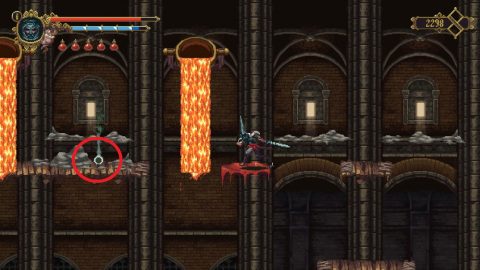
Continue up past the molten metal as it’s poured out and exit to the top left for room #6. Jump across the top ledges for Collectible #15 (Sternum of Vitas).
Both exits to the left lead to room #7. The top one will bypass a few of the enemies. Jump across the ledges at the top and make your way down on the other side.
Slide under the wall to the left and keep sliding under the toxic cloud. Climb up the ladder, head to the right and climb up to the top ledge. You’ll find Rosary Bead #12 (Piece of a Golden Mask) to the left.
Open up the gate to take the shortcut back. Drop down and take the ladder down to room #8. Take the exit to the right back to room #2 and lower down the ladder to open up the shortcut back to the Shrine.
Back in room #8 drop down and watch out for the Ghastly Baroness that appears, shoots out a fire beam and then disappears again. Continue to the bottom left to room #9. On the far left side of this room you’ll find Rosary Bead #13 (Small Bead of Blue Wax).
Go back to room #8 and climb up on the left side to the top ledge. On the far right side you’ll find Collectible #16 (Phalanx of Miriam). Take the ladder up to room #10.
Just above you in the top right corner of this room you’ll find Rosary Bead #14 (Medium Bead of Red Wax). Getting past the enemies and molten lava could be tricky. Take out the Ghastly Baroness first before dealing with anything else.
Take the exit to the bottom left to room #11. Climb up the shaft while avoiding the molten lava and head to the left to room #12. On the floor you’ll find Rosary Bead #15 (Cloistered Sapphire).
Go back to room #11 and then continue through to room #13 where you’ll find Corpse #8 and the Shrine before the boss fight. Viridiana will be willing to help you again. If you’ve asked for help on previous boss fight she’ll be looking much older this time.
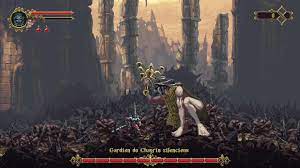
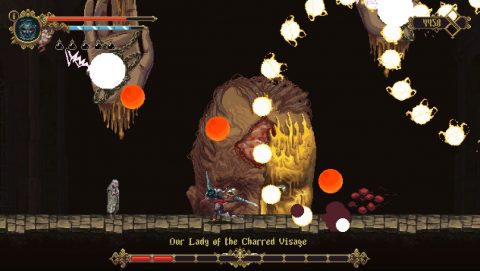
Our Lady of the Charred Visage Boss Fight
This is a difficult boss fight even if you have all the upgrades so far. You’ll need to hit the Lady in the center of the forehead while avoiding the multiple ranged attacks from the floating hands.
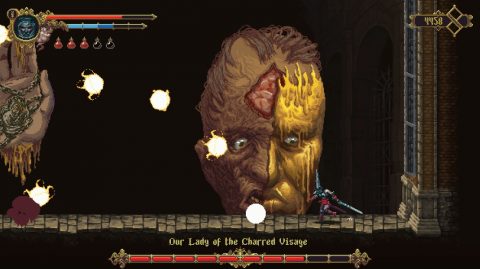
Some of the projectiles you can hit back with your sword, like the orange balls, while others like the laser and fireballs will hit you regardless.
Once the Lady is down to half health you’ll need to deal with two floating hands and two sets of ranged attacks.
Keep dodging and attacking when you can. After the battle head to the right (room #14) and you’ll enter the dream world. Run to the right and you’ll be given the Holy Wound of Compunction.
After the dream walk to the right. Interact with the basin to fill up the thimble. You’ll get the Golden Thimble Filled with Burning Oil. You’ll need to take this back to Gemino later.
Continue to room #15 to chat with Deogracias again. Lower the ladder to open up the shortcut back to a previous part of this level. Walk to the right to room #16 for Mea Culpa Altar #2. Purchase any upgrades that you need. I would suggest the Fervorous Blood for a ranged attack.
Go back and climb down the ladder. Make your way back to the Shrine at the start of this level and we’ll pick it up from here in the next part.
Next: Part 6: Mountains of the Endless Dusk
Back: Part 4: Where Olive Trees Wither