
Part 10: Library of Negated Words
Back to Blasphemous
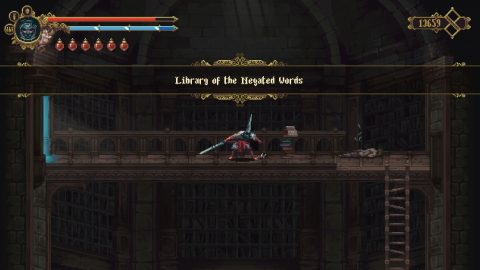
Library of Negated Words
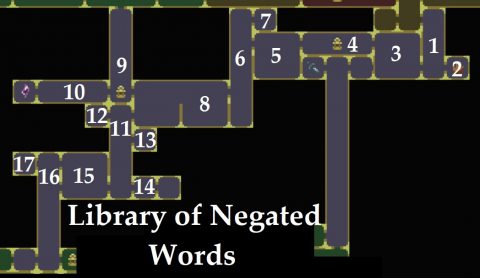
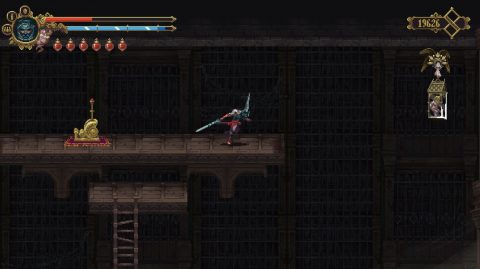
When you enter walk to the right for the Corpse, then climb down the ladder.
When you drop down to the two lower ledges the ghost librarians will materialize. Avoid them or you’ll take contact damage. Continue down to the bottom of the room and take the exit to the right (room #2) for the Fast Travel Point.
If you want take the opportunity to teleport back to Albero and give the Olive Seeds to Tirso. He’ll give you Tears as a reward. Take the teleporter back to the Library.
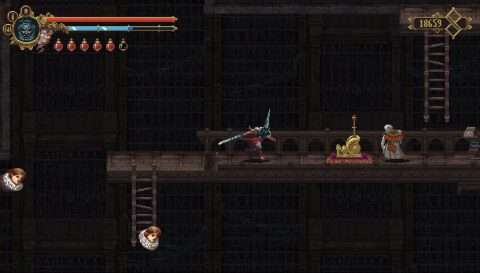
Go back to the first room and take the left exit to room #3 for the first of the lever rooms. Pull the lever on the left to move the above platform to the right. Jump onto the ladder and climb up. Take out the Librarian and pull the lever. Ride the ladder to the left.
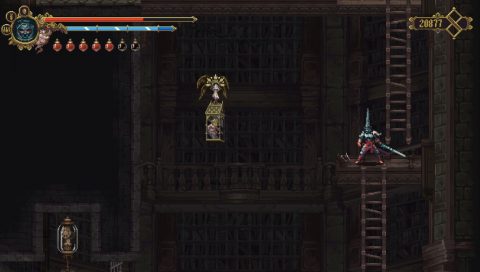
Jump across to the left and take the exit to room #4 where you’ll find the Shrine. Near the exit of this room to the left is a man who is disturbed by a sound that will not cease. You’ll find the source of this noise later on. For now take the exit to room #5.
Walk to the left and climb the ladder. Take out the headless creature and pick up Collectible #26 (Sacrum of the Dark Warlock) behind it.
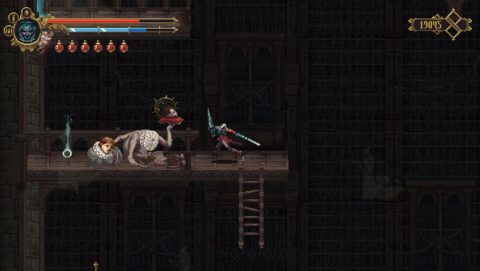
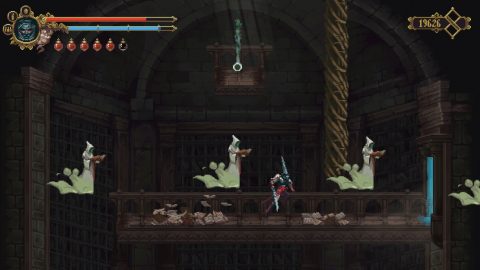
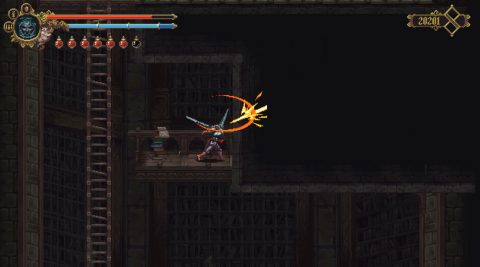
Drop down, pull the lever and climb up the ladder. Climb up the next ladder and jump up to the higher ledge. Take out the 2 librarians and then jump or use a ranged attack to free Child of Moonlight #21 floating over to the right.
Pull the lever and ride the ledge across to the left. Take the exit to room #6. Jump up the blood sand ledges to the platform above, then climb up the gnarled root to Collectible #27 (Tibia of Alsahi) on the ledge above.
In the room to the right you’ll find the Confessor Statue. Drop down to the bottom of the room and either smash the ground or use a prayer to damage the floor and reveal a secret. Climb down the ladder for Empty Bile Vessel #5.
Take the exit to the left to room #8. First climb up the ladder and take out the Librarian on the platform. Then pull the lever on the ground floor to move the platform over to the right. Climb up it and pull the next lever on the middle level.
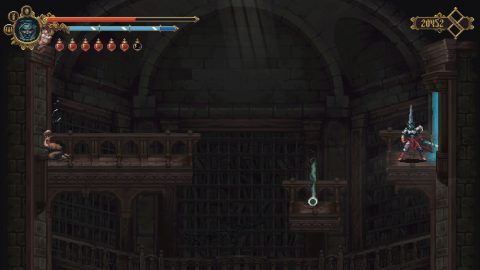
Ride the ladder over to the left, climb up and pull the highest lever. Ride the platform over to the left side. On this side of the room you’ll need to watch out for laser shooting specters. They’ll only appear when they shoot and then disappear again.
Jump across the blood sand platforms and climb up the gnarled root to take the top exit to the left for room #9 and the Shrine. From here you can climb all the way up to open up the shortcut to the Patio of Silent Steps.
Drop all the way down and take the exit to the left to room #10. You’ll need the Dolphos relic so you can breath in the toxic fumes. Head over to the left, take out the giant and open the golden chest for Rosary Bead #23 (Amber Eye).
The wall to the left is a breakable wall that gives you access to one of the shards but you can’t get access to it yet. Head back to the shrine in the previous room, go back to the right and take the lower exit into room #11.
Jump across the gap and break the wall on the other side for a Bile Fountain (room #12). Fill up your Empty Bile Vessels and head back to the previous room. Drop down to the small ledge and hit the wall to reveal an exit to room #13.
Inside you’ll find Our Lady of the Six Sorrows #4. Drop all the way down to the bottom of room #11 and take the lower exit to the left to room #14
By now you should have all the collectibles shown in the anatomy books. To access the secret unequip all of your items and stand still or a few seconds. Another door will appear to the right.
Go inside to find a gold chest with Prayer #7 (Romance to the Crimson Mist). Go back to the left and continue to the lever puzzle in room #15.
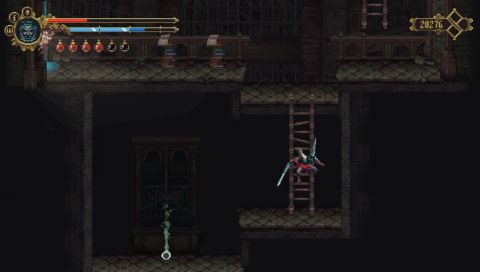
Pull the lever on the ground floor to move the ladders. Climb up the ladder and you’ll notice that when the ladders are on separate sides the gate above is open.
Pull the lever on the middle floor to bring the top ladder to the right. Both ladders should be on the right. Drop down and pull the lever on the ground floor. Both ladders will move to the left. Climb up them to the top and use the blood sand to jump across to the middle lever. Pull the lever and the top ladder will move over to the right. Climb up the ladder for the golden chest and Prayer #8 (Lorquiana).
Use the levers to bring both ladders to the left. Climb up and take the top exit to the left. You’ll see Collectible #28 (Phalanx of Aralcarim), as well as a man banging a metal bowl against the wall.
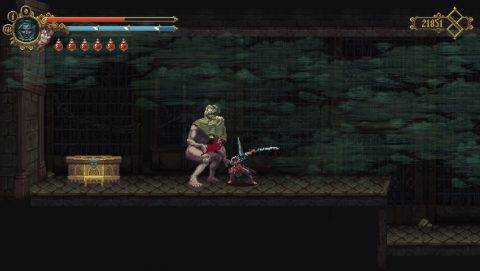
Break the wall on the left to stop the infernal noise, then go inside to find a corpse. Talk to it and then come back out. The large character, Diosdano, you met earlier will greet you and give you Rosary Bead #24 (Young Mason’s Wheel) as a reward for stopping the sound.
The Young Mason’s Wheel will make you move faster and improves your jump. I find this Rosary Bead to be one of the best in the game.
Drop down to the next ledge and then off the edge on the left side. You’ll land on a small platform with Rosary Bead #25 (Drop of Coagulated Ink).
Continue down but watch out for the Specters with lasers. As you approach the bottom of the room you’ll find Child of Moonlight #22.
The gate to the left is closed so take the right exit to The Sleeping Canvases to find the Shrine.
Next: Part 11: The Sleeping Canvases
Back: Part 9: Patio of the Silent Steps
