Part 14: Archcathedral Rooftops
Back to Blasphemous
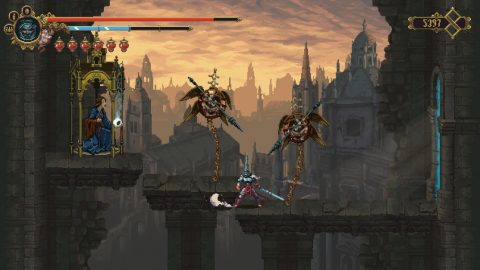
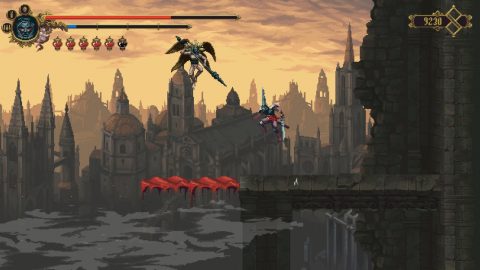
Archcathedral Rooftops
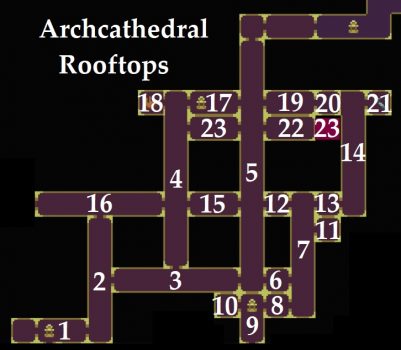
From the Shrine at the entrance make your way to to the middle of room #3 and then climb up the ladder to room #4. Climb up as high as you can go from this direction for Collectible #37 (Ribs of Sabnock).
Drop back down to room #3 and then head across to the right to the large elevator shaft in room #5. This is where the Masks are used. Each mask will unlock a new level.
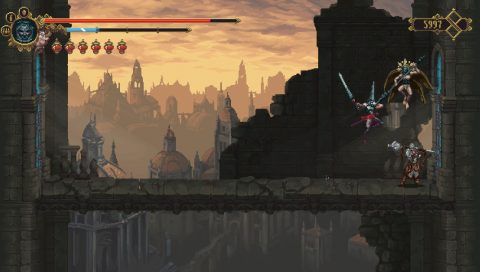
Head to the right to room #6 and you’ll face a Soldier of the Anointed. Parries work well against this enemy. Once you defeat them you’ll be given Mark #1 (Mark of the First Refuge).
Walk to the right to room #7, drop down and take the lower left exit to ambush in room #8 and then the Shrine, room #9. Pull the lever under the Shrine to open up the shortcut. Continue to room #10 to the left for Mea Culpa Heart #8 (Heart of Oils).
Go back to room #7 and climb up on the right side. Take the exit to the right to room #11 for Our Lady of the Six Sorrows #5. Then climb up on the left side and break the mechanism for the gate above.
Drop back down, return to the lift in room #5 and interact with it to place the first Mask. Pull the lever on the right to go up to the second level.
The path to the left leads to the next area which we don’t need to explore right now. Instead go right to room #12 for another battle with an Anointed Soldier. Once again use parry and counter his attacks. Once he’s defeated you’ll get Mark #2 (Mark of the Second Refuge).
Head to the right and go under the gate that you opened earlier. Go right again to room #13 and then room #14. Make your way up on the right side for Collectible #38 (Lunate of Keiga). Then make your way up on the left side so you can break the mechanism for the gate above.
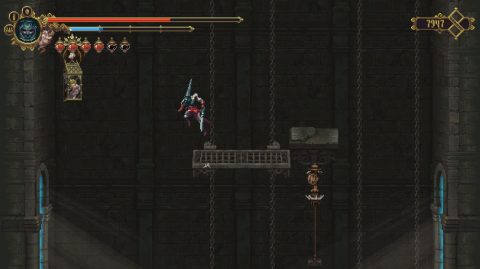
With that done head back down to the lift and continue to the left. Go past room #15 and the into the higher section of room #4. Break the mechanism to activate the lift and then grab Child of Moonlight #34.
Room #16 leads to the Wall of Holy Prohibitions. We’ll get to that later. For now head back to the lift and take it up to the third level.
Go to the left for the Shrine and then enter the next room for the Teleporter. Come back and go down the ladder at the top of room #4. Go down as far as you can and break the mechanism on the left to open the shortcut.
Climb back up and head back to the lift. Continue to the right to room #19. Continue to room #20 for the third and final encounter with the Anointed Soldier. This time you’ll get Mask #3 (Mask of the Third Refuge).
If you opened the gate in room #14 then head through to room #21 for Mea Culpa Altar #6. Go back to room #19 and from the right side drop off the edge while wearing the Golden Thread. You’ll land on a ledge below in room #22.
Go to the right to room #23 for the fourth Portal. Complete the dungeon for Shard #4. This time it’s getting more difficult. You’ll definitely need to practice if you want to make it through.
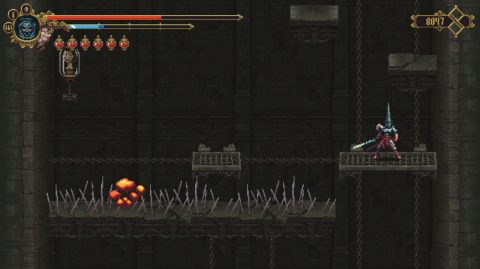
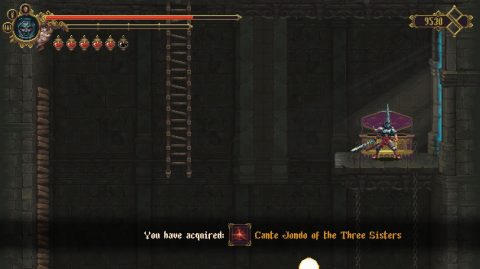
Go back and run over the blood sand platforms to room #5. Jump over the twisted roots to the other side and go to room #23. Take the exit on the left to find a golden chest with Prayer #13 (Cante Jondo of the Three Sisters).
Mother of Mothers
That’s it for the Archcathedral for now. Make your way down from the Shrine in room #9 to the Mother of Mothers. Take the second right to find Cleofas and Soccoro. Now that you have the 3 Marks give them one-by-one to Soccoro.
Archcathedral Rooftops
Go back up to the Archcathedral where you first entered in room #1. Walk to the left and you’ll find Cleofas looking out over the edge.
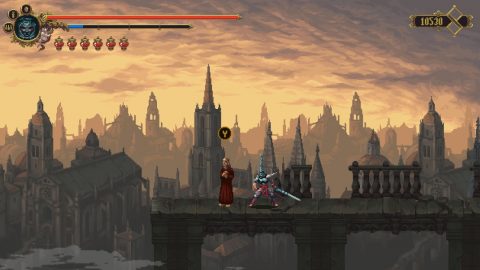
Give him the Cord of True Burying then return to Albero.
Albero
Head over to the church and you’ll see that the window is closed. Go inside to find Cleofas. Talk to him and he’ll give you Prayer #14 (Tiento to your Thorned Hairs).
Next: Part 15: Wall of Holy Prohibitions
Back: Part 13: Retracing Our Steps