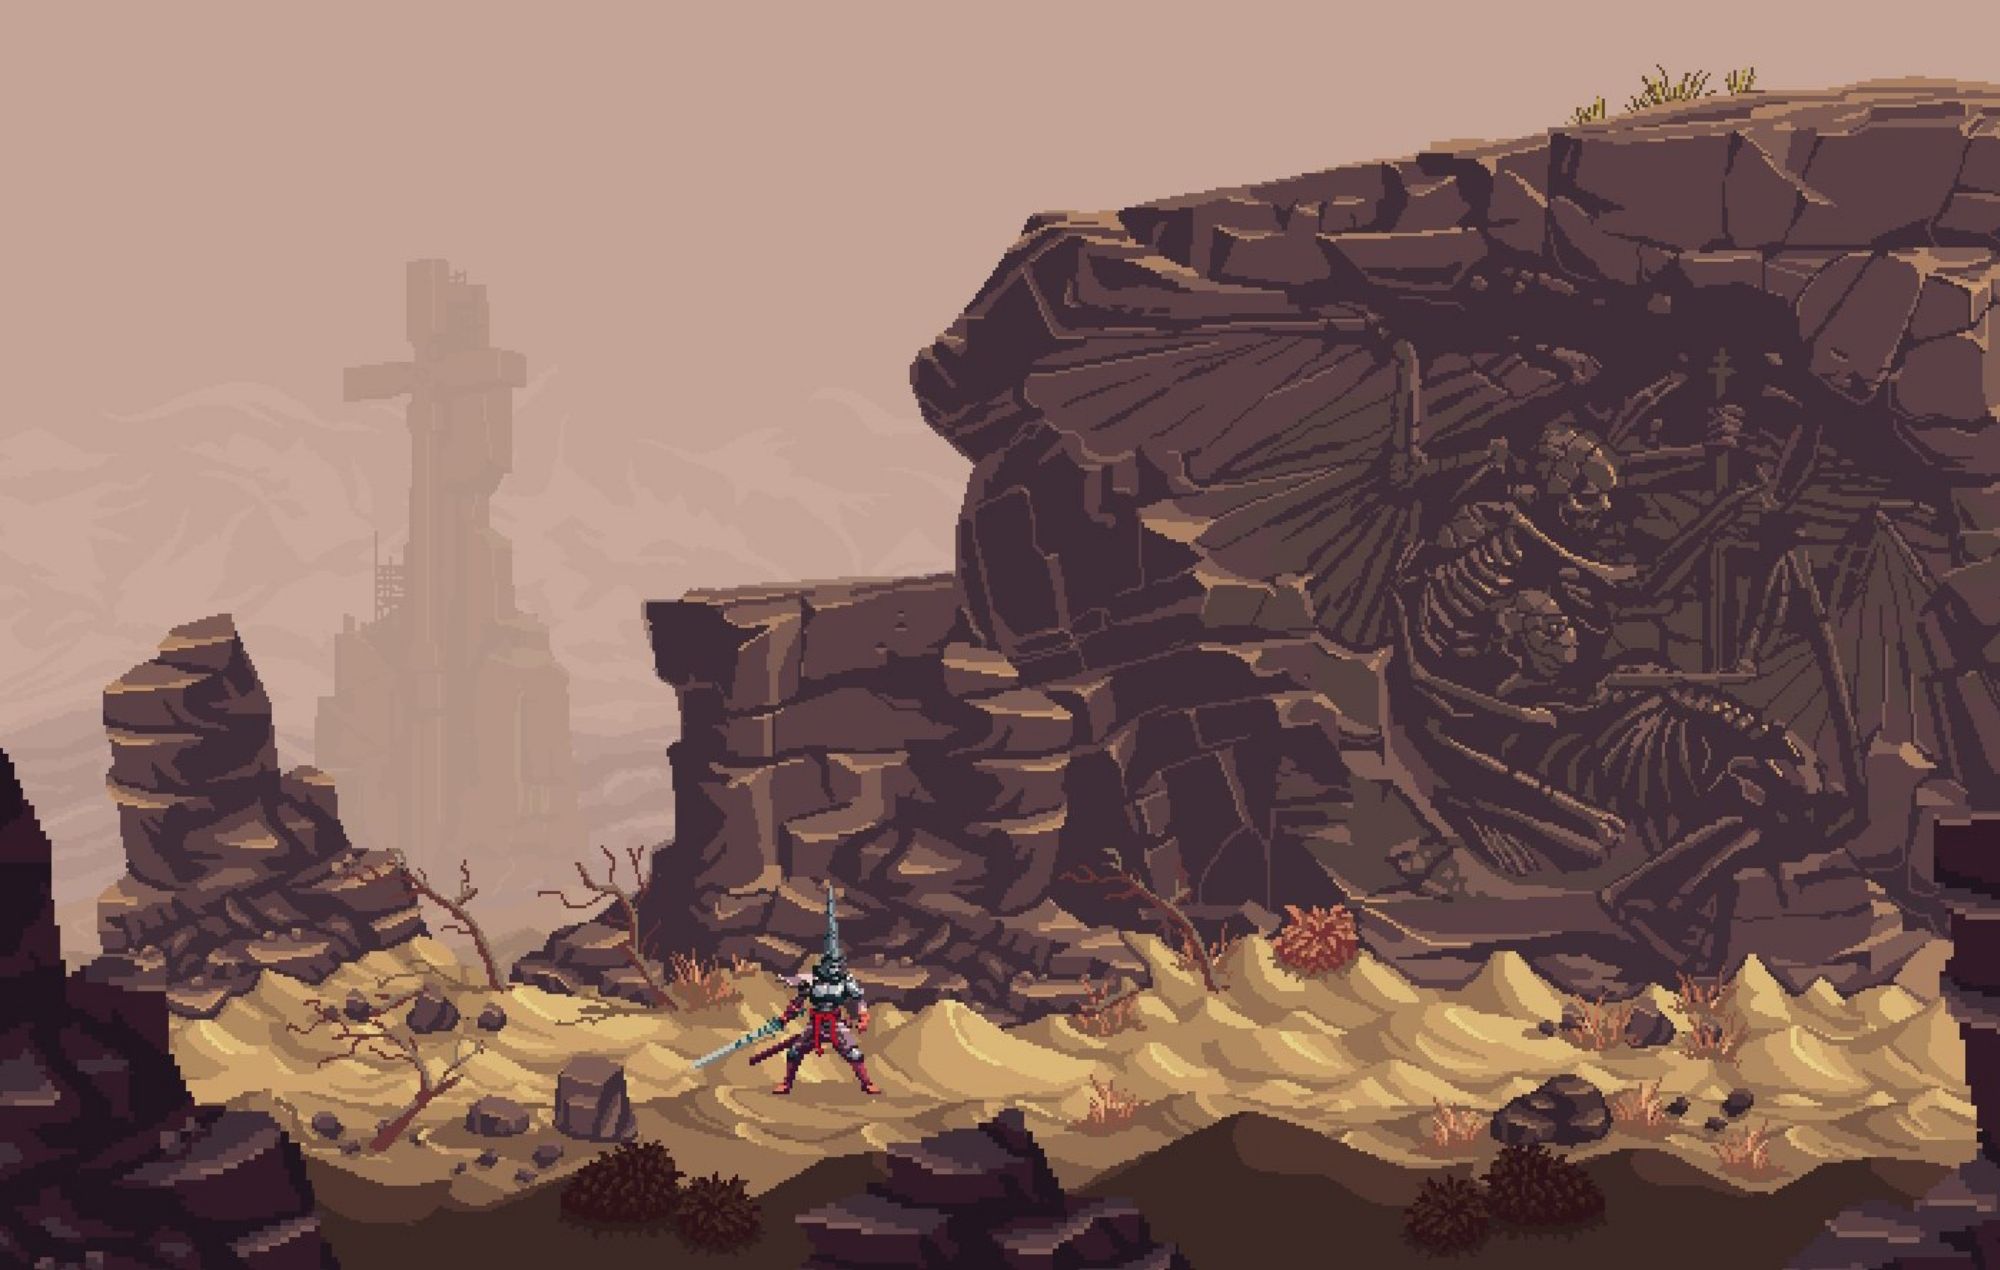
Part 7: Jondo & Echoes of Salt
Back to Blasphemous
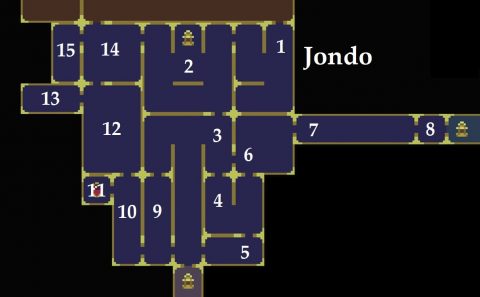
Jondo
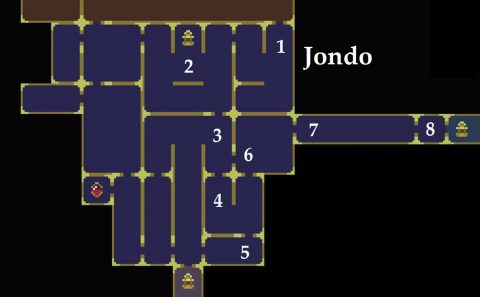
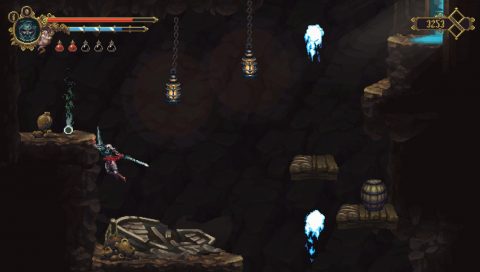
From the entrance take the ladder down, then drop down to cling to the wall below you. Jump across to the first ledge to the left and walk to the left for Collectible #19 (Scapula of Carlos).
Walk back to the right and drop down. Make your way past the ringing bells to the left and climb up the next climbable wall to pull the lever. That starts the platforms above moving.
Climb back up to the ladder under the entrance and take the moving platform across to the left. Take the next one up and head into room #2.
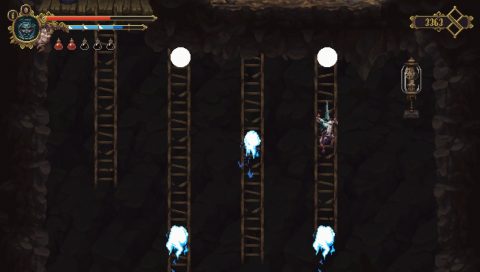
Drop down and take out the bell ringer before jumping across the ladders and climbing up the fourth one to the next Shrine.
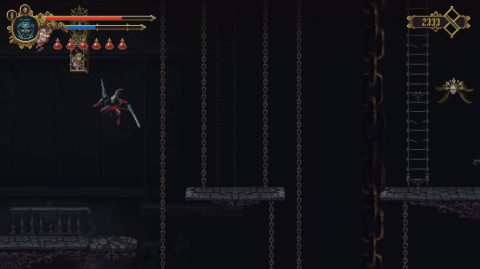
Climb down the next ladder and jump across them to the left. Drop down near to the climbable wall. Take out the enemies and then hit the bell to ring it. The ringing will break the glass and open the gate.
Jump across the spikes and take the moving platform over to the right. Hit the bells to open the next gate. Climb up the movable wall and pull the lever to start the platform moving which opens up the shortcut. Take the ladder down to room #3.
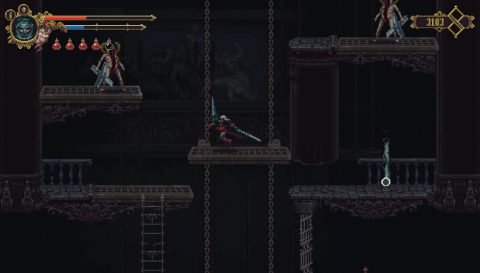
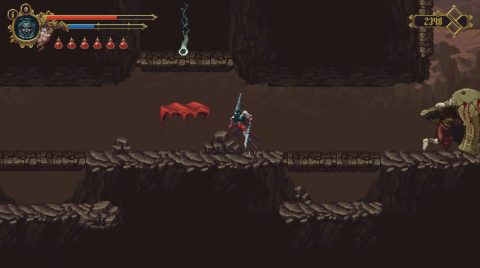
This is a large room with a central statue and bell. You’ll need to break the chains on both sides of Jondo to open up the central floor under the statue. This will give you access to Grievance Ascends.
We’ll start with the eastern side of Jondo. Drop down the platforms to the right of the statue and take the ladder down to room #4.
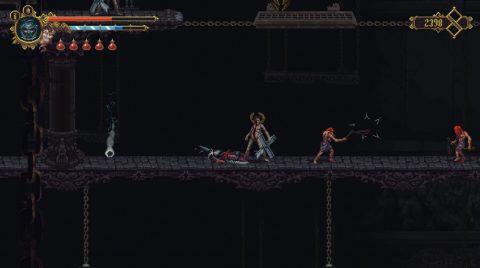
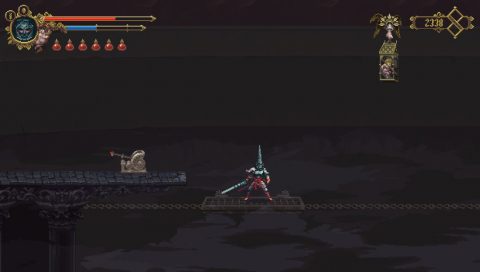
Make your way down to the lowest level and take out the two Martyrs with the boomerang blades. You can hit the blades with your sword to deflect them.
Climb up the walls and drop down on the right for Collectible #20 (Vertebra of Lindquist).
Then climb down the ladder on the right to room #5 where you’ll find the Medicinal Herb #3 (Bouquet of Rosemary). Climb back up to room #4 and continue up to room #6.
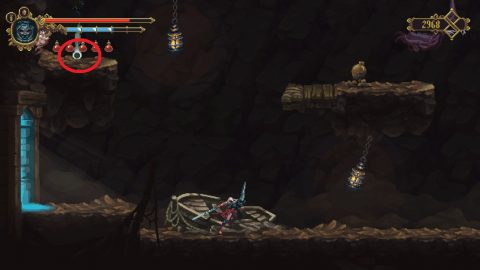
Drop down to the right, climb up the ladder and jump back across to the left for the first Tether Statue. Break the statue to release the chain.
Child of Moonlight #11 is also nearby. Jump up to the right and swipe upwards to release it. Take the exit to the right to room #7.
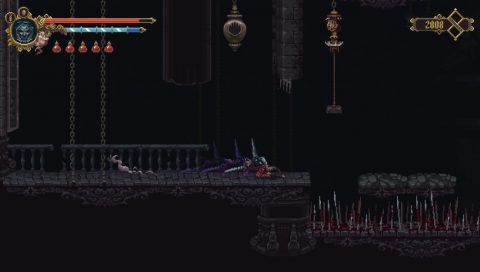
Pull the lever to start the platforms moving and make your way across the spike pit to the right. About half way along you’ll find Child of Moonlight #12. Quickly jump up from the breakable platform to reach it. Then slide through the gap to the right.
At the end of this room you’ll find Mea Culpa Heart #3 (Heart of the Holy Purge) on the upper ledge. Take the exit to the right into a small cave with Quicksliver. You can use this later to improve the healing of your flasks. Exit to the right for the Echoes of Salt side area.
Echoes of Salt
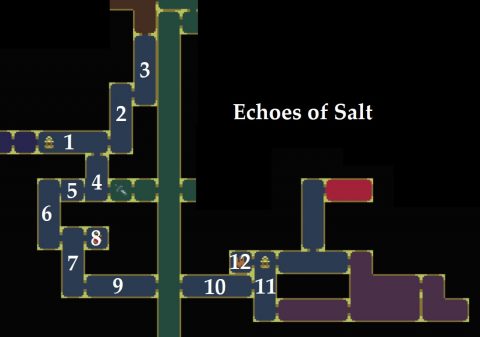
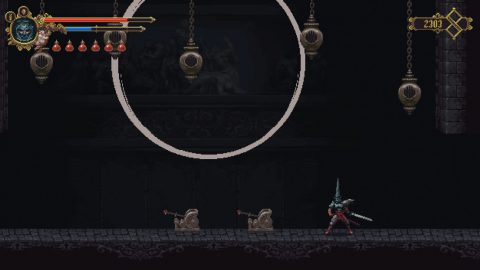
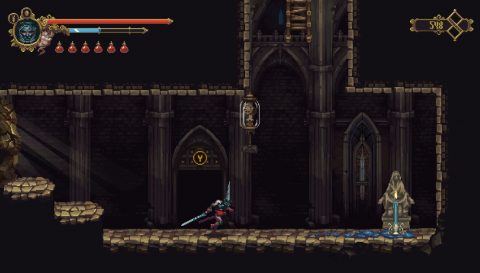
In room #1 you’ll find the Shrine. Head across to the right and take the right exit to room #2. You’ll need to avoid the fireballs as you make your way up.
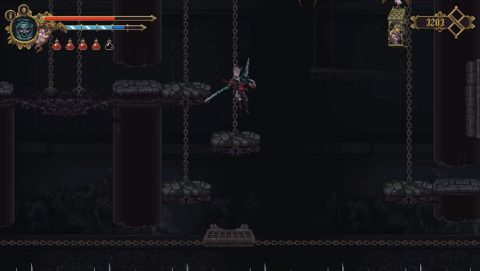
Once you reach the top you’ll need to do a jump and air jump/slash the lamps to make it across to Rosary Bead #17 (Fired Enclosed in Enamel).
Take the exit to the top right to room #3. From here make your way up and open up the shortcut to the Mountains of the Endless Dusk at the very top. Come back down to room #2 and take the ladder down to room #4.
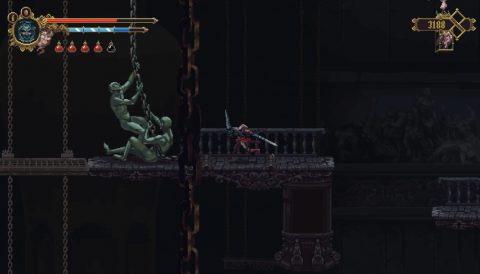
Make your way past the spear-throwing enemies to the bottom. The gate is closed to the right so take the left exit to room #5 where you’ll find Corpse #9.
Go to the left to room #6 and make your way down the ladders. Jump across the ladders to the left while avoiding the fireballs to hit the gate mechanism.
Go through to the right and right again to room #8 with the Fountain. Fill up any empty vessels that you’ve found along the way and head back to room #7.
Make your way down to the very bottom and take the right exit to room #8. There is a Rosary Bead #18 (Scale of Burnished Alabaster) above but you’ll need to head to the right first, climb up the ladder and jump back over the ledges to reach it.
Head back to the right and use the blood sand ledges to reach the exit to the right. Pass through the Desecrated Cistern lift and enter room #10.
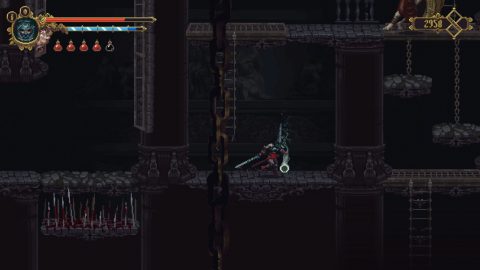
Carefully make your way through the tunnel, dodging past the fireballs and enter room #11. First climb up the ladder to the Shrine and to the left for the Teleporter.
Then climb back down and drop all the way down to take the lower exit to the right. This leads to the Mourning and Havoc area.
Mourning and Havoc
Run all the way to the right, passing through 3 rooms, until you see the Gold Chest. Open it to find Prayer #4 (Return to Port). You can use this to return to the last Shrine. Make your way back to Room 3 in Jondo.
Jondo
From the center of room #3 drop down on the left side and take the ladder down to room #9. Drop down while avoiding or killing the Martyrs on the side platforms, then slide under the pillar at the bottom for Collectible #21 (Vertebra of John).
Take the exit to room #10 at the bottom left. Climb up the walls on the left as high as you can go. Take out the bell ringer at the top and drop down one ledge for the Empty Bile Vessel #4.
Jump to the climbable wall on the right, drop down and jump across to the left to pull the lever. Ride the platform up to the top and take the exit to the left to room #11 with the Bile Fountain.
Head back and take the ladder up to room #12. Make your way across the platforms to the left. Ring the moving bell so that the sound hits the gate mechanism. Then climb up and around to the Second Tether Statue.
Climb up the ladder and slide under the pillar to take the exit to the left, room #13. Use the two levers to arrange the moving bells so that they can trigger the gate mechanism.
The lever on the right stops the bell on the right. Pull the left lever once and keep the left bell moving. The right bell will need to be high enough to trigger the next bell but low enough that you can jump up and hit it. Time your strike so that all the bells are triggered and the gate opens.
Go through for a silver chest. Inside you’ll find a Knot of Rosary Rope #2. Head back and climb up the ladder to room #14. Climb up the breakable ledges to the top left. Jump and swip upwards to free Child of Moonlight #13.
Take the ladder up to the Mountains of Endless Dusk.
Mountains of the Endless Dusk
Pull the lever to activate the platforms. Ride the first one along to the right and jump up for Child of Moonlight #14.
Jump to the next platform and then onto the center ledge. Use the blood sand to jump up to the higher platform with the Empty Bile Vessel #5.
Ride the next platform along to Redento. He’ll thank you for activating the platforms and give you Rosary Bead #19 (Fourth Toe of Limestone). Ride the platforms back to the left. Climb up the wall and take the exit to the left.
Drop down and dodge past the Charging Knells. In the center you’ll find Medicinal Herb #4 (Dried Clove).
Take the exit to the left to the next Shrine, then enter the building.
Brotherhood of Silent Sorrow
In this building there are a series of rooms as you make your way up. The first room to the left has the Mea Culpa Altar #3.
The room above has the Teleporter, and in the room above that you’ll find NPC Soledad where you can add knots to your rosary rope.
Climb up the ladder to the top. Redento will be waiting for you, stuck once more, and a Confessor Statue is in the room to the left.
Go through the door next to Redento and make your way through this building. There are no enemies, just traps and spikes. At the end you’ll find Collectible #22 (Metatarsus of Rikusyo).
Go out through the door to find the Rosary Bead Blue Wax Upgrade. Break the rocks to the left to let Redento continue on his way.
Break the mechanism to lower the ladder and either run back or take the teleporter back to Albero.
Albero
Give the medicinal herbs to Tirso, the rosemary and the dried clove. He’ll give you Tears as a reward. Teleport back to the Brotherhood of Silent Sorrow.
Jondo
Retrace your steps back to the center of room #3 in Jondo. There is a shortcut by taking the top right exit in room #14 and pulling the lever to activate the lift.
Ring the bell above the statue to activate the giant bell. It breaks the central platform and you’ll drop down to Grievance Ascends.
Next: Part 8: Grievance Ascends
Back: Part 6: Mountains of the Endless Dusk