Part 12: Mother of Mothers
Back to Blasphemous
Mother of Mothers
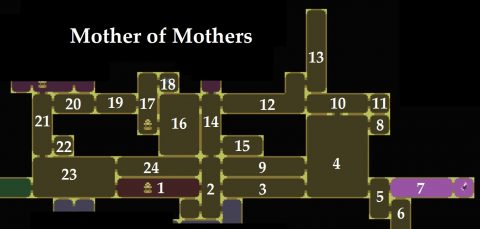
From the Shrine at the lower end of Mother of Mothers (room #1), head to the right all the way past room #2 and #3 and into room #4.
Continue through to room #5 and then to the lift in room #6. This leads down to a Teleporter and the Mourning and Havoc area. You may want to visit the teleporter room so you can get back easily.
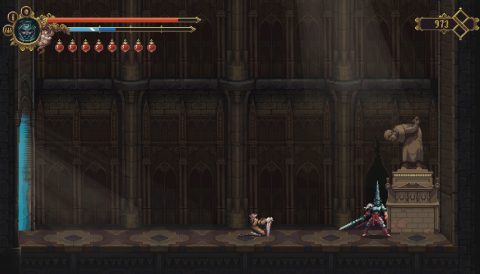
take the ladder up and head into room #7 where you’ll find Miriam from Bloodstained: Ritual of the Night.

The glass has been shattered so she asks you to find the 5 shards. You’ll automatically follow her to the right to find the first Portal. Go inside and navigate through the dungeon to find the First Shard. The dungeons will get increasingly difficult.
Go back to room #4 and climb up the ladder on the right side. Head all the way up the stairs to the top right and break the wall to the right to find a Bile Fountain (room #8).
Make your way along the top ledge to the left. Ignore the ladder up for now. Instead head all the way to the left for the Rosary Bead #27 (Consecrated Amethyst).
Drop down and slide under the wall in the middle. Jump across the blood sand platforms in the center of the room to make your way to Collectible #31 (Trapezoid of Yeager).
Go back to the left, drop down and use the lever to lower the ladder to open the shortcut. Take the exit to the left to room #9.
Continue through the hallway to the top of room #2. Drop down and lower the ladder to make a shortcut. Then jump across for the Corpse.
The upper exit to the left takes you to a dead-end until we open up the shortcut from above. Instead head back into room #4 and take the ladder up to room #10.
In room #11 to the right you’ll find Redento once more. Equip all the Limestone Toe Beads that he’s given you along the way. There should be 3 of them. Once equipped the statue will move out of the way revealing a secret entrance.
Go inside for Relic #6 (Nail Uprooted From Dirt). If you’ve been following this walkthrough this is the final relic. Leave and enter again. You’ll find Redento’s corpse on the ground along with Knot of Rosary Rope #4.
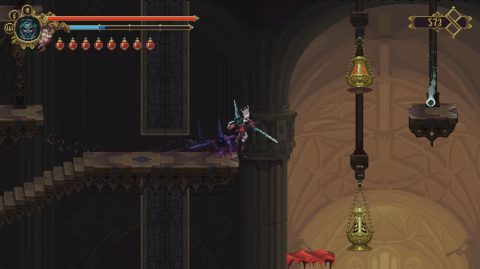
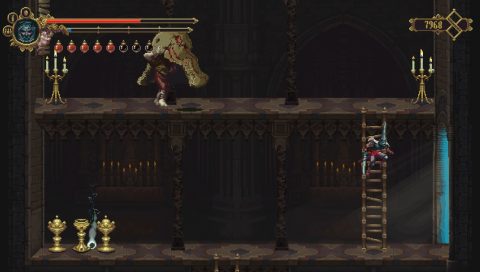
Go back to room #10 and all the way to room #12 where you’ll find a Corpse at the entrance. A giant censer will be swinging backwards and forwards.
Make sure you duck under it. In the center are blood sand ledges. Wait for the censer to swing past and quickly make your way up. Jump over the censer at the top and continue to the exit to the top right.
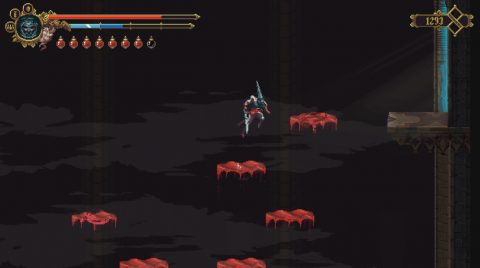
Now make your way up the next shaft while avoiding the censer. This time it’s a bit trickier. At the very top you’ll find Mea Culpa Heart #5 (Smoking Heart of Incense).

Drop down, head back through room #12 and into room #14. Drop immediately down on the right side for Collectible #32 (Trapezium of Jeremiah).
Climb up and drop down on the left side. Lower down the lader for the shortcut and then take the lower exit to the right to room #15. Inside you’ll find Cleofas and Socorro.
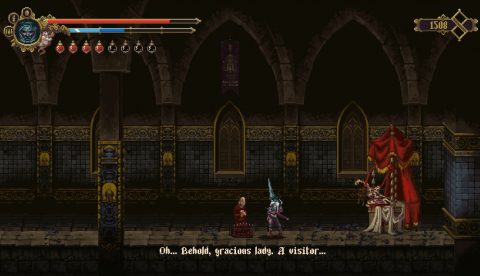
You can choose to put Soccoro out her misery right now but then you’ll miss out on a collectible later.
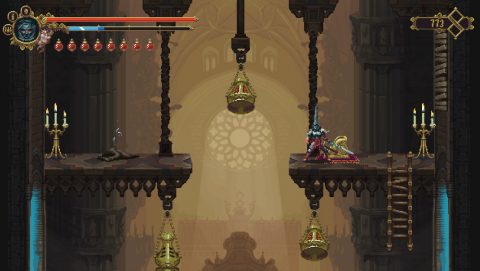
For now leave them alone and head over to the top left exit in the previous room which takes you to room #16. Use a ranged attack to take out Child of Moonlight #25.
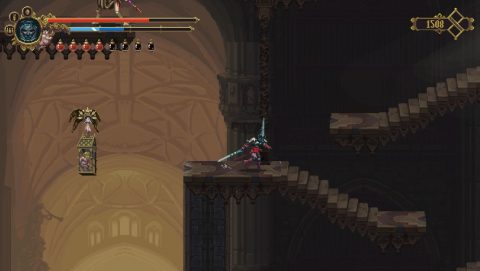
Drop all the way down and head to the left for Collectible #33 (Femur of Karpow). Climb back up to the center and jump across to the left. You can make your way around clockwise to the Corpse above the entrance if you want, then take the exit to the left to room #17 where you’ll find the Shrine.
Climb up and take the exit to the top right (room #18) for the Mea Culpa Altar #5. Head back and take the exit to the left for the boss fight.
Melquíades Boss Fight
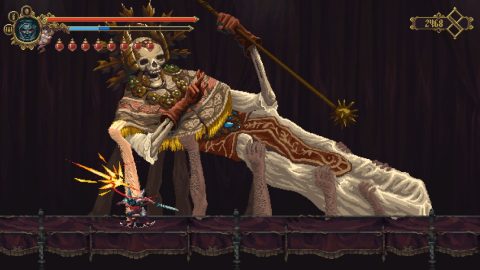
The Melquiades boss is fairly straightforward if you use your ranged attack to take out the arms holding him up. When he drops down move in for as many strikes as you can.
Watch out for the spear attacks and the pillars of light that form afterwards, then continue attacking the arms and repeat the process. Once the boss has been defeated head into the next room for Mask #2 (Deformed Mask of Orestes).
Head to the left to room #21 and pull the lever to lower the ladder and open up the shortcut. First drop all the way down until you find Collectible #34 (Coxal of June).
In the room to the right you’ll find a Confessor Statue. Go back and make your way up room #21 to the very top where you’ll find the Shrine in the Archcathedral Rooftops.
Next: Part 13: Retracing Our Steps
Back: Part 11: The Sleeping Canvases