Part 8: Grievance Ascends
Back to Blasphemous
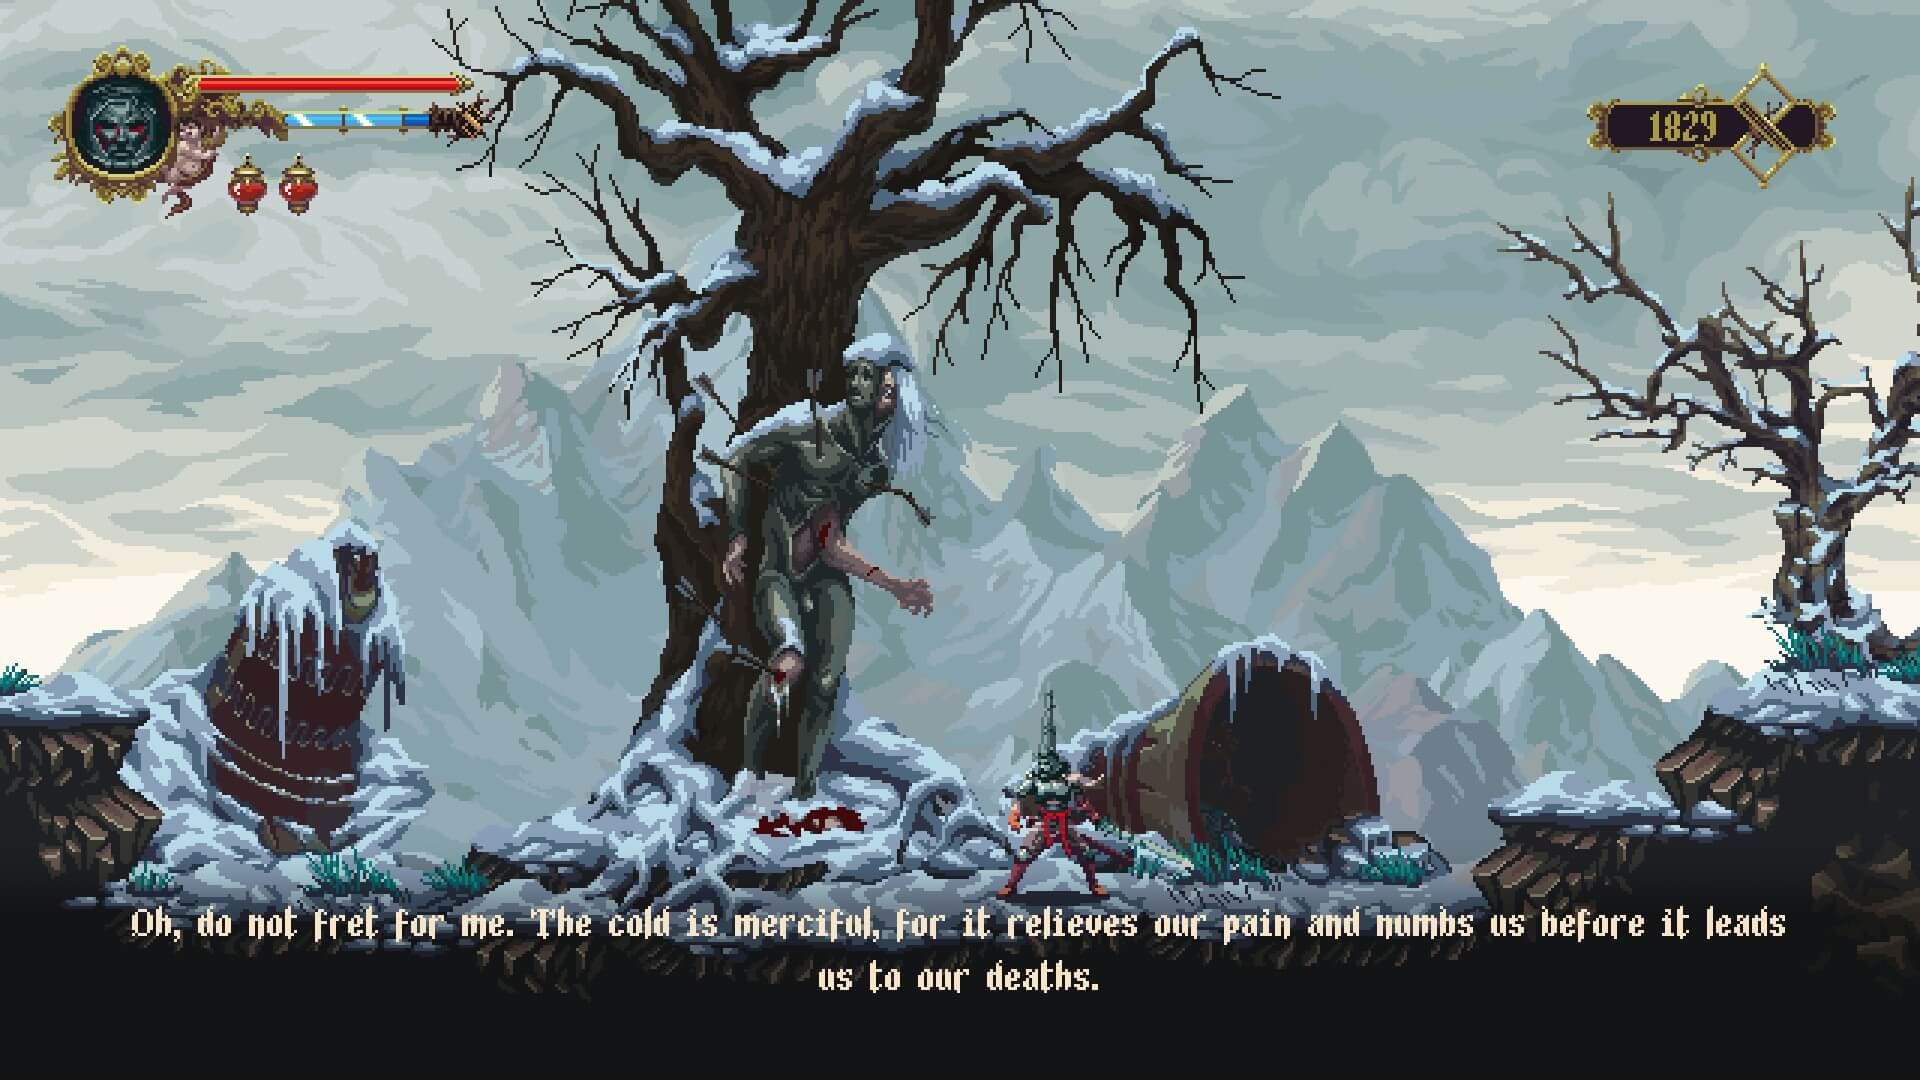
Grievance Ascends
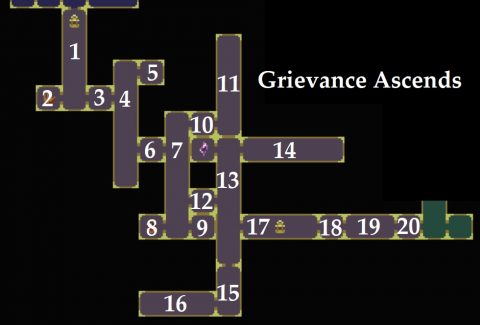
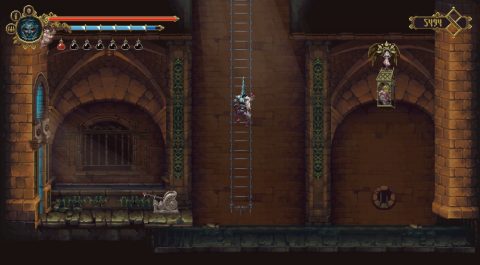
Drop down to the left to find Corpse #10. Continue down and take the lower left exit to unlock the teleporter. Then go back and take the exit to the lower right.
In room #2 that gates will close, locking you in. Take out the Wraiths as they spawn to open the gates.
Take the right exit to room #3 and climb up the ledges to room #4 where you’ll find the Confessor Statue, room #5. Go back and drop down while avoiding the poisonous mists. You’ll spot a Knot of Rosary Rope in the mist but you can’t pick it up just yet. Instead take the exit to the right to room #6.
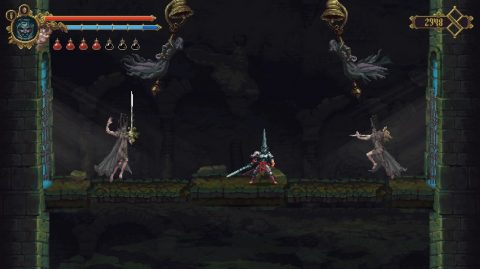
You’ll have another mini arena battle, this time with the Tizona. They only appear just as they attack and lunge at you with a rapier before disappearing again. Try to parry, or jump over them as they attack.
Take the exit to room #7 and make your way down to the very bottom. Take the exit to the left first for the Bile Fountain, room #8. Then jump across the blood sand ledges to the right for the Oil of Pilgrims #3, room #9.
Now that you have full health and fervour make your way up to the very top of room #7 and take the exit to room #10. This is by far the worst arena battle and you’ll be attacked by multiple Wraiths and Tizona while standing on a breakable floor.
Go to the right and climb all the way to the top of room #11. You’ll find Child of Moonlight #15 and also a gold case where you’ll find Relic #3 (Silvered Lung of Dolphos) inside.
You can use this relic to make yourself immune from the poisonous mists. Drop all the way down and pick up Collectible #23 (Frontal of Martinus) in the mist at the bottom.
Now that you’re immune to the mist make your way back to the bottom of room #4 where you’ll find Knot of Rosary Rope #3.
Go back through room #7 and then into room #12 on the right. Climb up to the top and make your way through room #13 all the way to the right. At the end you’ll find Rebirth Item #3 (Melted Golden Coins).

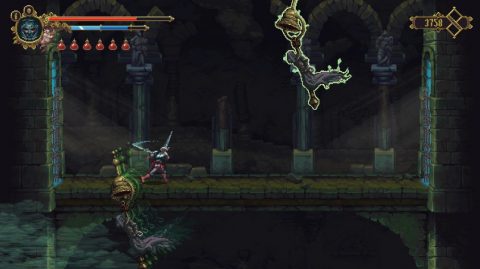
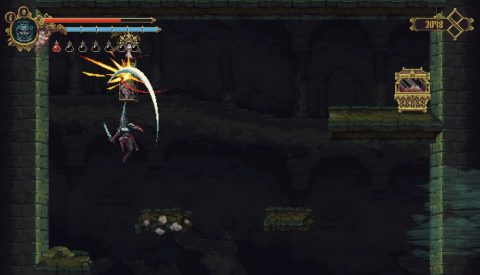
Child of Moonlight #16 is just above. Use Prayer #1 to send blue fire up the wall to release it.
Head back and drop all the way down to room #15. You’ll spot another Child of Moonlight along the way but you can’t reach it just yet.
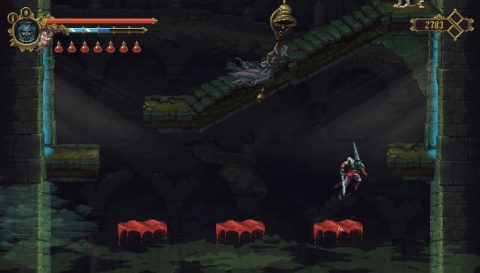
Go through to room #16 and offer 3 gifts at the bowls, the Melted Gold Coins, the Torn Bridal Ribbon and the Black Grieving Veil. Altasgracias will arise and give you the Egg of Deformity.
Climb back up room #13 and take the exit to the Shrine in room #17. Once again Viridiana will offer to help you with the next boss fight. Assent and head into room #18.
Tres Angustias Boss Fight
This boss fight takes place in a small room and you’ll need to keep climbing higher to avoid the fire.
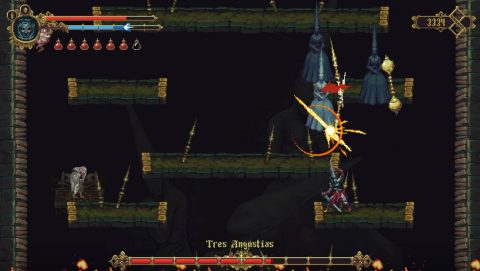
The boss is split into 3 smaller creatures who will throw spears at you. Occasionally they’ll come together into one larger being and a pink laser will shoot out above and below. This is pretty easy to avoid if you just stay on the other side of the screen.
Keep climbing up the ledges as you get in as many hits as you can. Use the climbable side walls to make getting up easier. Once the boss has been defeated wait around for Viridiana to talk to you.
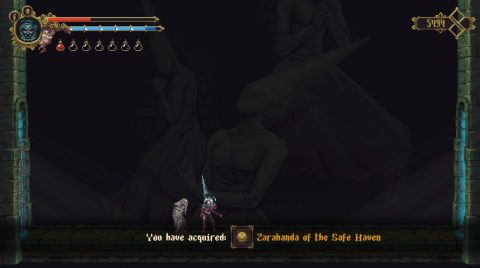
If you’ve asked for her help for 3 times she’ll give you Prayer #5 (Zarabanda of the Safe Haven), then she’ll die.
Head to the right to enter the dream world and you’ll be given the Holy Wound of Contrition. If you’ve been following this walkthrough then this will be the third wound and the gate at the end of the Bridge of the Three Calvaries will now be open.
Head to the right to meet Deogracias again. Then right again to activate the lift in the Desecrated Cistern.
Desecrated Cistern
First head across to the right for Our Lady of the Six Sorrows #3 (Health Upgrade). Then go back and take the lift up. Head right and pull the lever to lower down the ladder. Jump across to free Child of Moonlight #17.
Climb up the ladder and take the exit to the left.
Mountains of the Endless Dusk
Run across to the left until you find the tree. Give it the Egg of Deformity.
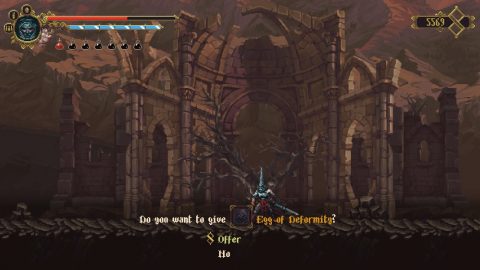
Leave the screen and come back. Check the tree again to find Blessing Item #2 (Hatched Egg of Deformity). Go back to the right to the Desecrated Cistern
Desecrated Cistern
Climb up the ladder and take the left exit to the NPC Nacimento. Give him the Quicksilver, Bile Flask and 1000 Tears and he’ll upgrade your Bile Vessels, making them more potent.

Head back to the right, climb up and take the exit back to Albero.
Albero
Head up to the top and take the left exit to the fountain. Enter the dream world and give the statue the Hatched Egg of Deformity. In return you’ll get Relic #4 (Three Gnarled Tongues). This can be used to create twisted branches so you can reach new places.
Next: Part 9: Patio of the Silent Steps
Back: Part 7: Jondo and Echoes of Salt