Part 1: Brotherhood of the Silent Sorrow, Holy Line and Albero
Back to Blasphemous
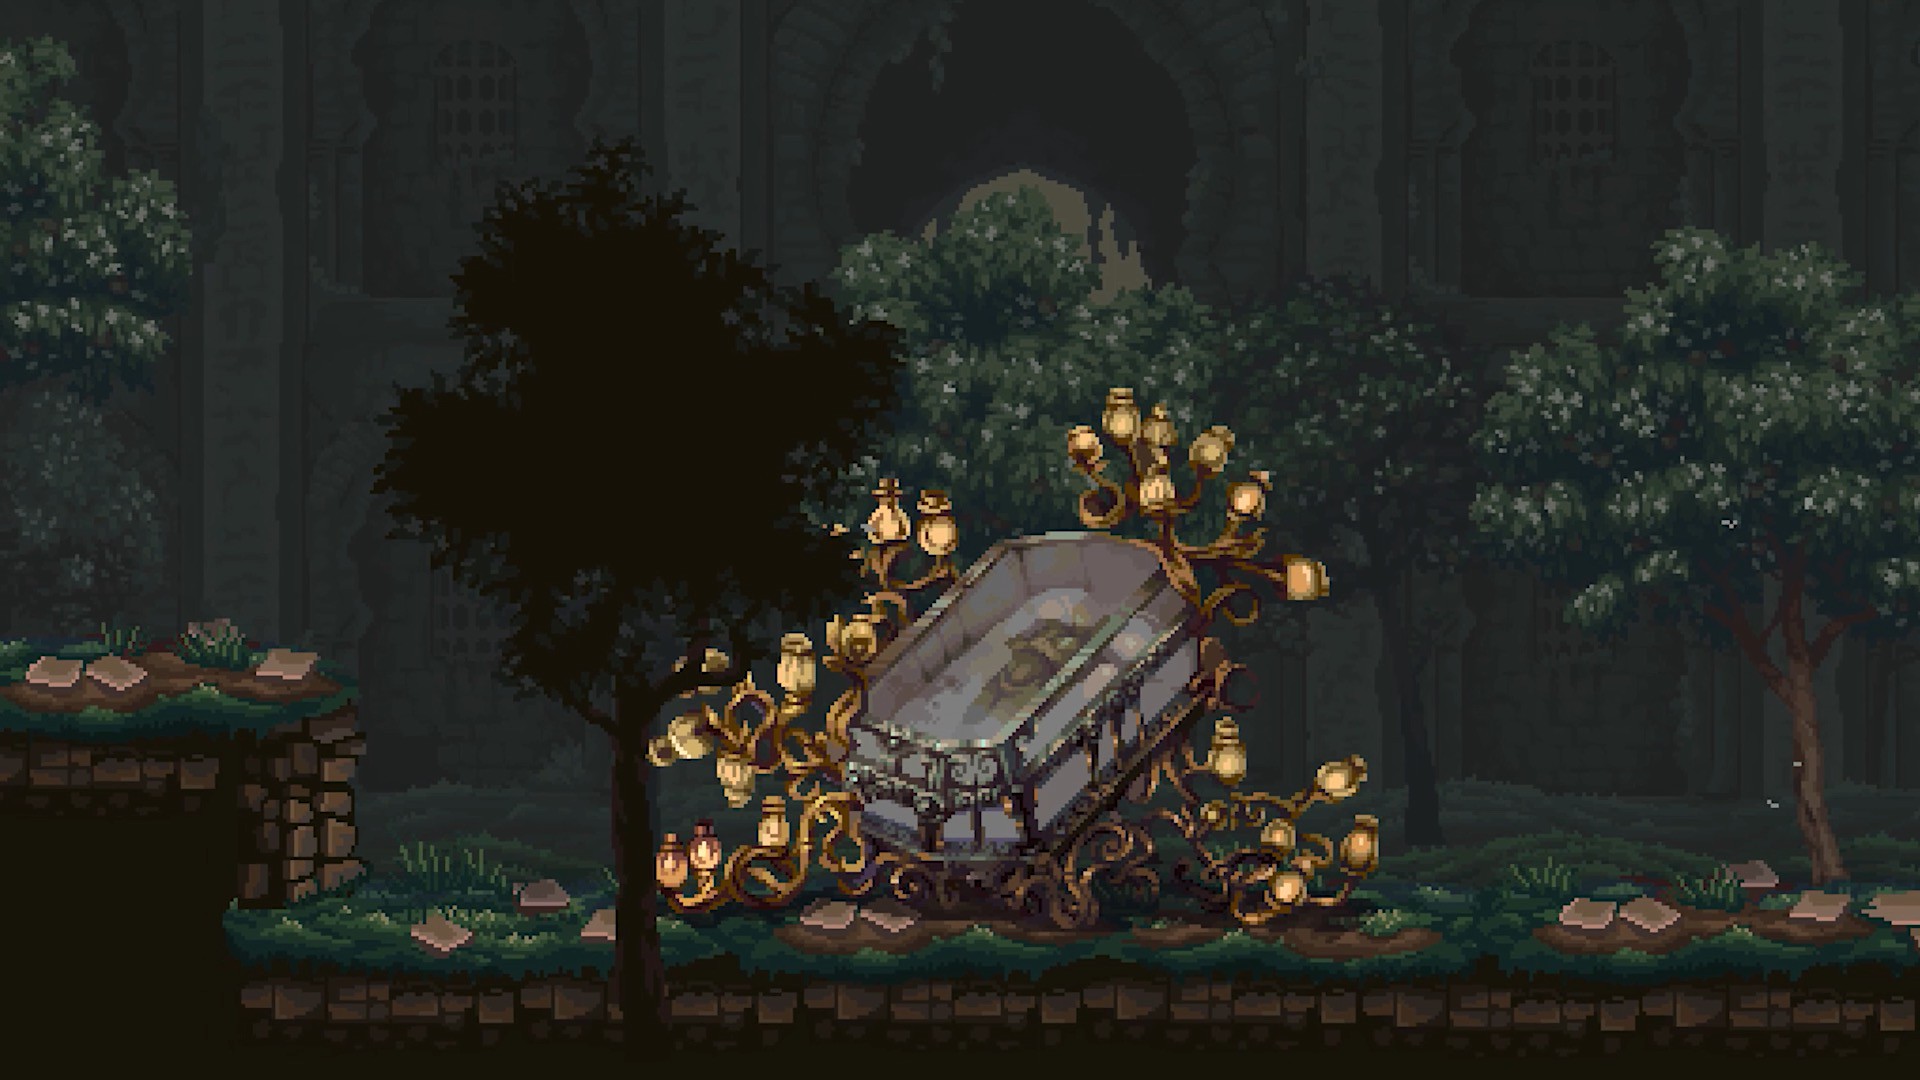
Brotherhood of the Silent Sorrow
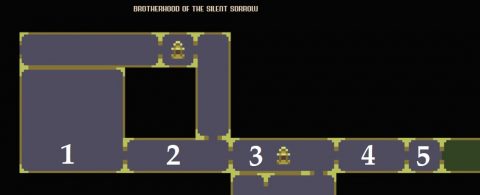
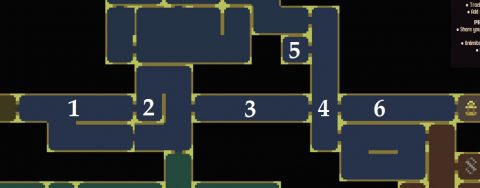
You’ll awaken in the Brotherhood of Silent Sorrow room #1. Make your way through #2 to the Shrine Prie Dieu in #3. In the next room #4 you’ll face your first boss, the Warden of the Silent Sorrow.
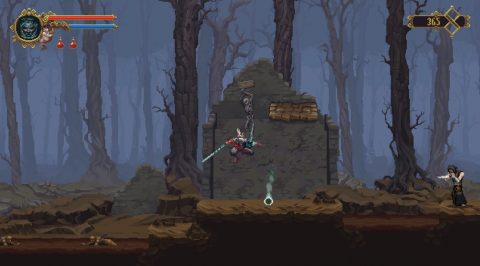
Warden of the Silent Sorrow Boss Fight
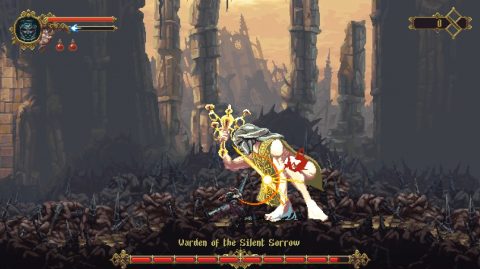
This boss if more of a tutorial and helps you practice your slide dodge. When the Warden attacks slide past him to the other side to get in a few more hits. He’ll jump in the air so slide forwards, turn around and get in a few more hits.
Repeat until the Warden of the Silent Sorrow has been defeated. Beating this boss will unlock the achievement ‘A Long Path Ahead’.
Head to the right to room #5 and you’ll see the Chamber of the Eldest Brother. You’ll need the key to get inside so we’ll come back here later. Break the jar holding the gate mechanism to open the gate and go through to the next area.
The Holy Line
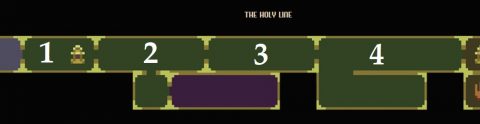
In room #1 you’ll meet Deogracias. After talking to him he’ll give you a quest item, the Thorn. A little further to the right in the same room you’ll find the next Shrine.
Make your way through room #2 and #3 to room #4. You’ll find Prayer #1 (Verdiales of the Forsaken Hamlet) out in the open just past the first mud pool.
Continue to the right and use the prayer in between the two ledges to break the ground below you.
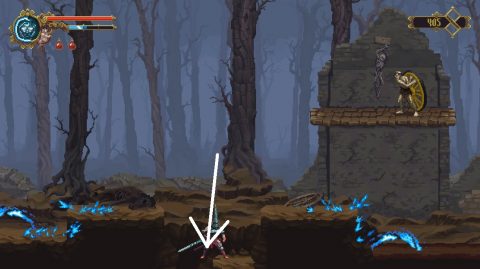
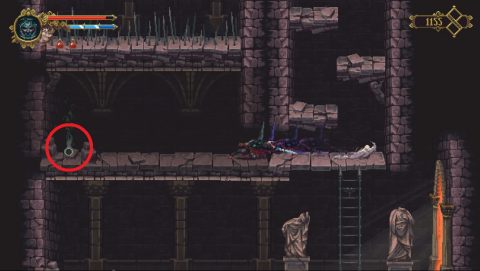
Drop down and go to the left to find Collectible #1 (Clavicle of Dalhuisen). Climb back up and go to the right. Before the reaching the end of this room you’ll find Child of Moonlight #1. Jump on the ledges to break the glass cage and free the child.

Continue to the right to the small village of Albero.
Albero
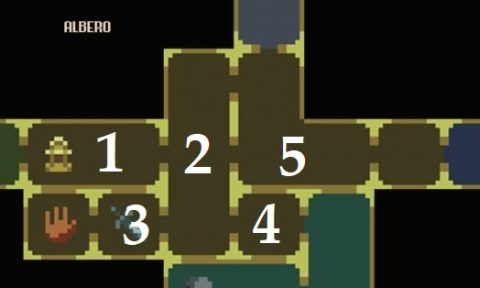
When you first enter this area you’ll come across the Shrine. Continue into the building to the right.
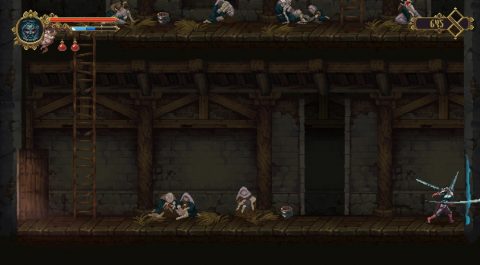
On this level you’ll find a man named Tirso caring for the wounded. You can talk to him and later on bring him ingredients for his work. There are 6 medicinal herbs in total to find.
Climb up the ladder to the top room and you’ll find Rosary Bead #1 (Dove Skull) on the left side. Equipping this rosary bead strengthens your defences.
Head down the ladders to the bottom floor and go to the left into room #3. Inside you’ll find the Mea Culpa Altar #1. From this shrine you can purchase new abilities although you probably won’t have the Tears for them at this early stage.
Go back to room #2 and break the wall on the lower right side.
Go through to room #4 where you’ll find Collectible #2 (Calcaneum of Persian, the Bandit).
The door in the center takes you to the Ossuary where you can meet the caretaker and store your collectibles. If you come back out and head to the left you’ll enter the Desecrated Cistern. We’ll explore that later.
For now head back up the ladders and go to the right, out into the village, room #5. There’s a church here and you can talk to Ludovico through the window. You’ll need to find the Burial Items for him.
Continue to the right to room #6 and you’ll find Collectible #3 (Phalanx of Brannon), on the ground in front of you. Continue to the right to the next area.
Wasteland of the Buried Churches
Make your way over the ledges to the right. The lower area is not accessible until you come back from the left side. Enter into the building to room #2 and make your way up the ladder, across to the right and back down again. Slide through the gap in the wall on the left to find Collectible #4 (Phalanx of Arthur).
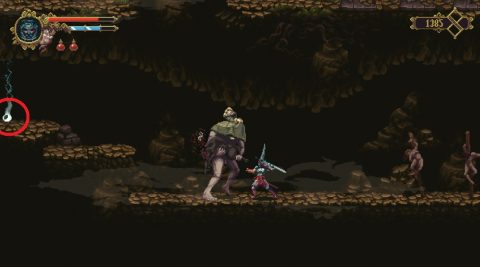
Climb down the ladder and continue down to the lower area. From here head back to the left to the lower section of room #1. Take out the giant (Guardainfante) protecting Rosary Bead #2 (Uvula of Proclamation) and pick it up.
Continue to the left and break the tree over to create a bridge making a shortcut back. Return the way you came to the ladder and take the exit out of the building to room #3.
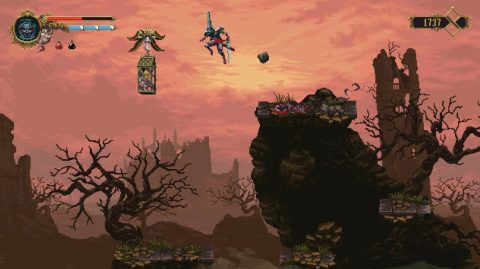
Collectible #5 (Capitate of Barock) will be just outside on a ledge. Jump up to grab it and continue to the right. Jump up the next set of ledges and then jump back to the left for Child of Moonlight #2.
Enter the building to the right, room #4. There are 3 paths to take, up, down and right. Go to the right first and continue all the way past the shrine to the end of the bridge. You’ll meet Deogracias again who’ll tell you that the way forward is blocked until you find the 3 holy visages.
Next: Part 2: Mercy Dreams
Back: Blasphemous Walkthrough