Part 4: Where Olive Trees Wither & Graveyard of the Peaks
Back to Blasphemous
From Albero walk to the right and stop by the church window to drop off the Burial Item #1, Tentudia’s Carnal Remains. You’ll be given 500 tears as a reward.
Continue across to the Wasteland of the Buried Churches, on the east side with the ladder leading up.
Take the ladder up to the ledge, then the next ladder up and jump across the ladders over the spikes to the exit on the left. You’ll find a lady in a gazebo holding Mea Culpa Heart #1 (Heart of Virtuous Pain). Equip this to increase the duration of a parry but also increase recovery time. Leave and climb up to the next level. Take the exit to room #1.
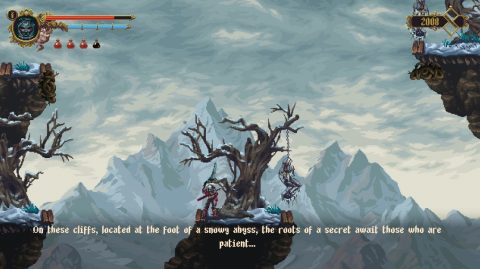
Where Olive Trees Wither
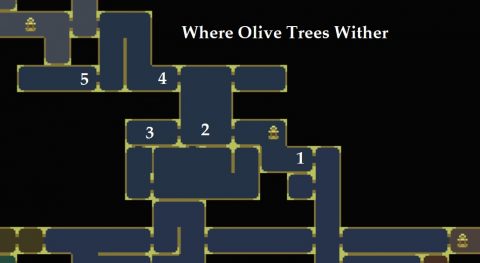
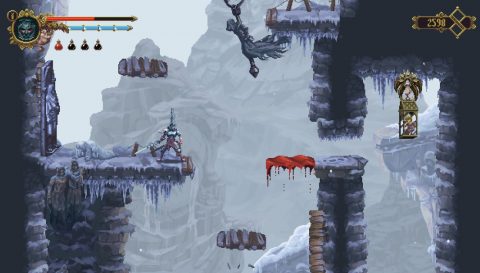
Just inside this area you’ll find Corpse #3. To the left you’ll learn a new ability, wall jumping using your sword. Up the top is the next shrine. Drop down on the other side for Collectible #11 (Radius of Helzer).
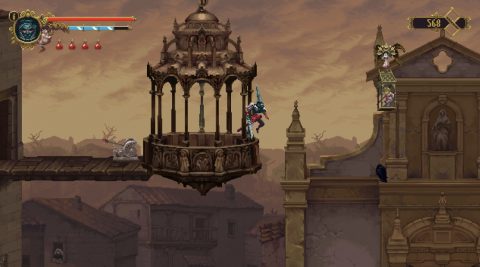
Climb up on the other side to meet Gemino. He’ll give you a Golden Thimble and ask you to fill it with oil and bring it back to him.
Continue into room #2 and walk all the way across into room #3. You’ll find Medicinal Herb #2 (Incense Garlic) on the floor of this cave.
Leave, climb up the cliff and jump across the ledges to the right for Corpse #4. There is a child of moonlight above but you can’t reach it yet.
Climb back up the cliff and take the exit to room #4. Make your way across to the left and up, taking out the enemies along the way if you want. Up the top take a big jump across to grab the wall. Climb up and drop down on the other side.
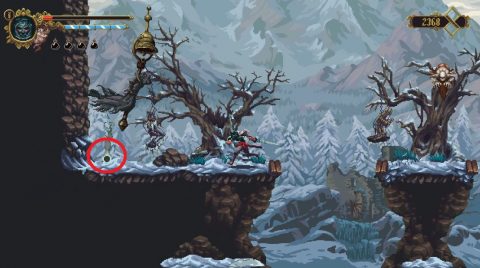
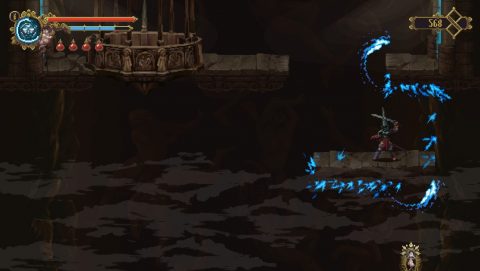
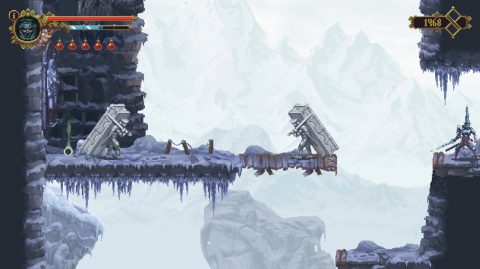
Take the lower left exit to room #5. This is a difficult room to get across so either take your time to conserve your health or quickly dash through to the other side. Once you make it to the far left you’ll find Burial Item #2 (Remains of Tentudia’s Hair).
Head back, climb up the cliff and take the exit at the top right to the Graveyard of the Peaks.
Graveyard of the Peaks
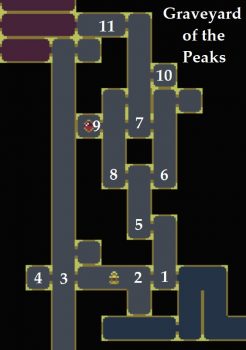
Slide under the wall and go left to room #2. Jump up the blood sand ledges to Child of Moonlight #6.
When you drop down you’ll break the ground beneath you revealing a small cave with Collectible #12 (Anklebone of Weston).
Just to the left you’ll find the Shrine for this area, and a little further along is Candelaria Shop #2. Here you can find:
Rebirth Item #2 (Torn Bridal Ribbon)
Rosary Bead #7 (Bead Calcified Eye of Erudition)
Rosary Bead #8 (Ember of the Holy Cremation)
Head to the left to room #3 with the lift and drop down to the lower ledge. Child of Moonlight #7 is below. You’ll need to use the first prayer to reach it.
Then jump on top of the lift and up to the high ledge on the left for the Knot of Rosary Rope. Drop down and enter room #4. Inside you’ll find the next Confessor Statue and Rosary Bead #9 (Immaculate Bead).
Exit and take the lift down to Albero.
Albero
Now that the lift is here you’ll be able to reach the Child of Moonlight #8.
Then drop off the Burial Item at the window for more tears. Head inside the building and give Tirso the Incense Garlic. That’s all for now so take the lift back up to the Graveyard.
Graveyard of the Peaks
Head back to room #1 and climb up. Along the way you’ll find Corpse #5.
Take the exit up the top into room #5. Make the difficult climb and you can go either to the left or right. Start by going right into room #6.
From here there are two items to grab, Collectible #13 (Occipital of Tequila) on the higher ledge on the right and Empty Bile Vessel #3 on the ledge below it.
You can go up to room #7 here but instead jump back across, go to room #5 and across to the left for the lower section of room #8.
Jump across to the left, take out the restless tomb holding the coffin and jump up to the blood sand ledge above. Slide through the gap and release Child of Moonlight #9.
Climb back up to the top ledge with the broken ladder and talk to Corpse #6. Then go left to room #9 for the Bile Fountain. this is where you can fill up new flasks and recover your health.
Go back and kill the creature on the wall, called a Wakeful Alcove, and use the wall to climb up to the ledge. Jump up and grab Collectible #14 (Parietal Bone of Lasser) guarded by two Restless Tombs.
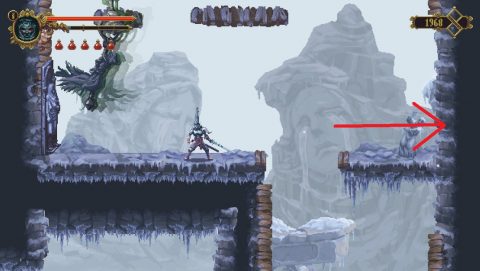
Take the exit to the right to room #7. In this area the wind will blow from left to right and right to left. This will make your jumps either shorter or longer so bear that in mind as you make your way up.
You’ll need to drop down first and re-enter room #8 on the lower ledge. From here you can pick up Rosary Bead #10 (Muted Bell).
Head back then climb up room #7 on the right side. About half way up you’ll be able to break a secret wall behind a statue on the right side.
Inside room #10 you’ll find Oil of Pilgrims #2 to increase your max fervor.
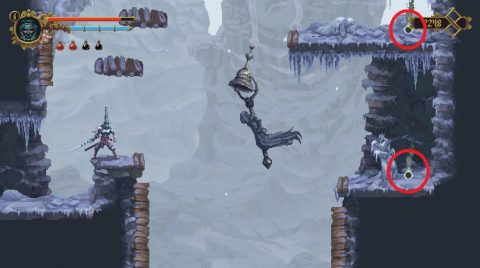
Go back to room #7 and continue your climb up. Once you’ve reached the very top wait for the wind to blow to the right and jump across to the lower ledge for Rosary Bead #11 (Piece of a Tombstone).
Go left to room #11 and then continue on to the Convent of Our Lady of the Charred Visage.
Next: Part 5: Convent of Our Lady
Back: Part 3: Desecrated Cistern