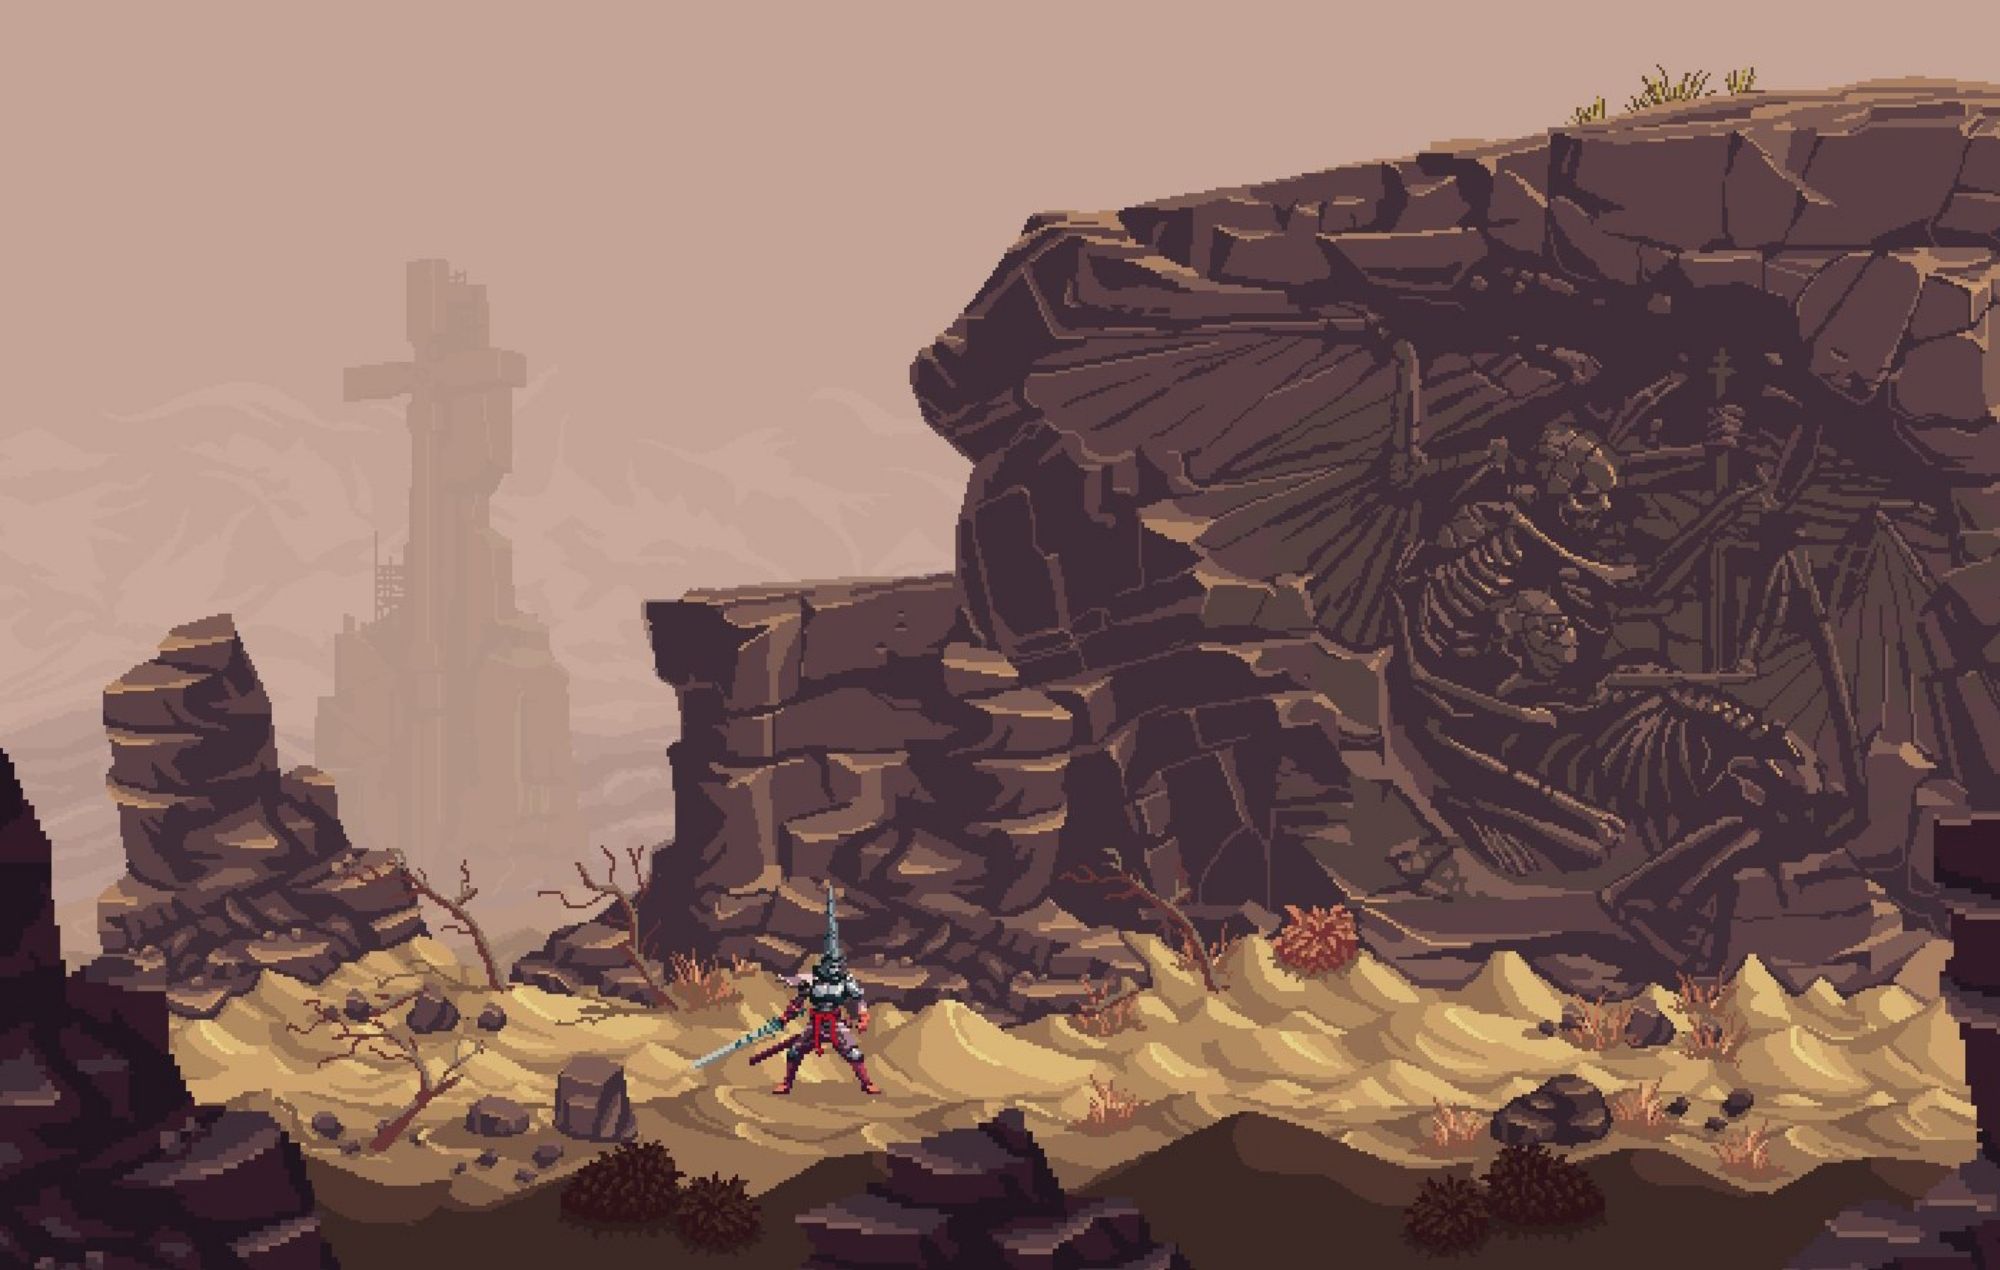
Part 2: Mercy Dreams
Back to Blasphemous
On the eastern side of the Wasteland of the Buried Churches drop down the ladder before you reach the bridge. take the path to the right and make your way across the broken bridge to the other side. The building on the other side takes you to Mercy Dreams.
Mercy Dreams
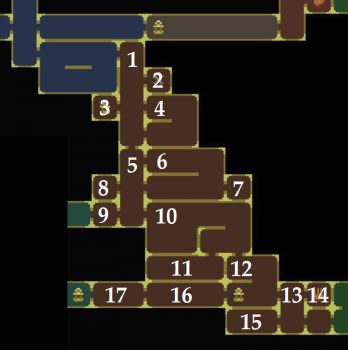
From room #1 head down the stairs and take the first exit to the right for the Confessor Statue. You can pay to have your “guilt” removed. This recovers your fervor if you’ve died and haven’t yet recovered your ghost.
Head back to room #1, drop down and take the next exit to the left for the Shrine. Rest here and then go back and take the exit to the right.
Head as far as you can to the right and smash the wall behind the torch. You’ll find a flagellent guarding Collectible #6 (Maxilla of Tarradax).
Climb down the ladders and make your way past the spikes back around to the left. You’ll end up back at the bottom of room #1. Break the mechanism in the jar to open up the shortcut.
Drop down to room #5. You won’t get far because another gate blocks your path. Instead take the exit to room #6 to the right.
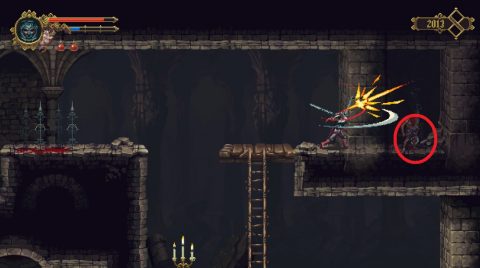
Make your way past the enemies, spikes and fireballs, then climb down the ladder. Take the exit to the right to the small room #7. Inside you’ll find a golden chest with Prayer #2 (Seguiriya To Your Eyes Like Stars). Once you open the chest you’ll be ambushed.
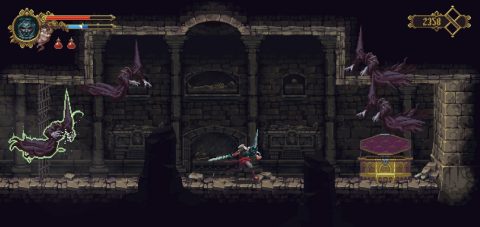
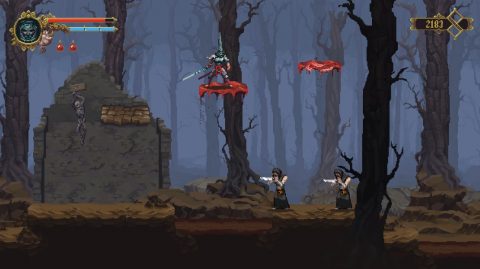
Take out the specters and head back to room #6. Continue along the lower section to the left. Climb the ladder up to reach Child of Moonlight #3, then head back along the ledges to the right for Collectible #7 (Cervical Vertebra of Zicher).
Take the exit to the left back to room #5. Break the gate mechanism to open up the shortcut. Break the wall just below it on the left for a secret room #8. Inside you’ll find Rosary Bead #3 (Small Bead of Red Wax).
Go back to room #5, drop down and go to the left, room #9. This is where you’ll find Candelaria Shop #1. From here you can buy:
Key to the Chamber of the Eldest
Rosary Bead #4 (Hollow Pearl)
Rosary Bead #5 (Moss Preserved In Glass)
If you don’t have money for them now make sure you remember to come back and pick them up.
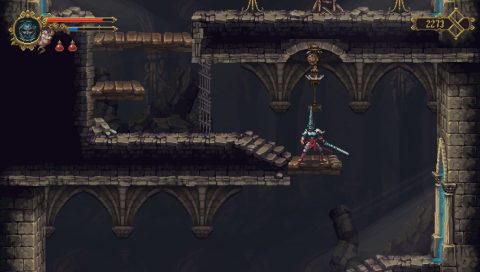
Go back to room #5 and continue right to room #10. From here you’ll need to drop down past the spikes, then make your way around to the right and up. Head right and down to the bottom left corner of room #10.
There is an exit going down but first break the secret wall on the left side by the candles.
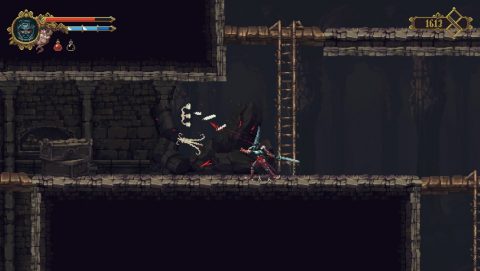
Take this exit down to room #11 and fight your way past the enemies to the left. At the end of this room you’ll find Empty Bile Vessel #1. The gate opens once you defeat the enemies.
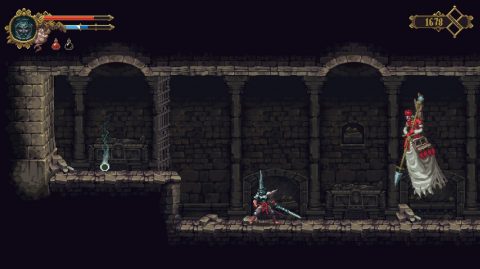
Head back to room #10 and take the other exit down to room #12. Walk to the right to find Virdiana. She’ll assist you in some of the boss fights if you “assent”. She can only help out 3 times and will get weaker each time.
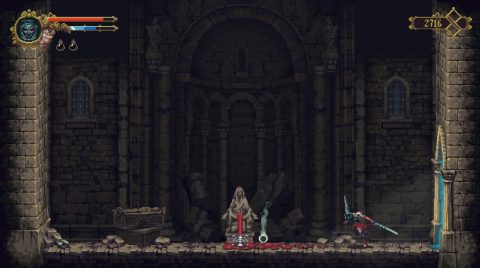
Drop down to the Shrine. The boss battle is to the left, room #16, but first go to the right to room #13. Go right again to room #14 to find the first Teleporter. From here you can fast travel back to Albero.
Before activating the teleporter climb down the ladder in room #13 and take the exit to the left to room #15. Navigate your way past the fireballs to the end of the corridor for Collectible #8 (Pisiform of Hernandez).
Go back to the teleporter and take it to Albero. You’ll teleport to a previously inaccessible room in the bottom left of the town.
Albero
When you enter this fast travel room you’ll see Medicinal Herb #1 (Bouquet of Thyme) just on the left. Break the gate mechanism and go right twice. Climb up the ladders to see Tirso. Give Tirso the Bouquet of Thyme and he’ll give you Blessing Item #1 (Linen Cloth).
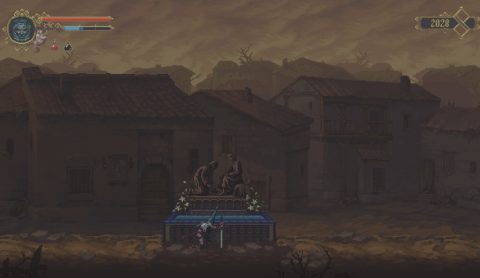
Walk left to the fountain and interact with it to be taken to a dream world.
In the dream world run across to the right to the giant statue and give it the Linen Cloth. In return you’ll be given Relic #1 (Shroud of Present Sins). Equip this relic to listen to corpses.
Return through the fountain to the ordinary world. Head through to the right side of the townhouse and speak with Corpse #1 by the church.
Brotherhood and Holy Line
From here head all the way back to the left, past The Holy Line and into the Brotherhood of Silent Sorrow. Open the door to the Chamber of the Elder Brother using the key you purchased in the first Candelaria Shop. Inside you’ll find a chest. Break the glass to find Relic #2 (Blood Perpetuated in Sand). Activate this relic to see blood sand ledges allowing you to reach new areas.
Head back to the right to The Holy Line and halfway back you’ll see the blood sand ledges. Jump up them.
They’ll lead you over to Rosary Bead #6 (Painted Wood Bead) on an ordinary ledge.
Wasteland of the Buried Churches
Instead of taking the teleporter back to Mercy Dreams go back the entrance the normal way in the Wasteland of the Buried Churches. This is the room just before room #1 of Mercy Dreams.
Now that you have the Blood Perpetuated in Sand relic you can drop down on the gap on the western side of the bridge. Jump across the lower ledges to the right, then the blood sand ledges to Burial Item #1 (Tentudia’s Carnal Remains).
Mercy Dreams
Enter Mercy Dreams and make your way back to the shrine in room #12. From here take the exit to room #16 to the left and get ready for a boss fight.
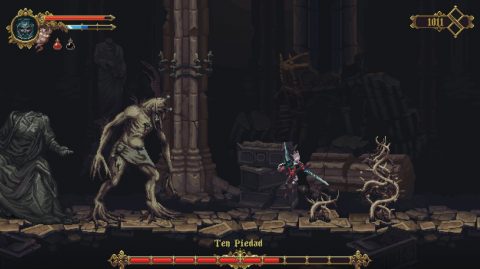
Ten Piedad Boss Fight
This is a fairly difficult boss fight and Ten Piedad has a few different attacks. If you’re far away he’ll slam the ground and send thorny vines up from the ground. When close he’ll swipe or or try to stamp on you. He’ll also throw out large seeds that sprout thorns. You can attack them to remove them.
After the fight head to the left. You’ll enter the dream world. Walk to the right and you’ll be given the Holy Wound of Attrition. This is one of three items you need to cross the bridge.
Head to the left to enter the Desecrated Cistern and meet Deogracias again.
Next: Part 3: Desecrated Cistern
Back: Part 1: Brotherhood, Albero