
Part 13: Retracing Our Steps
Back to Blasphemous
Retracing Our Steps
Before continuing with the main story we’ll head back through most of the previous areas to pick up all the collectibles. Now that we have all but one of the relics there’ll be nothing stopping us from accessing all locations. You’ll need to change relics from time to time as only 3 relics can be equipped simultaneously.
Brotherhood of the Silent Sorrow
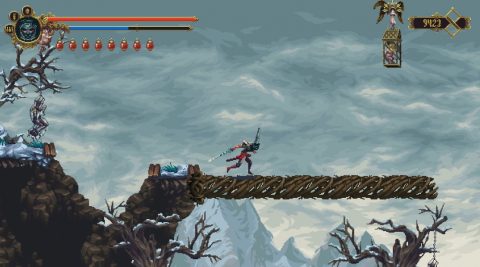
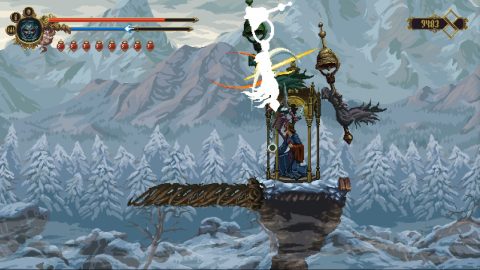
Go back to where we began in the Brotherhood of the Silent Sorrow and visit Soledad above the Teleporter to add Knots to your Rosary Rope.
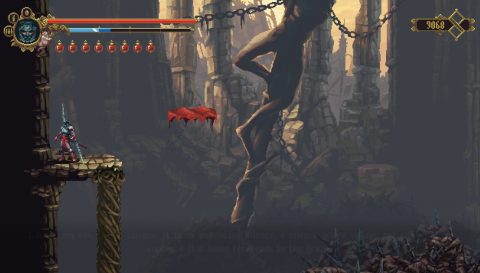
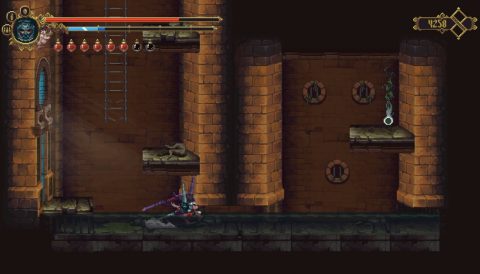
Climb up to the Shrine and go all the way back to the left as far as you can. Climb up the gnarled root to the Corpse, then jump up the blood sand platforms for Child of Moonlight #26.
Head back to the right and climb up the blood sand ledges in the room just before the Shrine.
Continue up the blood sand ledges in the next room and take the top left exit for the Shrine. Go left for a Corpse and jump across the blood sand ledges for Prayer #9 (Tirana of the Celestial Bastion).

The Holy Line
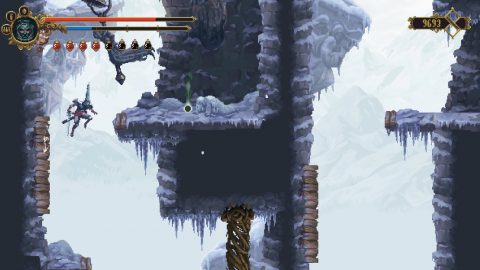
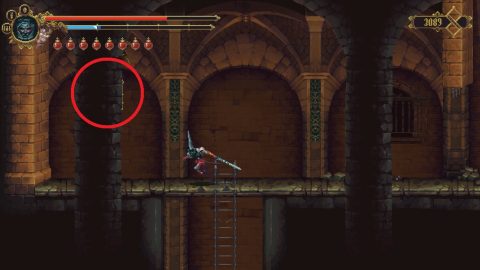
Drop down and head back to the right to The Holy Line. Look for the dip in the ground with rocks, one screen to the right of the Shrine. Do a downward smash to break it open and drop down to the cave below. Head to the right for a Corpse and Quicksilver.
Climb back and head to the right. Drop down the next cave entrance which should be one screen before Albero. Equip both the blood sand relic and the Nail so that you can move freely in mud. Jump across to the silver chest for Knot of Rosary Rope #6.
Albero
Go back to Albero and speak with the man in the window at the church. Because you’ve met Cleofas he’ll give you the Cord of the True Burying. You’ll need to give this to Cleofas later.
Wasteland of the Buried Churches
Head over to the Wasteland and enter the room under the entrance to Where Olive Trees Wither. There’s Child of Moonlight #27 that you couldn’t reach before.
Jump and use a ranged attack to reach it. Now go back up to Where Olive Trees Wither.
Where Olive Trees Wither
Make your way across to the left and up the side of the cliff. Instead of taking the left exit jump to the right and use the gnarled root to make it across to Child of Moonlight #28.
Jump to the right and take the top exit into the next room. Take out the Wraiths and then wait for the gnarled root so you can make it over to the gazebo with Mea Culpa Heart #6 (Heart of Cerulean Incense).
Graveyard of the Peaks
Continue up and to the left until you reach the Graveyard of the Peaks. Climb up and take the exit up the top to the left. Climb up and use the Prayer (Taranto to My Sister) to free Child of Moonlight #29 above.

Go to the room to the right and climb up using the blood sand and gnarled roots. Up the top on the left side you’ll find Burial Item #3 (Tentudia’s Skeletal Remains).
Drop down and make your way to the Convent.
Convent of Our Lady of the Charred Visage
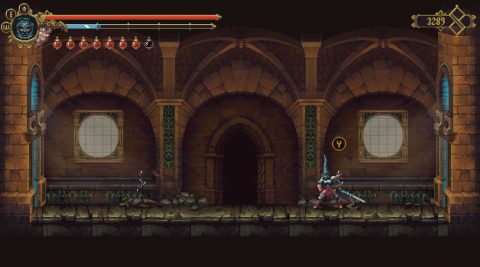
From the Shrine near the entrance drop down and take the exit to the bottom left. Make sure you have the Silvered Lung equipped so you can get through the poisonous mist. At the end of the room you’ll find Mea Culpa Heart #7 (Heart of Saltpeter Blood).
Albero
Return to Albero and speak with Lucido at the church window. Now that you have given him all 3 burial remains he’ll reward you with Prayer #10 (Debla of the Lights).
Jondo
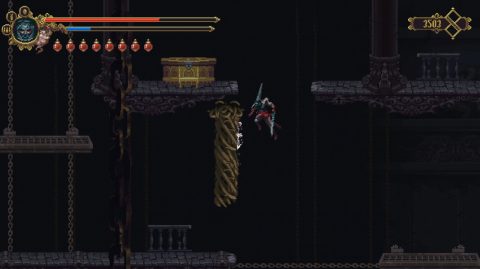
Make your way over to Jondo and take either entrance on the western or eastern side. Enter the room to the top left, kill all the enemies and ride the platform down. The twisted root should appear. Jump over it for Rosary Bead #28 (Pelican Effigy).

In the entrance room on the eastern side where you first entered Jondo ride the platform across to the left. A twisted root should appear. Climb up it to the golden chest. Inside you’ll find Prayer #11 (Solea of Excommunication).
Drop down the center of Jondo into Grievance Ascends.
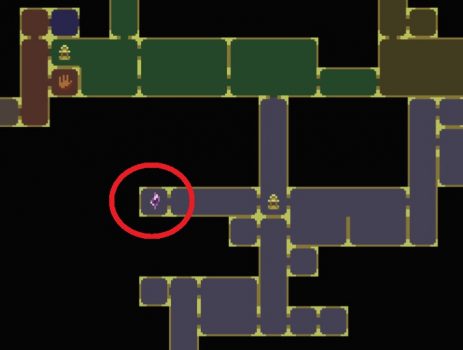
Grievance Ascends
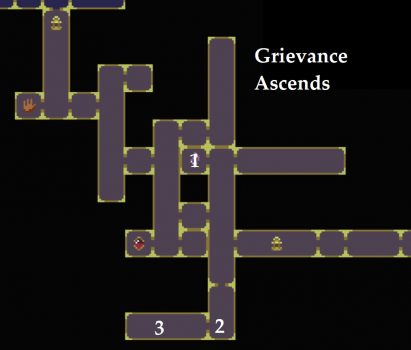
Make your way through this area and climb up the room to the right of room #1 show on the map above. Break the secret wall at the top and enter the Portal #2 to continue Miriam’s Quest.
The dungeons will get progressively more difficult as you go along. This time you have 2 minutes to complete the dungeon but it’s the spikes that will cause the main concern. After completing the dungeon you’ll be rewarded with Shard #2.
Drop down to room #2 where you’ll find Child of Moonlight #30 under the stairs. Use the twisted root to climb up to it or use a Prayer. Then head left into room #3 for Rosary Bead #29 (Knot of hair) where you first met Altasgracias.
Desecrated Cistern
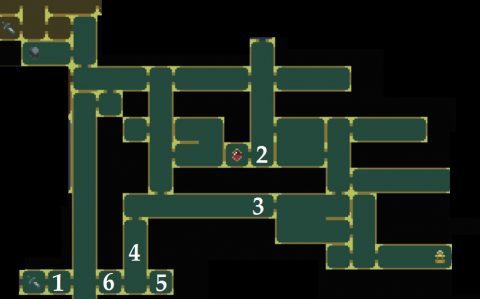
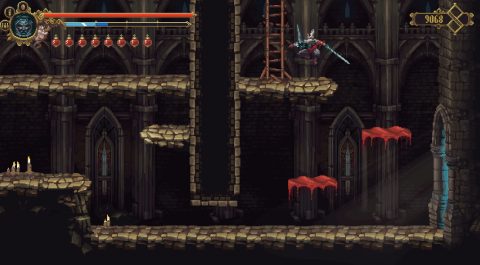
Take the lift up in the south section of the Desecrated Cistern. Make sure you have the Linen of Golden Thread equipped and jump off the left side. You’ll see Child of Moonlight #31 hovering over on the right side.
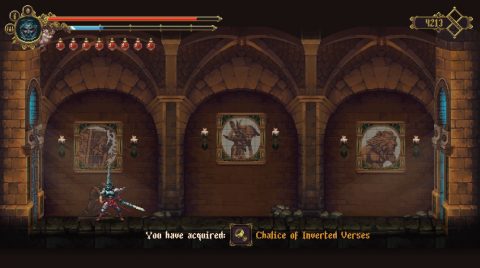
Drop down to the ledge below and enter the room to the left (room #1) using the twisted roots. This is the chalice room. Grab the Chalice of Inverted Verses from the statue. You’ll need to fill it up with the blood of the three enemies shown on the wall without dying or teleporting.
We don’t have access to one of the creatures yet so we’ll come back here later.
Navigate through the Desecrated Cistern to the bottom of room #2. Slide under the wall and have the nail relic equipped so you can jump up to Blessing Item #3 (Severed Hand).
Equip the Silverd Lung relic and enter room #3 with the poisonous mist. Pull the lever in the center of the room to open up the gates giving you quicker access to the ladder up. Continue to the left to find Child of Moonlight #32 hiding behind a pillar.
Climb down the ladder and drop down to the bottom of room #4. Take the door to the right to room #5 for Collectible #35 (Hyoid Bone of Senex).
Then go back and take the door to the left to room #6. There are 2 Corpses, one on either side of the room. The one on the right says “Half do not return…” The one on the left says “Everyone passes…”
Walk to the left and break the mechanism to open the shortcut. Enter back into the puzzle room. The frame on the left side will have a number 1 on it.
Pass in and out 4 times on the left side and twice on the right. A secret door will open in the center.
Go inside for Rosary Bead #30 (Silver Grape). This bead enhances your defences and is a good bead to keep equipped.
Albero
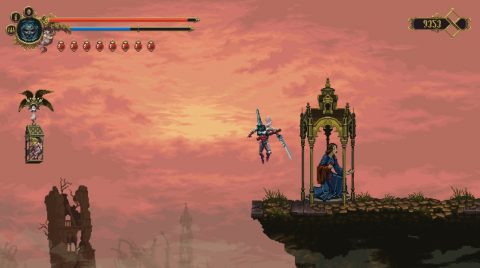
Return to Albero and enter the dream world through the fountain. Give the statue the Severed Hand and you’ll be given the final relice, Relic #7 (Incorrupt Hand of the Fraternal Master).
Library of Negated Words
Enter back into the Library just under the Patio and head to the left where you found the Amber Eye Rosary Bead. Break the wall to the left to find the next Portal.
This one will be even more difficult and may take you some time to figure out. Once you complete it you’ll find Shard #3 for Miriam’s Quest.
Once you’re done collecting items make your way back up to the entrance to the Archcathedral Rooftops.
Next: Part 14: Archcathedral Rooftops
Back: Part 12: Mother of Mothers
