Part 1 – City of the Blessed Name
Back to Blasphemous 2
Repose of the Silent One

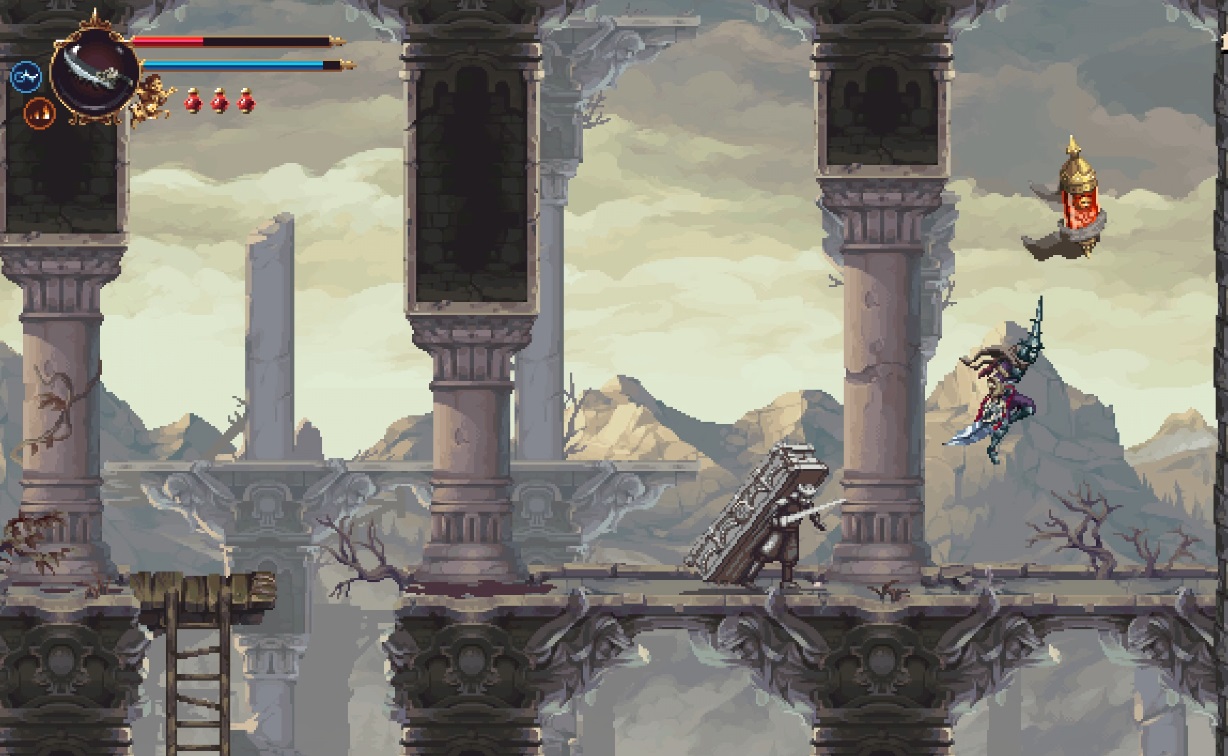
After the cutscene you’ll emerge from the coffin at (1). You can come back here later to find a Hidden Symbol but for now head to the right to choose your weapon (2).

You can practice with the weapon by attacking the spirit to the right. You’ll find all the weapons eventually no matter what you pick here.
Make your way to the right to the first Shrine (S1) and then right to the boss.
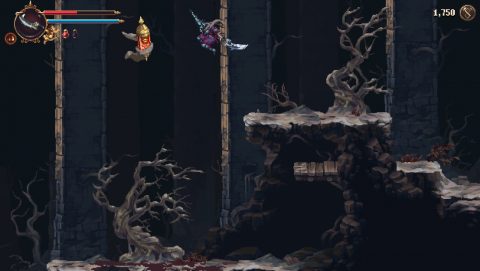
Faceless One Boss Fight
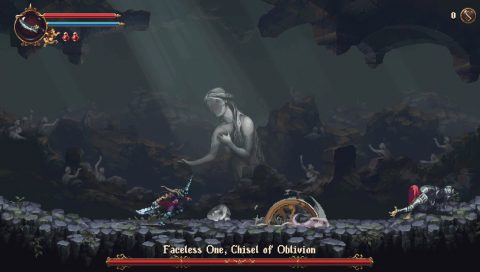
The Faceless One only has two attacks, he will either jump in the air and throw the wheel down, or spin the wheel along the ground towards you.
Either slide under the wheel and attack or jump over the wheel if he rolls it along the ground. Once you get used to these attacks get in a few swings of your own until the Faceless One is defeated. After the battle you’ll be rewarded with a Marks of Martyrdom. These can be used for upgrades later.
Continue to the right and break the glass mechanism to open the door. Further to the right you’ll meet Anunciada. After the chat continue right to the next area.
Ravine of the High Stones
From the Shrine (S1) continue right until you reach a door that you can’t open yet and go up. At the to you’ll find your first prayer, Peteneras to the Burial of the Lights (1).
There are two types of prayers, Quick or Powerful, and you can have one of each type equipped at the same time.
There’s a Cherub just up to the left but you can’t reach it yet. First head all the way left and you’ll find an Altar. Examine it for 800 Tears of Atonement. These can be used for purchasing items when you find a merchant or shop.
Head back to the right until you can climb up. You’ll spot Cherub 1/33 (2) above. Jump up and break the glass to free it.
Continue to the right until you reach the City of the Blessed Name.
City of the Blessed Name

Head right until you find the Shrine (S1). Enter the shop to the right to find the Master Sculptor. He’ll give you Altarpiece #1 called The Traitor which gives a 10% bonus to physical damage. You can only change or equip altarpieces by visiting the Master Sculptor. They give small buffs and bonuses to various things.
You’ll be back to the city many times but for now continue to the right and drop down the pit.
Profundo Lamento
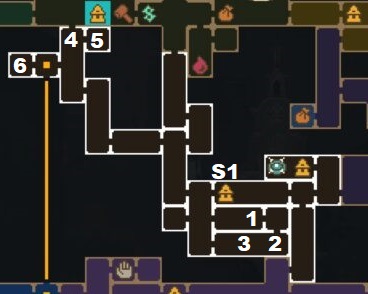
Make your way down, take the only path to the lower right and then the path to the lower left. Continue down and then head right to the Shrine (S1). There is a bell and a door here but you’ll need to have chosen the flail (Veredicto) to open it.
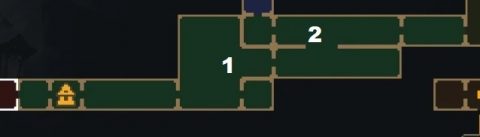
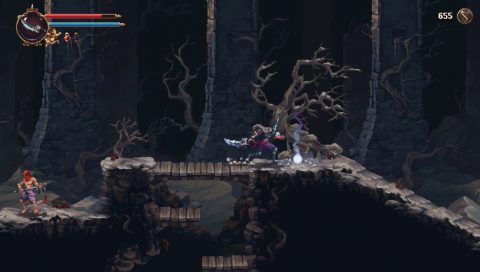
Instead go back to the left, drop down and take the path to the right. Defeat the enemy with the sword and speak to Yerma, the character in the green cloak, for a story related item, the Steely Battle Lance (1). You can now use Marks of Martyrdom to enhance your combat abilities.
Head to the room to the right and as you try to reach the altar you’ll fall down to the room below. Grab the item for your first upgrade, Ivy of Ascension (2). From now on you’ll be able to climb some surfaces.
Head to the left and open the chest between the walls for the Rosary Bead #1, Scratched Lead Sphere (3). Continue left, break the glass to open the door and go through.
Climb up the platforms to the top and go right for the Shrine (S1) if you need it, then go back to the left. Make your way up the platforms and climbable walls and take the exit to the top left.
Continue up, left and up until you find a tool for the Scupltor, the Sculptor’s Resonant Gavel (4).
Break the glass device to lower down a ladder. This takes you back up to the city but also lets you jump over to the right to the room with the Empty Receptacle (5). When you pick it up you’ll have a little battle to win before you can keep it.
Empty Receptacles can be used to increase the number of healing flasks.
Go back to the left and, drop down once and take a left. Run past the lift and grab the Prayer, Mirabras of the Return to Port (6). You can use this prayer to immediately return to the city any time you want.
Go back, take the lift down to the Sea of Ink if you want. There’s not much you can do here but if you go left once you can pick up a Forgotten Tribute quest item.
Use the prayer to return to the city or make your way back by climbing up the ladder.
City of the Blessed Name

With the wall climb ability you’ll be able to get to the eastern side of the city. Climb down the ladder and go through the small gap (1) to find Cherub 2/33.

Drop down and enter the room to find the place where you can hand over Empty Receptacles and Chalices to increase your health and the number of flasks.
Climb back up and head to the right to find the first location of the Merchant. He can be found in various spots throughout the game selling different items.
Talk to him for the prayer, Galera of the Living Briar, and Altarpiece #2, The Choirmaster.
Go back to the western part of the city, climb up and take the top left exit to the Aqueduct.
Next: Part 2 – Aqueduct and Sacred Entombments
Back: Blasphemous 2 Walkthrough