
Part 4 – Choir of Thorns & Crown of Towers
Back to Blasphemous 2
Choir of Thorns
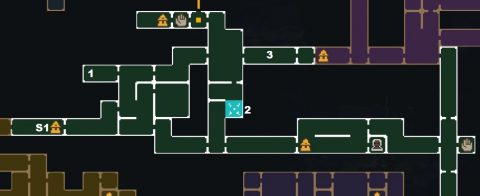
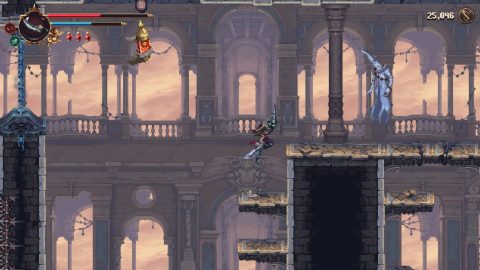
From the Shrine (S1) make your way to the right, taking out the enemies or dodging past them. In the next room climb up rather than sliding through the rocks to the right. There’s a Chariot (1) in the room to the top left but we’ll explore that later once we have everything we need.
For now dodge the thorns as you make your way to the exit to the top right. Continue right and you’ll be in a room with a statue. You may want to clear out the rolling thorn enemies and bats before activating the statue and jumping and sliding across to the door on the right side before it closes.
Before taking the right exit drop down all the way to (2). Slide through the rocks and you’ll see a chest behind a closed door. Go to the left and ring the bell. Quickly make your way back to the chest before the door closes.

Inside you’ll find Perforated Liar’s Tongue Rosary Bead. Now climb back up and take the exit to the right. Just a little way to the right, hidden behind the foliage, you’ll find Cherub 8/33 (3).

Continue to the right and take out the guy using the coffin lid as a shield. Head through the small room to the right and you’ll be at the Shrine in the Crown of Towers.
Crown of Towers

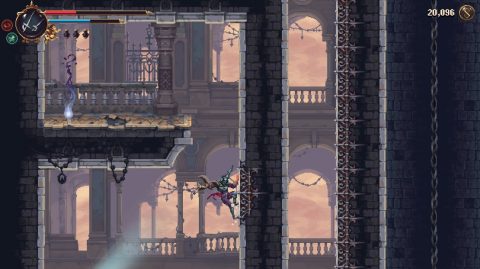
From the Shrine (S1) continue right until you find the lift. Ride it down and break the mechanism to open up access to the lift from the other side. Climb down the ladder and go right for the Portal Room and left for a Cherub 9/33 hidden in the forest in the Choir of Thorns.
Ride the lift back up to the Crown of Towers. Jump up the platforms and use the statue. Quickly jump across the platforms to the left and wall climb up to the Scroll of the Elder (2).
Take the exit to the top right. Make your way through the hallways and when you can drop down and go left for Shrine (S2). There’s a Cherub here but you’ll need the double-jump ability to reach it. Continue to the right until you find the Ruego Al Alba (3) weapon or The Punished One Altarpeice if you started the game with it.
Return to the left, jump up the platforms and perform the Weight of Sin smash to break open the wall. Use the statue above to move the platforms and jump up them for a chest with the Vitrified Lightning Bolt Rosary Bead (4).

Take the exit to the right. Make your way past the enemies in the hallway to the room with the chest.
Wall climb to the right, use the mirrors to jump up, activate the statue, ride the platform across, use the mirror again and weight of sin smash down to break the floor and get to the chest. Inside you’ll find Jabera to the Poison of Jealousy Prayer (5).
Return to the left, activate the statue and this time up up to the top left. Use the statues in the room with the lift so you can climb up and take the exit to the right. We’re taking a small detour for an Altarpiece.
Head along the hallway to the right and in the next room use the three statues to place the platforms so you can climb all the way up to the chest. The left platform should be lowest, the center should be highest and the right platform in the center.
Activate the statue on the ground to open the door above and climb up before it closes. If the statues aren’t in exactly the right positions go back and move them.
Inside the chest you’ll find The Guide Altarpiece (6). Drop down, head back to the lift room and climb up. Take the exit above. You’ll notice Cherub 10/33 (7) above.
You can’t yet dash through the blue chains so drop down and head back to the room with the lift. Ride the lift down.
At the bottom of the lift the gate will open automatically. Smash the breakable floor to open up a shortcut. Head to the left and you’ll find the second location of the Moving Merchant (8). This time he’s selling the Scorched Lily Rosary Bead.
Continue to the left and activate the statue. Quickly make your way along the passage before the door at the end closes. You may want to clear out all the enemies before you attempt it.
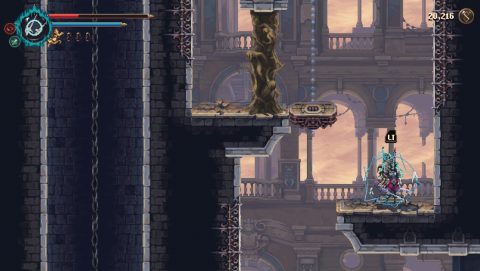
Take the exit to the left, climb up and head to the right for the Portal Room. If you continue to the right you’ll find another statue. Quickly slide along to the right before the door closes and you’ll find an Altar (9) with 1 Marks of Martyrdom.

Go back through the Portal Room and climb up the platforms. Activate the statue above to lift the platform up. Dash down onto it to break the wall. Break the glass mechanism to get the higher platform moving. Ride it up.
Ignore the lift to the left for now. Keep climbing and hit the bell. Run to the left, slide through the door and break the glass mechanism to open a door down below.
Drop down the gap by the mechanism and use the mirrors to teleport up. On the ledge above you’ll find the Unfinished Lullaby (10).
Climb back up and take the exit to the left. Activate the statue and bring the platform as low as you can. Climb up and smash down onto it to break the wall.
Use the statue again and lift the platform up as high as you can. Climb up the wall on the left side and use the platform to get up to the ledge above. Ignore the lift on the left. Instead head to the right for Shrine (S3). Continue right for the boss.
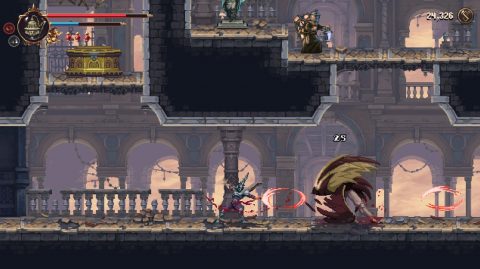
Lesmes Boss Fight
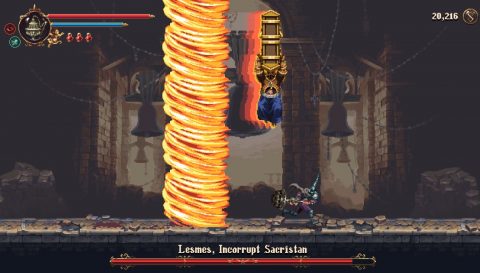
This boss fight takes place over three phases. For the first phase you’ll be fighting Lesmes by himself.
One of his moves is to hover over you and slam down creating a fire tornado. Simply slide out of the way, turn around and get in some hits. A second attack is slamming the coffin in to the ground from a standing position. Fire tornados will appear all along the battle arena. You’ll get a second or two notice before they appear.
Lesmes also has a charge and swing attack. Jump over him to avoid it. Lastly Lesmes flies in the air with fireballs floating around him. If you can dodge the fireballs you can still get in a few hits.
Infanta Boss Fight
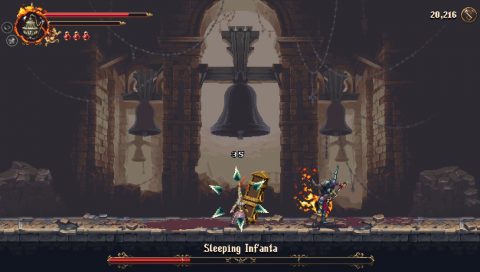
Once Lesmes has been defeated the Sleeping Infanta will crawl out of the coffin. The Infant has less health and you can finish this phase very quickly if you use the flaming veredicto attack.
The Infanta has a ranged attack, shooting flying triangles at you from a distance.
Lesmes & Infanta Boss Fight
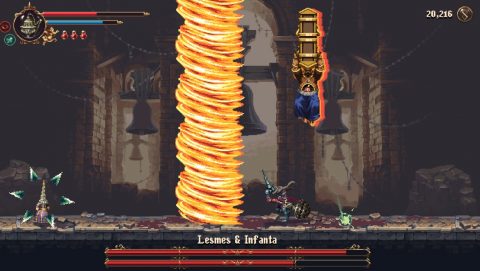
For this phase both characters will attack at the same time. As the Infanta has less health and a more difficult attack to dodge I went after him first. Slide through the fire pillars and try to get close to Infanta as quickly as possible so you can deal some damage.
Once Infanta has been defeated Lesmes by himself should be no problem. After the battle you’ll be rewarded with 1 Marks of Martyrdom and enter the dream where you’ll see a small cutscene.
If you’ve been following this walkthrough this is the third and final boss you need to defeat for the first stage of this game.
Exit to the right and drop down. Go back to the left and head to the Portal Room. Fast travel back to the City of the Blessed Name.
City of the Blessed Name
Go right twice to the Sister’s room. Pay the 1500 Tears to honor them and you’ll be granted the ability to fast travel between shrines.
Visit the Master Craftsman and give him the Gavel. Feel free to change Altarpieces or increase your Altarpiece capacity as well.
Visit the Confessor if you need it. Then we’ll make our way down first before visiting the new area above the City.
Next: Beneath Her Sacred Grounds
Back: Palace of the Embroideries
