Part 9 – The Severed Tower
Back to Blasphemous 2
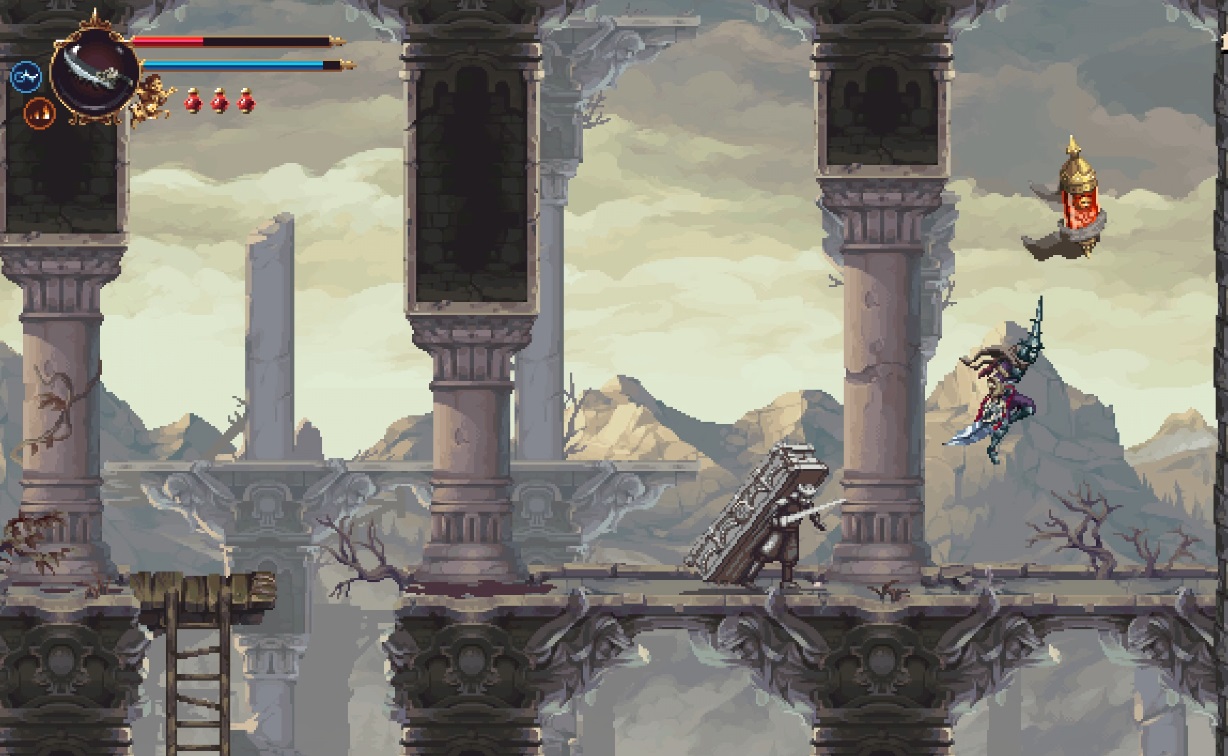
The Severed Tower

When you enter the Severed Tower climb up on the right side for an Altar with 1200 Tears. Dash through the blue chains and climb up to Shrine (S1) above.
Drop down and activate the statue on the left side. Quickly climb up and slide through the door to the top right. In the small room on the other side you’ll find the Imprint of Scalopendra Rosary Bead (1).
After the fight head back to the Shrine and go left. Take the exit above and then up again. Go to the right and drop down. Clear out the fire-breathing enemies and then go through the hidden wall to the bottom right. You’ll find Cherub 23/33 (2).

Continue to the right to open up the shortcut and then go back through the left exit. In the next room break the glass mechanism to open the gate and climb up on the left side.
Head back around to the right and this time climb up. Climb up again and take the higher exit to the left. Break the glass mechanism and you’ll open up a gate above.
Go back, take the lower exit to the left and climb up on the left side. You can’t reach the gate that you unlocked yet, but you can climb up the walls and dash through the blue chains to the top left.

Slide under the wall to a hidden area with the Unfinished Lullaby (4). Then take the exit above.
The gate to the boss room is locked from this side so climb up the climbable walls and to Shrine (S2).
Go right and take the exit above to the left to the Portal Room. Go back and climb up on the right side. Take the exit above.
Make you way to the left and go through the left exit. You’ll find the Scion’s Protection ability (5) to grab the angel rings around the map.
Use the angel rings to climb out of the room and head back to the right. Activate the statue to open the door above and quickly make your way around to the top left exit. This is the Wax Room (6) where you take the Wax Seeds when you find them.
Head back to the left and drop down. Jump up the angel wings above the boss room and slam down to break through.
Sinodo Boss Fight

The Sinodo boss can be quite difficult at first and you’ll need to keep moving. There are many different attacks that change as Sinodo changes his faces. There are fire pillars that move across the room, flames that shoot down, snake like pillars that rise up from the room and fireballs that circle around the room.
Learn to dodge each of the attacks and get in a few hits of your own. When Sinodo turns into the woman with the covered eyes make sure you do enough damage as quickly as possible or she’ll heal her health back up.

When Sinodo is just about dead his face will turn to wax and fire will erupt from the floor. You’ll need to use the angel rings to stay alive of finish Sinodo quickly.
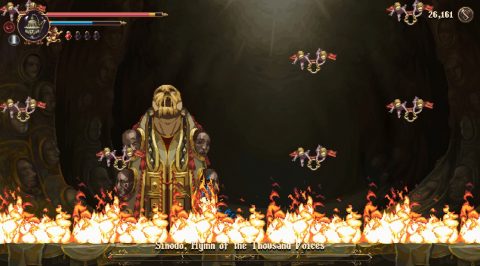
After the battle you’ll be rewarded with the Key of the Council and 4 Marks of Martyrdom. You’ll enter the dream again and release a dove. Just one more to find.
From the boss room go to the right into the Repose of the Silent One.
Repose of the Silent One
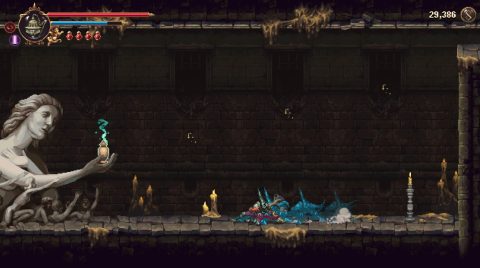
You’ll find the Moving Merchant (7) waiting for you. This time he’s selling a Wax Seed. Break the glass mechanism to open the gate and continue right to find a Fervent Kiss.
Take the exit to the right. Break the wall on the right side to find Sister #5 (8).
Take the exit to the right and make your way back to the first Shrine of the game. Now you should be able to jump up and use the angel rings to get up to the Altar above where you’ll find a Mark of Martyrdom.

City of the Blessed Name
Climb up the ladder to the room between the Portal Room and the Sister’s Room. Jump up the angel wings and ring the bell. Quickly drop back down and slide down the ladder. Go to the right, slide down the ladder and slide under the wall. The bell door will open just as you reach it.

Take the exit to the right to find a chest with the Taranto to My Sister prayer. Do anything else you need to do in the city and then we’ll be heading to Two Moons.
Next: Two Moons
Back: Sunken Cathedral and Labyrinth of Tides