
Part 3 – Palace of the Embroideries
Back to Blasphemous 2
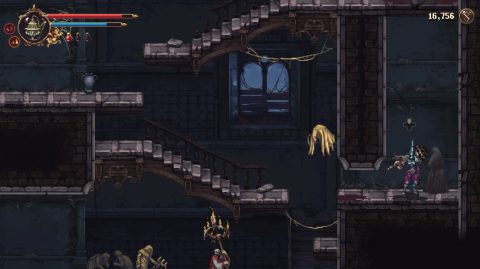
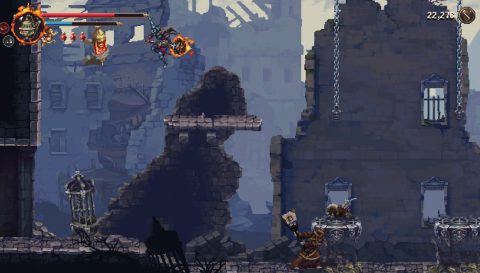
Grilles and Ruins
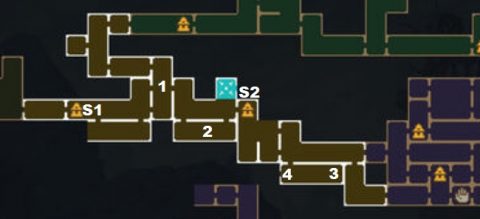
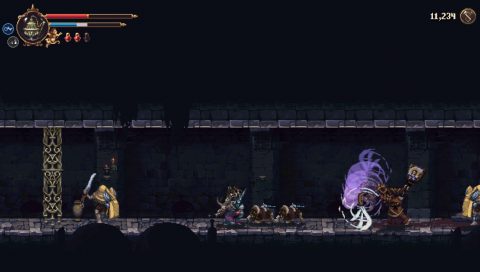
As you enter the area you’ll find the first Shrine (S1). Drop down the first ladder and go to the right. You’ll find 1000 Tears of Atonement but need to get through the small battle before you can keep them.
Continue to the right and climb up the next ladder. Use the statue to open the door and slide through.
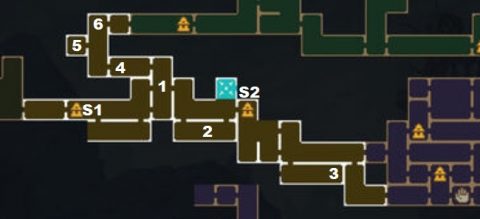
Break the boxes and use the statue in the next room to lower the lift. Ride it up and from here (1) you can go up to the Choir of Thorns or continue right to make your way to the Palace of the Embroideries. We’ll keep going right for now.
Make your way to the right and go down the second ladder. Clear out the enemies and then go back to the first ladder. Climb down and pull the lever. This opens the door at the bottom of the second ladder. Quickly run back there and slide under it for a very handy quick prayer, the Bleeding Miracle (2).
Climb up the ladder and continue right for the Shrine (S2). Drop down, break the wall to the right and drop down again. Take the exit to the right.
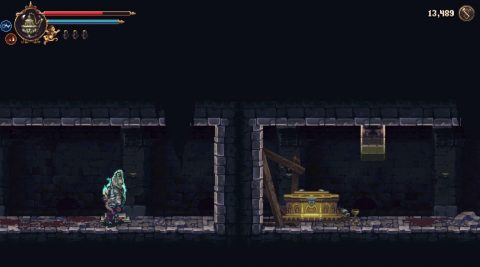
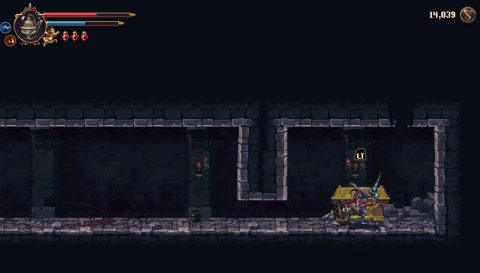
Drop down the ladder and follow the path to the right. Break the wall and then the secret wall to the right of that. Slide through the gap and open the chest for the Price of Blood Rosary Bead which increase the rate you earn Tears of Atonement.
Go back to the left and climb up the ladder. Continue to the right and take out the Giant Green Knight. Jump over his slam attack.
The door to the right is locked so climb down the ladder. Head to the right until you’re in the new area.
Palace of the Embroideries

When you enter climb up the stairs to the Shrine (S1) above. We’ll be going right first so either slide past or take out the enemies as you make your way to the lower right corner of the map. This is where you’ll find the two daggers, Sarmiento and Centella (1), if you didn’t start the game with them.
If you did begin the game with them then you’ll find The Veteran One Altarpiece here instead. Go back to the left, break the wall and continue left. Use the daggers on the mirror to teleport through the gate. Break the glass mechanism to open the next gate, then break the secret wall and climb up the stairs. Head back to the left and you’ll be back at the Shrine (S1).
This time from the Shrine go left. Hit the two mirrors and then the mechanism to open the gate and go through. Use the statue to move the platform over to the left, hit the mirror to teleport up to it and then the next mirror to teleport to the ledge above.
Break the door to the left and you’ll open the shortcut (2) back to Grilles and Ruins. Now go back to the right and continue through the hallway to the right.
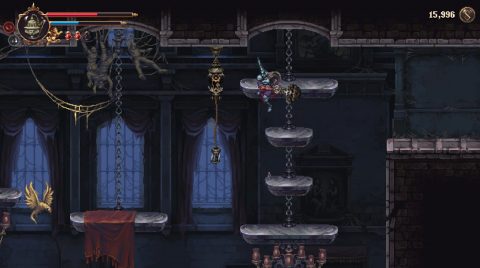
Jump across the hanging platforms and break the mechanism at the end to lower the last platform, giving you a shortcut back up if you fall down.
Continue to the right and you’ll get stuck in a small room for a battle before you can continue. Climb up the stairs to the top, break the secret wall to the right and drop down to Sister #2 (3).
Take the top exit to the left and use the mirrors to get up to the top corner where you’ll spot Cherub 6/33 (4).
From here there are three exits to the left. Take the middle exit to the Shrine (S2) if you need it, then come back and take the lower exit to the left.
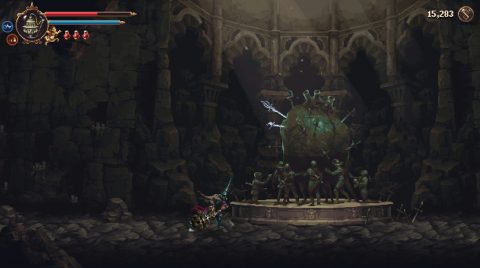
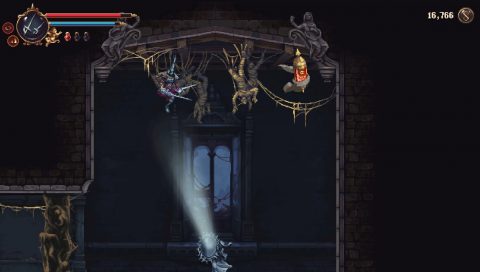
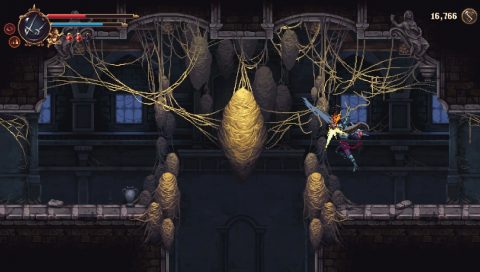
Make your way as far as you can to the left and break the left side of the spiderwebs. Once you break both sides the cocoon will fall down, breaking the floor below so you can drop down to the boss.
Retrace your steps to Shrine (S2) and continue left. In the room with the large dining table (5) you can give them the Scroll of the Elder from the Crown of Towers or the Cloth of the Old Woman in return for the Remembrance of Castula or Remembrance of Trifon Altarpieces. You can only obtain one of these remembrances.

Continue left and use the mirrors to get high enough to break the mechanism to open the exit door to the left.
Before going around to the other side of the spiderweb use the statue in the previous room to lift the mirror up. Use the daggers on it as you ride it up and eventually you’ll be high enough to reach the chest with The Tempest Altarpiece (6).

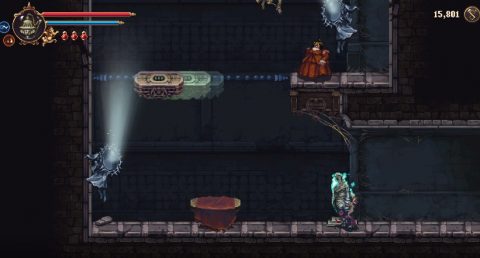
Drop down and take the higher exit to the left. Hit the bell and use the mirrors to get across to the platforms. Quickly jump across them to the room in the upper left corner (7). Grab the item, Ornate Chalice , and take out the enemies.
Go back and hit the glass mechanism in the previous room if you haven’t already and take the exit to the lower left.
Drop down to Shrine (S3), go left first to open up the shortcut and to grab the Senior Embroiderer’s Thimble Rosary Bead (8) from the chest.
Run along the hallway to the right and break the left side of the spider web. The cocoon will fall to the ground and break through to the boss. Go back to the Shrine (S1) for a closer spawn point and then drop down to face the boss.
Orospina Boss Fight

Orospina has a few different moves but tends to telegraph what she’s doing so this boss shouldn’t be too difficult once you’ve learnt her moves.
Orospina disappears and reappears with a slash. You know where she’s going to appear from the blue slash in the air. Stand next to it and get in a few strikes of your own.
She also likes to charge from one side of the screen to the other. Towards the later stages of the fight she’ll charge back and forth three times. She’ll also stand high up on one side and shoot out flaming arrows. In the later phase she’ll split in two with each clone shooting out 5 flaming arrows.

This attack is harder to dodge but it’s a matter of sliding and jumping at the right time.
After the battle you’ll enter the dream for a chat with Orospina. If you’ve followed along with this walkthrough Orospina will be the second of three major boss battles for the first half of this game.
Walk to the right first for an Altar with 800 Tears of Atonement. Break the glass mechanism to the left to open the gate back to the Portal Room. Return to the City of the Blessed Name.
City of the Blessed Name
Do whatever you need to do here, go to the Confessor, hand in the Ornate Chalice, change your Altarpieces, etc. Then climb the ladder by the Moving Merchant. Hit the bell and jump across the platforms. Use the mirrors to get up higher. Break the glass mechanism to lower down the ladder and stand on the pressure plate to lower the lift.

Ride the lift up and run along the rooftops to the western side of the city. There will be another building you can enter here later but for now the rooftops are empty.
Take the lift down on the western side and enter the building to the left. Inside you’ll find a chest with The Ecstatic Novice Altarpiece. Leave and hit the glass mechanism to lower the ladder for a shortcut.
Grilles and Ruins
Return to Grilles and Ruins and go to the spot where the path splits (1), up and to the right. Take the path up and follow it around to the left. Jump along the upper platforms and you’ll find Cherub 7/33 (4) in the top left corner.
Take the exit to the left and use the two mirrors to reach the next exit to the left. In this small room you’ll find a Marks of Martyrdom (5) but you’ll need to defeat the enemies before you can keep it.
Go back and continue up. Break the wall to the left for Sister #3 (6).
Go right until you find the next Shrine and you’ll be in the Choir of Thorns.
Next: Choir of Thorns & Crown of Towers
Back: Aqueduct & Sacred Entombments
