Part 13 – Backtracking #2 (East Side)
Back to Blasphemous 2
Mother of Mothers

Fast travel to Mother of Mothers and head to the right from the first shrine. Climb down and back to the left. You’ll find Cherub 32/33 (1) up in the air. Use Debla of the Lights prayer to reach it or hit the bell on the platform underneath and use the bell platforms to jump up to it.
Head back to the Shrine and continue to the room to the left. Use the angel rings to jump up to the Altar (2). Inside you’ll find a Mark of Martyrdom. Exit to the left and climb up this room for another Altar with a Mark of Martyrdom (3). That’s all for now so fast travel to the first Shrine in Grilles and Ruin.
Grilles and Ruin

Head to the right and enter the building. Climb up and slide through the small gap on the left. Take the exit to the left. You’ll be out on a balcony where you can pick up The Pilgrim Altarpiece (1).

Drop down and enter the building again. Take the exit to the right and jump along the upper platforms so you can take the upper exit to the right into a small room with Daughter #3 (2).

Drop down and take the lower exit to the right. Climb onto the ladder by the Shrine. Jump across to the left and slam through the breakable floor. To the right you’ll find an Altar with 2000 Tears (3).

Use the angel rings to the right to get up to the next Altar (4). Smash down on the ground to the right of it and the wall will break as well.
In the Altar you’ll find a Mark of Martyrdom. Either use the nearby Shrine to fast travel to the Palace of the Embroideries or walk there.
Palace of the Embroideries
Smash down to break the wall blocking access to room (1). Grab The Alchemist Altarpiece and you’ll be thrown into a small battle. Take out the enemies and leave the room.
Next head over to the room by the bottom of the lift (2) and pick up the Fervent Kiss.

Once again you’ll have a small battle before you’re allowed to leave. Deal with the enemies and get out of there.
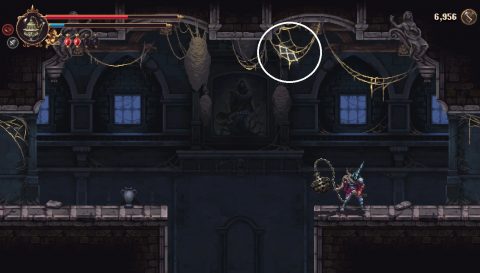
Return to the room high above the boss room where you broke the spider webs on either side (3). Cast the Chime prayer to reveal Hidden Symbol #8.
Travel to the top of the room (4) and smash down to open the wall to the top left. Go through to the statue and activate it to open the door the left. Jump across the platforms and slide under the door. Inside you’ll find a Silver-Clad Crystal Shard (5). Deal with the enemies and then leave.
Drop down and enter the room to the left (6). Give the Scroll of the Elder and in return you’ll get the Remembrance of Trifon Altarpiece.

The Remembrance of Castula can be purchased at the shop. Both of them can be altared to their true form by giving them to the master craftsman.
Return to a shrine and fast travel to the beginning of Choir of Thorns.
Choir of Thorns

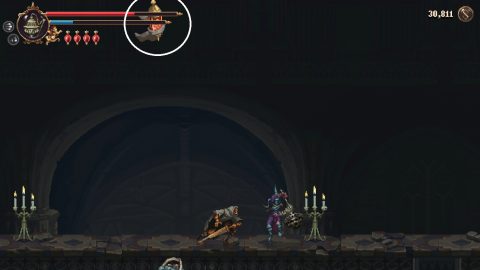
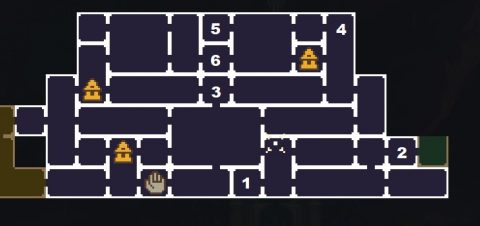
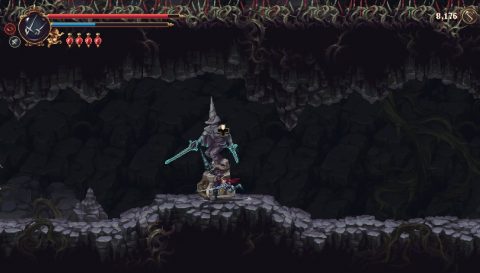
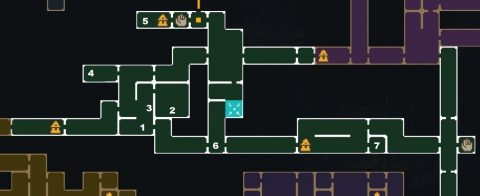
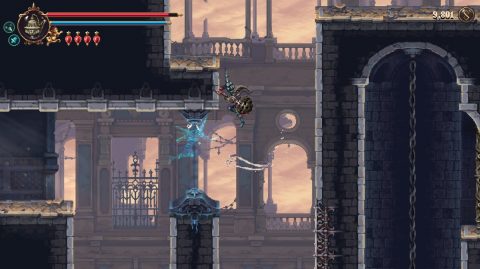
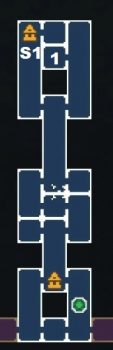
The next hidden symbol is difficult to find. Head to the spot (1) shown on the map and in the picture below. Cast the Chime prayer and the Hidden Symbol #9 will appear in the vines in the background.

Slide through the gap in the rock to the left and activate the statue. Quickly climb up to the right and slide under the door.
Make your way around the room clockwise and you’ll find the Sarmiento & Centella Upgrade (2).
Go back to the hidden symbol and jump up just to the right of it. Use the mirror to get up to the ledge with Sister #8 (3).

The Chariots
Now it’s time to explore the chariots. You’ll need to use a Forgotten Tribute each time you want to be taken to a new area. Head up to the first Chariot location (4).

Pay the Tribute and you’ll be taken to Profundo Lamento. Walk to the right for a Shrine and an Abandoned Rosary Knot. When you rest at the Shrine the gate to the right will open. We’ve explore Profundo Lamento already so go back to the Chariot and pay another Tribute.
This time you’ll be taken to the Choir of Thorns (5). Head to the right for a Shrine. Rest to open the gate leading to the Portal Room. Go back to the Chariot for another ride.
The Chariot will take you to the top of The Severed Tower. This is the last chariot ride.
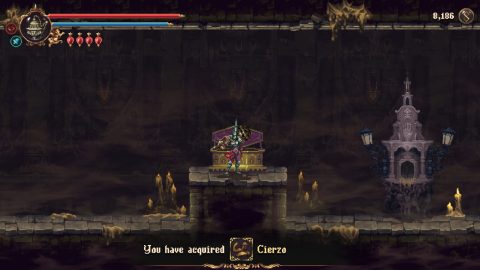
The Severed Tower

Open the chest for the Cierzo Altarpiece (1). Then rest at the Shrine to open the gate.
Exit to the right and go to the right side. Dash through the blue barrier and break the wall to reveal Sister #9 (2).

Drop down and clear out the enemies in this corridor. Slide under the wall to the right and activate the statue. Quickly dash through the barriers and slide under the door to the Altar where you’ll find a Mark of Martyrdom (3).
Return to the Shrine and fast travel to the top of the Choir of Thorns by the chariot location.
Choir of Thorns
Go to the right and break the glass mechanism to open the gate. Make your way down to the bottom of the area (6). Go to the right and use the mirrors to dash across the pit of thorns. Continue right after smashing the wall.
You’ll find an NPC who’ll give you The Maiden Altarpiece (7).
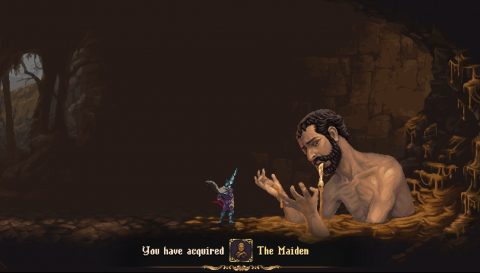
Equip The Maiden until it breaks. Come back here to have it repaired three times and eventually it will turn into The Unwavering One Altarpiece.
Fast travel to the Crown of Towers
Crown of Towers
From the Shrine (S1) head to the right. The final hidden symbol is also tricky to spot. At the base of the platform that rises up cast the Chime Prayer.

You’ll spot Hidden Symbol #10 (1) dangling down from the beaded cord above. Go back to the Shrine and teleport to the Shrine (S2) above.
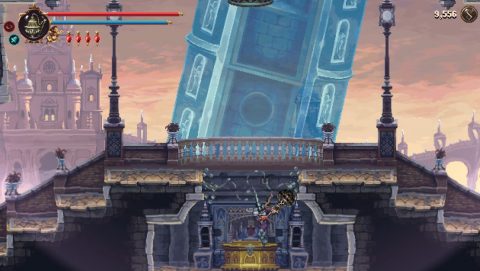
Walk to the left and ride the lift down. Ride the second lift down to the room below. You’ll spot an Altar and item on the way down. Jump up the wall and across to the Unfinished Lullaby (2).
You should all pieces of the Unfinished Lullaby now so it will turn into the Lullaby of the White Shore.
Jump up the angel rings to the Altar for a Mark of Martyrdom (3). Go back to the shrine and fast travel to Shrine (S3). Above the shrine you’ll spot Cherub 33/33.

Exit to the right and climb up. Take the exit back to the left. Ring the bell and drop through the bell door for a chest with the Liviana of the Blighted Blades prayer (4).
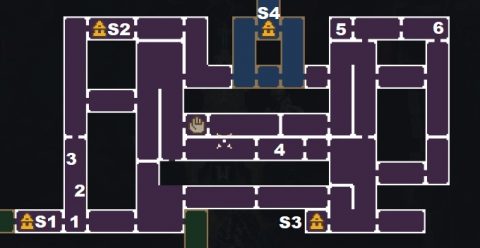
Go back to a Shrine and fast travel to Shrine S4 in the Basilica. Drop down on the right side and take the exit to the right back into the Crown of Towers.
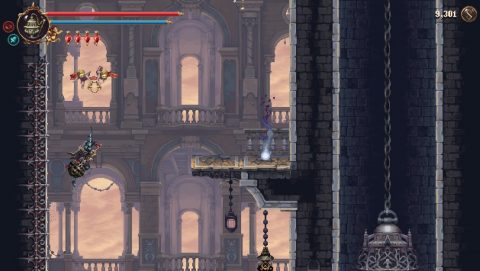
Jump, stay high and dash through the blue barrier. Jump up again to grab the ledge above.
Climb up to the room above and dash through the blue barrier. Enter the room to the left for Daughter #4 (5).
Leave, activate the staute and quickly climb up and slide under the door to the top right. Smash through the breakable floor, use the statue and smash onto the platform as it rises to break the wall to the right. Go through to find the Ruego Al Alba Upgrade (6).
Fast travel to the Shrine at the top of the Basilica of Absent Faces.
Basilica of Absent Faces
From the Shrine (S1) drop down to the bottom and go to the right twice. Climb up the room and break the glass mechanism in the top right. This opens the gate to (1) where you’ll find the Daughter #5.

Travel back to the City.
Next: Loose Ends
Back: Backtracking #1 (West Side)