Part 8 – Sunken Cathedral and Labyrinth of Tides
Back to Blasphemous 2
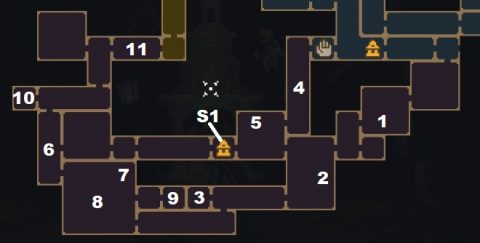
Sunken Cathedral

To the left of Shrine (S1) you’ll find the Moving Merchant. If you have the Tears you can buy a Mark of Martyrdom from him.
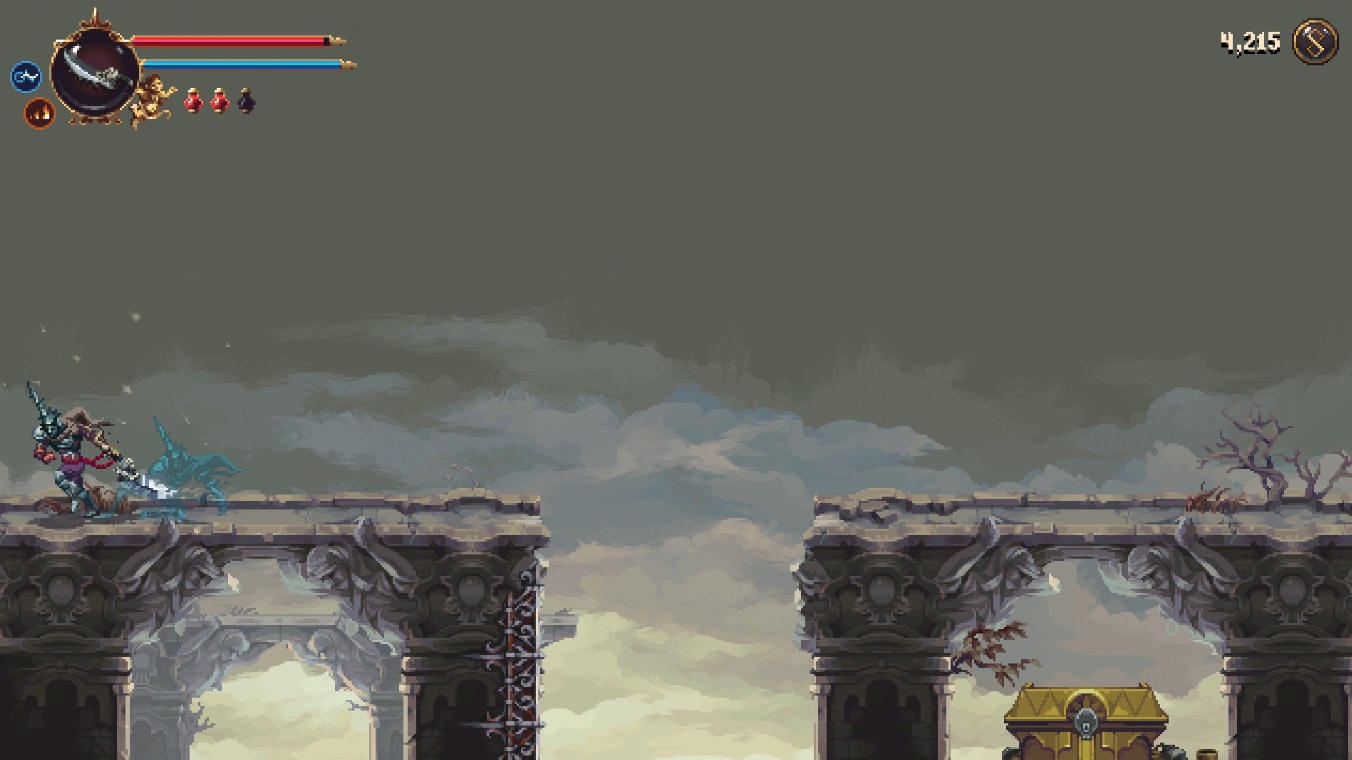
Take the exit to the left and then the only path available to you at the moment which is the upper path to the left. I prefer to just dodge past all the enemies in the hall but you can clear it out for the tears if you want.
In the next room to the left (1), there’s no pickups and still only one way to go, up. If you jump up the platforms on the right side you’ll see an Altar. Use Debla to take out the enemy, then double-jump up to the Altar for 1200 Tears.
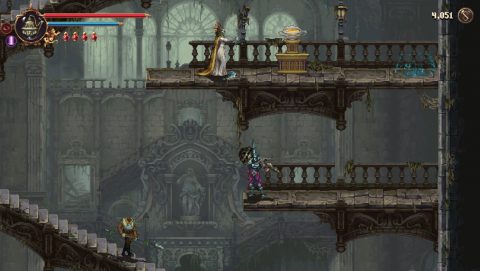
Take the exit above and then to the right. Head through the room and go right again. Go to the right side of the room, climb up and head to the left. Activate the statue and move the bell all the way to the right. Ring the bell, drop down and go through the door to the right.
On the other side you’ll find the Veredicto Upgrade (2). By now you should have all three upgrades for this weapon.
Go back and take the exit below. To the left side of this room you’ll find Cherub 20/33 (3).
Go to the right side and break the glass mechanism to drop down a ladder. This is a shortcut back to Shrine (S1) if you need it. Otherwise take the exit to the right (4) for the Ornate Chalice. You’ll be trapped in the room and have to battle off some enemies before you can leave.
Go back and take the exit above. Climb up and take the exit on the left side. Continue left and the back to the lower right. Break the glass mechanism to lower a ladder leading back to room (1).
Head back to the left and take the exit to the top left. Continue left and then start making your way down to the bottom right corner. Take the lower right exit and go right again.
Drop down to the center and take the stairs down on the right to find a chest with the Salt-Covered Spear Point Rosary Bead (5).

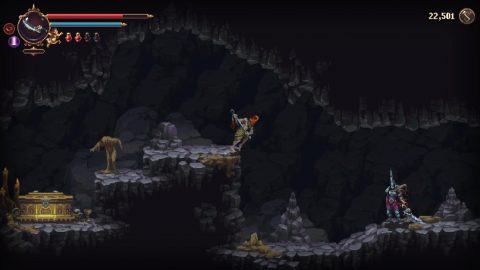
Drop down on the left side and go left for the Portal Room. To the right you’ll find Shrine (S2). Continue right for the Boss fight.
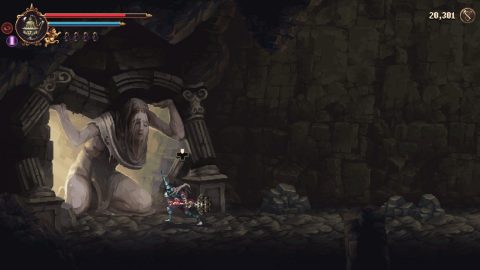
Odon Boss Fight

The Odon boss fight plays out much the same way as the first meeting excep this time he shoots out lightning and spawns enemies.
With the Veredicto weapon and Debla prayer you’ll often kill the smaller enemies without noticing. Focus mainly on killing Odon. Wear him down with the Debla prayer after getting in a few hits.
Every now and again Odon will cast a prayer to shield himslef and the smaller enemies. Just wait for it to fade and keep on dealing damage. After the battle you’ll be rewarded with 3 Marks of Martyrdom and the Key of Salt.
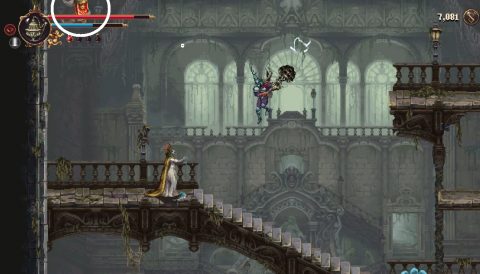
Climb up to the top of the chapel and speak with the NPC. You’ll release the third of five doves.
Return to the Shrine (S2) if you want healing, then go the right of the boss room, break the glass mechanism to open the gates and drop down.
Labyrinth of Tides
Navigate through the room and take the exit to the left. In the next room an enemy with a coffin lid blocks the path to a chest. Kill him with jumping attacks and then open the chest for the Compass of the Stranded Rosary Bead (1).

Take the exit to the left. In this room you’ll need to smash down to break the wall on the left side leading to the next room. Before you go that way slide under the wall and defeat the enemies and take the exit to the right for an Altar with 3500 Tears.
In the next room if you want the altarpiece you’ll need to clear out the enemies first. Activate the statue center left, then ring the bell bottom right. Climb up the platforms to the chest.

Inside the chest you’ll find The Pillager Altarpiece (2). Take the exit to the lower left and go left again. Speak with Regula (3), the lady holding up the arch.
She urges you to find another way into the sanctuary. We’ll do a loop around and enter the room behind her from the other side.
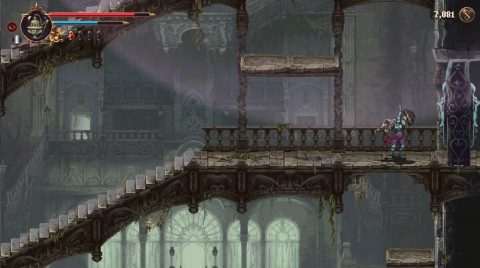
Go back to the right until you can climb up and take and exit to the top left.
Take the exit to the right above and then make your way up. Dash through the blue chains and grab the item above. This is the Silver Shell File that you can give to the Master Craftsman.
Continue up and break the glass mechanism to open the gate to the Portal Room. Drop back down and exit to the left.
Hit the wall in the top left in this room (5) and you’ll reveal a secret passage behind it. Smash down to break the breakable floors and you’ll find an Altar with a Marks of Martyrdom at the bottom.

Take the exit to the left to Shrine (S1). Head left through the next three rooms until the path splits, going up and down (6). We’ll go down first. Take the exit to the bottom right and you’ll enter a large square room like a maze.
In the top right corner you’ll find Cherub 21/33 (7).
And near the center you’ll find a Forgotten Tribute (8).

Take the exit center right and break the wall. Go right again to find the sanctuary. The arch on the other side has completely collapsed.

Go back to the square room and take the lower right exit. Make your way back around to Regular (3). Take Regula’s Cloth and return to the Sanctuary (9). Interact with the statue and you’ll be given the Remembrance of Regular Altarpiece.
Later on you can take the remembrance to the craftsman and have it turned into the Woman of the Stolen Face Altarpiece.
Return to room (6) and this time climb up. Take the exit above and clear out the enemies. Interact with the statue on the right side. You’ll need to slide under a wall to the far right to find it.
Quickly navigate across the room to the lift side and slide under the wall. In the chest (10) you’ll find the Serrana of the Kindled Hearth prayer.
Head back to the right and take the exit above. There’s a Wax Seed in the room to the left which we’ll come back for later. For now head up the ramp to the right, freeing Cherub 22/33 (11) along the way.
Enter the Severed Tower to the right.
Next: The Severed Tower
Back: Basilica of Absent Faces