
Part 2 – Aqueduct and Sacred Entombments
Back to Blasphemous 2
Aqueduct of the Costales
If you have Veredicto use it to ring the bell (1). Jump up the platforms on the right for Cherub 3/33. If not you’ll get it soon and will have to remember to come back for this cherub.
Climb up the sides to the top and go left for the first Shrine (S1). Head left and then make your way up. There’s an easy to spot Cherub 4/33 on the right side.

Exit to the left and continue through the room to the left. We’ll be back here to collect the things we’ve missed once we have all the abilities.
Take the two ladders up and slide through the gaps on the right. You’ll need to slide and jump to make it over the spikes. Inside the altar you’ll find 2000 Tears.

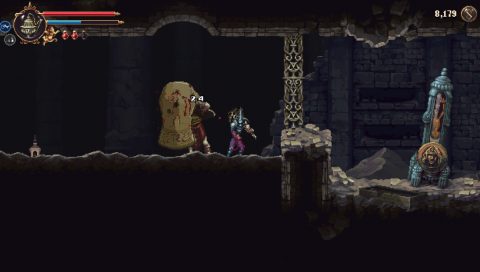
Drop down and this time head past the ladders to the left. Take out the Giant Knight and open the chest on the left for The Purified One Altarpiece (3).
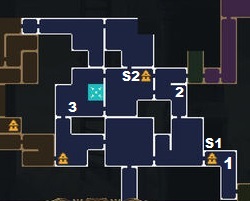
Climb up the two ladders and take the exit back to the right. Drop down and take the ladder up on the right. Jump across the breakable platforms and hit the glass mechanism to open the gate.
To the right you’ll find the Shrine (S2). If you continue to the right you’ll find the tower of Cherubs called the Garden of the High Choirs. Go there once you’ve collected all cherubs for some rewards.
Hit the glass mechanism to the right of the shrine to lower down the ladder for a shortcut. Then head to the left and exit up the ladder to the top.
Climb up the ladder on the right and make your way across the walkways and platforms to the left. Climb up the next ladder and you’ll spot a chest below. You can’t reach it yet so just exit to the left.

As you run across the bridge it will collapse. Watch out for the spikes below. Climb up the ladder and continue to the left. Take the exit to the left and enter the next area.
Sacred Entombments
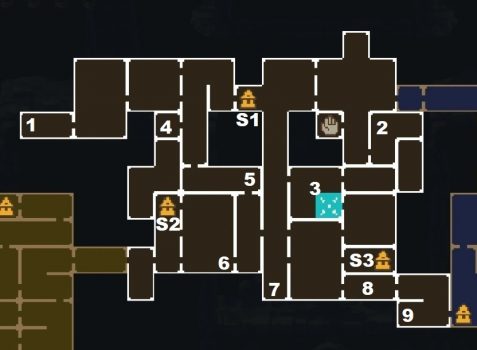
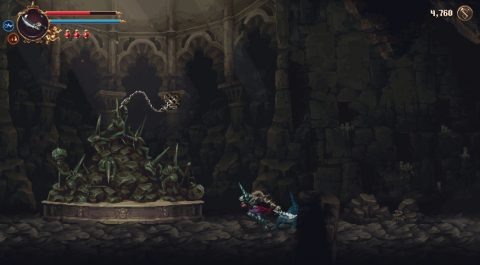
You’ll enter the Sacred Entombments from the top. Watch out for the arms that reach up from the sand as you make your way to the left for the first Shrine in this area (S1).
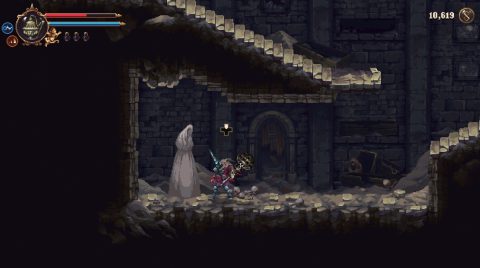
Continue to the left until you find the Veredicto (1). This is the most powerful weapon but also the slowest. If you started the game with this weapon you’ll find The Anointed One Altarpiece here instead.
Head to the right and use Veredicto to hit the medallion. This opens the door and also releases some of the sand in the main staircase room.
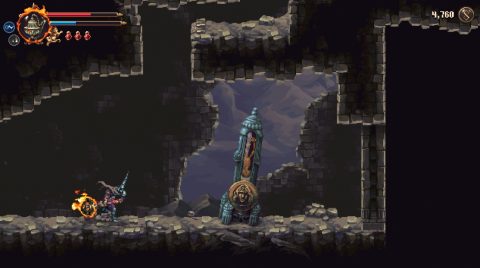
Take the stairs up to the right, hit the bell and jump across the platforms. Make your way across the sand and back to the shrine (S1). Now you’ll be able to drop down to the right.
Drop down and enter the first room to the right. It will be half covered in sand. Take the exit to the right, hit the bell and go through the door above. Break the medallion sand will cover the spikes to the right.
You can now take the exit to the right. Hit the medallion in this room and the sand will raise. Take out the enemies along the way. Once you reach the top take the exit to the left. Break the medallion (2) here to lower the sand in the main stair chamber.
Drop down on the left side and take the exit to the left. Climb up the platforms and the first exit to the left leads to the Portal Room. If you fast travel back to the city you can hit the mechanism to lower the ladder giving you access to the Portal Room in the city.
Continue up and you’ll head back around to S1. From here drop down the main stair chamber again. Drop down and take the first exit to the right again. This time the room will be empty of sand.
Take out the enemies and hit the bell. Quickly climb up and drop through the door to the chest. Inside you’ll find the Broken Bell Rosary Bead (3).

Take the exit back to the left and drop down. Go through the lower exit to the left. Continue left, over the spike pits, up and back to the right.
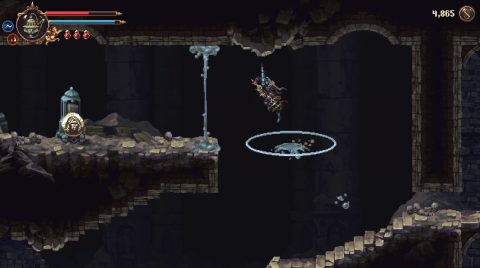
Use the statue to open the door to the right. Quickly hop over the platform and slide under the door. Climb up the walls, drop down through the floor and break the chain holding the cage. This will drop onto the spikes below so you can slide through to the secret area to the lower right.
We’ll get there later. For now continue to the left and take the exit to the Shrine (S2). Hit the chain holding the cage to drop it down and take the exit to the left.
Break the medallion (4) and the sand will raise. Make your way up the passages to the top. Hit the bell along the way so you can jump up the platforms. Up the top break the next medallion and the sand in the main stair chamber will lower once more.
Head right and take the exit below. Clear out the enemies if you want or just dodge past them as you continue to the right. Break the wall at the end for part of the Unfinished Lullaby. Once you find all the pieces you can give the finished lullaby to an NPC for a side quest.

Take the exit below and drop down for an Altar with 800 Tears of Atonement. Hit the bell and continue through the door below.
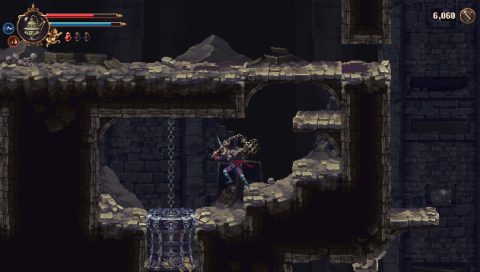
Drop down and take the exit to the lower left. You’ll see the cage that we released earlier. Use it to slide through to the right.

You’ll find an Altar with Marks of Martyrdom (6). Go back to the main stair chamber and take the middle exit to the right. Make your way across the sand. Ignore the bell and continue right for a small battle.
Once the doors open break the medallion to lower the sand in this room and reveal the Shrine (S3). The sand in the main stair chamber should be lowered all the way to the ground.
Head back to the left and drop down. First take the exit to the left and drop down for an Ornate Chalice (7). You can use this back in the city to increase your maximum health.
Go back to the right and speak with Yerma. Agree to let her help you and take the lower exit behind her for the boss battle (8).
Great Preceptor Radames Boss Fight

The Great Preceptor has a few different attacks including swinging the giant bone hammer and charging. For both attacks dodge out of the way. Make sure you’re grapping onto the side wall during the charge so you can jump over him and get a few attacks from behind.
When the Great Preceptor is low on health his attacks change. He’ll shoot a wave of jagged glass along the ground and shoot purple fireballs. He’ll also be standing up which makes him harder to dodge when he charges. Towards the very end of the fight meteors will crash down to the ground. Dodge them and finish him off. You’ll be rewarded with a Marks of Martyrdom.
After the fight you’ll be taken into a dream. Run to the right and speak with the character lying in the carriage.
When you return head to the right and drop down. You’ll hear a Sister (9) nearby. Break the wall under the stairs to free her.
Take the exit to the right for the Shrine and the lower entrance to the Aqueduct of the Costales.
Aqueduct of the Costales
From the lower Shrine (S3) climb up the ladder and ring the bell up to the right. Go through the door before it closes and take the exit to the right. Drop down and break the mechanism on the right to open the door.

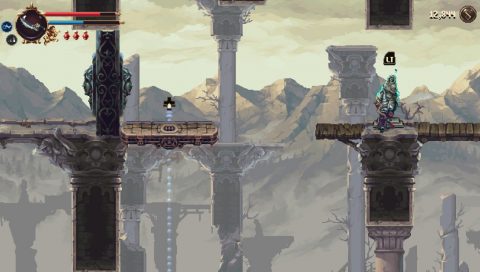
To the right you’ll find an Altar with 2000 Tears. Grab it, go back to the left and ring the bell. Quickly head to the left and jump across the spike pit. You’ll see a statue here and another bell. The statue opens the doors above for a short time. Ring the bell and jump across the platforms. Climb up and slide under both doors before they close.
On the other side you can hit a glass mechanism to lower another ladder. Jump up to the right and use the statue above To lift the platform up by the door.
Drop all the way down and ring the bell. Climb the ladder and the platforms and quickly jump across to the platform you just raised up. Go through the bell door and you’ll find a Cherub 4/33 (4) on the other side.
Climb up the side wall and smash down through the barrier. If you have the Ruego you can smash down through the breakable floor. If not drop down and take the exit to the right.
Hit the bell, go through the door and continue to the right. You’ll end up back at the Shrine (S1).
Drop down, hit the bell and jump up the platforms to the Cherub 5/33 (1). Drop down and take the exit back to the City.
City of the Blessed Name
While you’re here stop by to visit the Confessor if you need to remove any guilt. You can also drop down the ladder to the right and visit the NPC. Give her the Ornate Chalice and she’ll increase your health. You an also bring Empty Receptacles here to increase the number of bile flasks.
Climb back up and continue to the right. You’ll pass the City Merchant with lots of items to purchase, and the moving merchant with just a couple of items. You’ll see the moving merchant all around the place as you explore, each time he’ll have a few different items.
Climb the ladder and hit the bell. Jump up the platforms to the left and enter the room for an Altar with 800 Tears. When you’re done drown and head to the right to visit the next area.
Next: Grilles and Ruin & Palace of the Embroideries
Back: City of the Blessed Name
