Part 12 – Backtracking #1 (West Side)
Back to Blasphemous 2
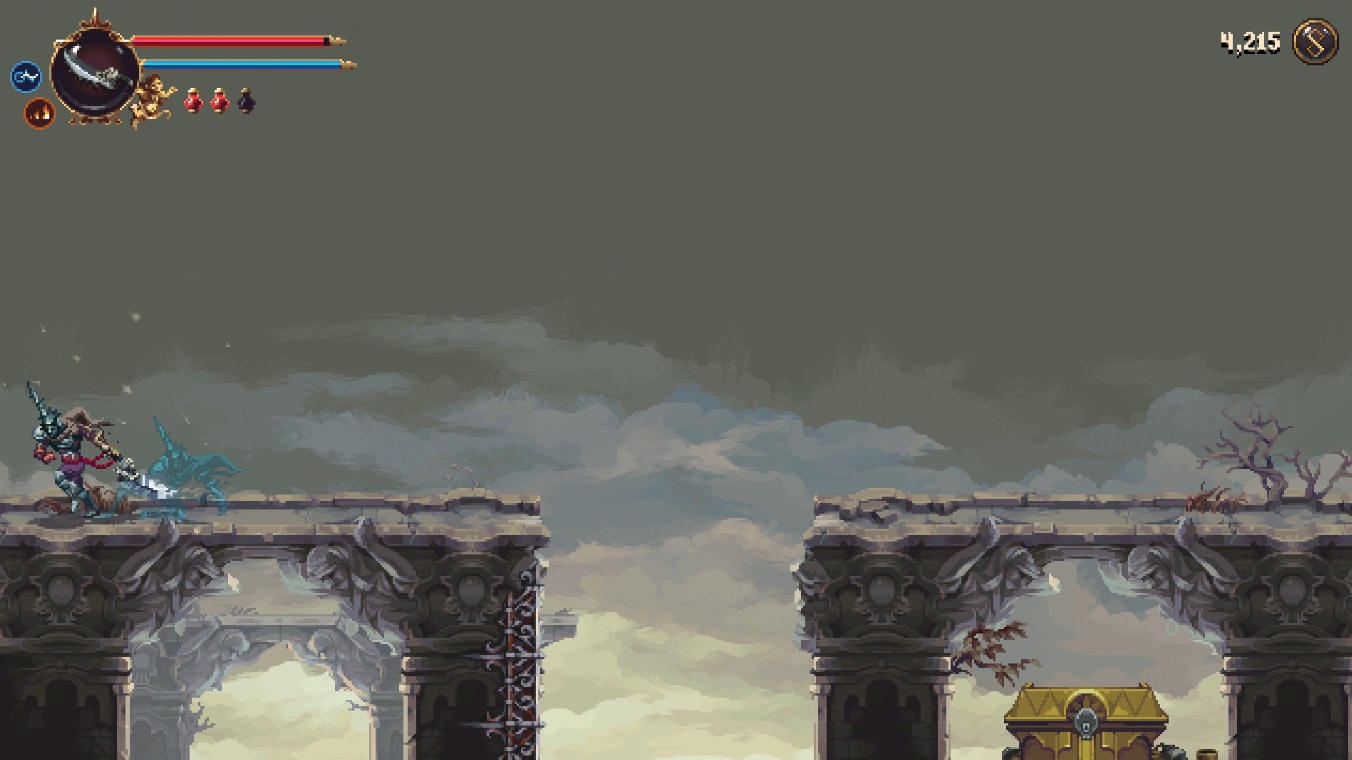
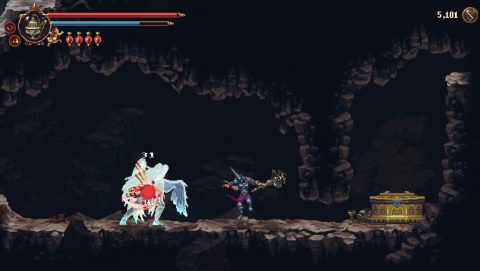
City of the Blessed Name
Climb up the ladder on the left side of the city and jump across to the ledge to the right. Enter the room for a Silver-Clad Crystal Shard. Leave the room and from the ledge jump across to the right for Cherub 28/33.
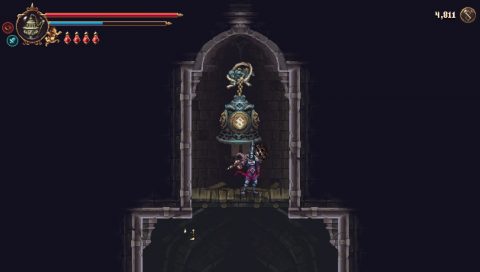
Return to the Sister’s Room and pay the 6000 Tears tribute. You’ll be able to fast travel between shrines, making this backtracking much quicker. Jump up the angel rings to the bell and cast the Chimes prayer. You’ll find Hidden Symbol #5.
On the eastern side of the city ring the bell a couple of times. Climb up the ladder and jump up the bell platforms. Jump across to a platform to the right so you can jump to the wall and then up to an Altar with a Mark of Martyrdom.
Go west from the City into the Ravine of High Stones.
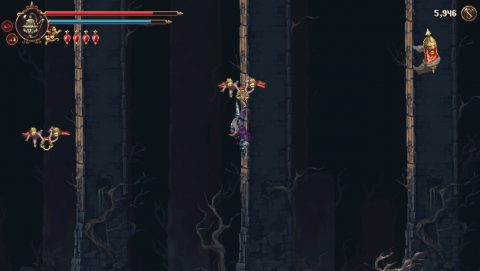
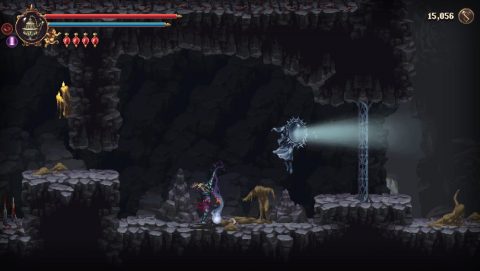
Ravine of the High Stones
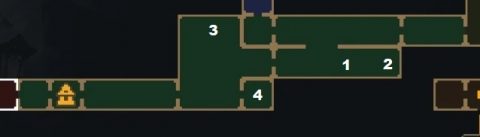
Smash down to break the floor just below the glass mechanism and ladder that you haven’t unlocked yet. Follow the underground tunnel to the right for a chest with the Nacimiento Altarpiece (1).
Slide through the rock wall to the right, get through the small battle and you’ll be able to pick up the Oils of the Blessed Mixture (2).
Head back to the left and continue left under the ladder. Go all the way to the left to the Altar and jump up the angel rings. You’ll eventually find Cherub 29/33 (3).
Drop down and you’ll spot a bell door. Just to the right in between the rock walls that you slide under you can jump up to find a bell. Ring it and run through the door. a secret hole in the roof you’ll find the bell. On the other side you’ll find an Altar with a Mark of Martyrdom (4).
Head left all the way to the starting area.
Repose of the Silent One
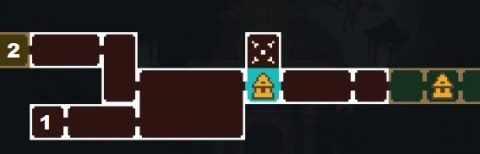
Return to where you began the game (1). Cast the Chime prayer to reveal Hidden Symbol #6 on the coffin.

From here make your way up to the entrance to the Severed Tower (2).
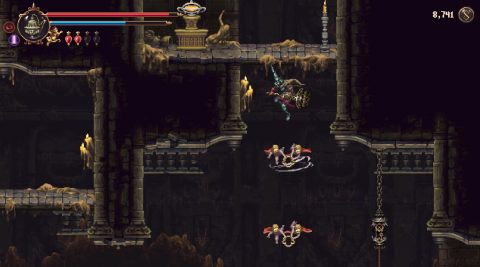
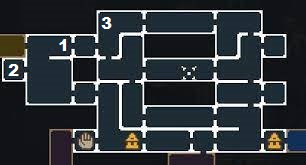
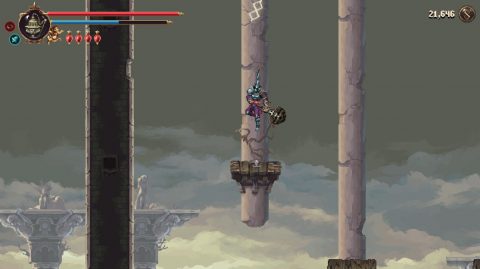
The Severed Tower
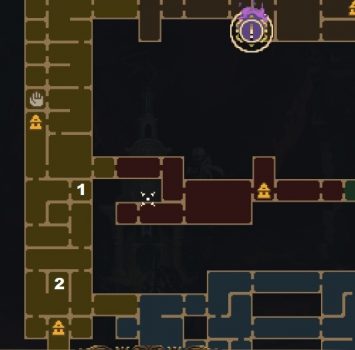
Go to the left and then drop down. Jump up the angel rings on the right side so you can enter the room in the top right corner (1) where you’ll find an Empty Receptacle. Once you pick it up you’ll have a little battle. Take out the smaller enemies and head back to the left.
Continue down through the tower and jump up the angel rings in the room above the lower shrine. You’ll find an Altar with 5000 Tears (2).
Break the wall directly to the right of the altar and you’ll find Cherub 30/33. Head to the right and enter the Sunken Cathedral.
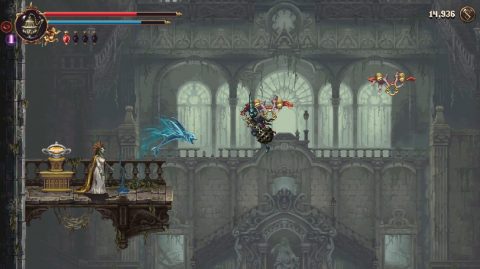
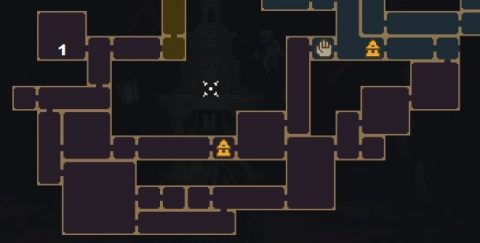
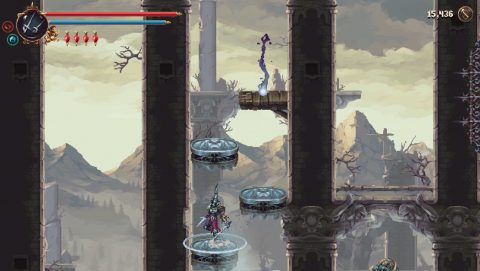
Sunken Cathedral
In the first room jump up the angel rings and break the glass mechanism in the top right corner (1). This opens the gate on the left side. Drop down the stairs and go through the exit to the left to find Daughter #2 (2).
Leave the room and take the exit to the top right and go right again. Jump up the angel rings on the right side and make your way back to the left. You’ll find an Altar with a Mark of Martyrdom (3).
Once you’ve cleared out the Sunken Cathedral run back to the Severed Tower and take the lower exit to the Labyrinth of Tides.
Labyrinth of Tides
It’s just a short stop here to pick up a wax seed. Head left to the square room and climb up the wall. Jump across the spike pit using the angel rings. Drop down on the other side and jump across another spike pit. Slide under the wall for the Wax Seed (1).
Use a shrine to travel to the Aqueduct of the Costales.
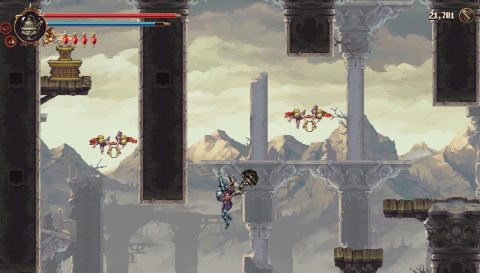
Aqueduct of the Costales
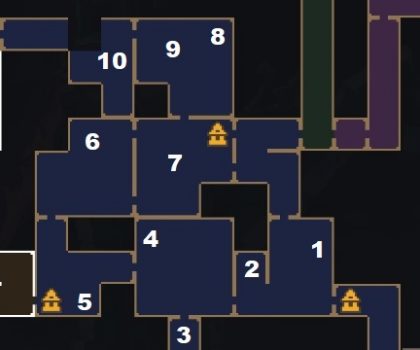
From the Shrine (S1) climb the ladder on the left. Jump across the large gap to the little ledge with the Altar. Interact with it to find a Mark of Martyrdom (1).
Drop down to the ground and keep going left past the ladder. Ring the bell and climb up the platforms to the ledge with the Tears of Sap tool (2).
From here head to the left and climb up the platforms. Smash through the breakable floors that lead down to the area below. Drop down and ring the bell. Quickly climb back up and dash through the door for 3500 Tears (3).

Climb back up to the room above. In the top left corner there’s another Altar but you’ll need to ring the bell. Quickly climb up on the left side and use the angel ring at the top. More angel rings will appear leading to the bell door.
In the Altar (4) you’ll find a Mark of Martyrdom. Drop down and take the exit to the left. Climb down the ladder, do a double jump so you can slam down and break the wall. The Altar (5) behind it will have 2000 Tears.

Climb up to the room above and hit the bell so you can slide through the door above. Make your way to the right and up the ladders. Jump across the breakable platforms to the left and land on the last one. Cast the Chime prayer to reveal Hidden Symbol #7 (6)
Next for some Tears. Head to the room to the right and a little down and to the left of the Shrine you’ll find an angel ring. Jump from the first one to the ledge on the left, then jump up to the second ring and up to the Altar (7).
Inside the Altar you’ll find 5000 Tears. Climb up to the room above the Shrine. Climb up to the top of this room.
Dash through the blue chain at the top and you’ll get caught on a small platform for a battle. Take out the enemies and the gate to the right will open. Examine the Altar for a Mark of Martyrdom (8).
Dash back through the blue chains and when you see the chest drop down. Watch out for the spikes below. You’ll need to jump and dash to the wall on the other side.

Jump up to the chest for the Votive Offering of a Hopeful Mother Rosary Bead (9). Take the exit to the left and drop down the breakable bridge. Use the angel ring to jump up to the wall on the right. Jump up to the ledge for a Wax Seed (10).

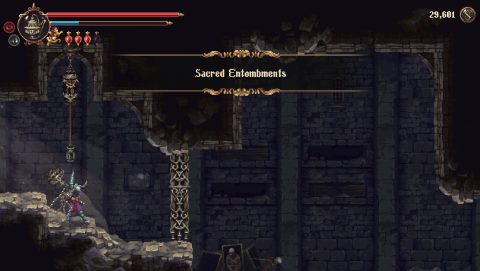
Take the exit at the top right to the Sacred Entombments.
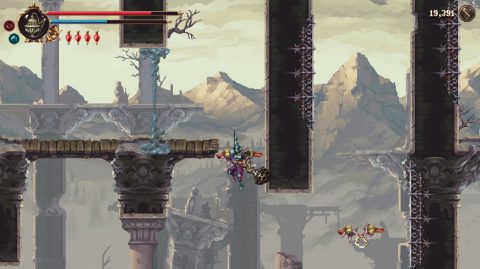
Sacred Entombments
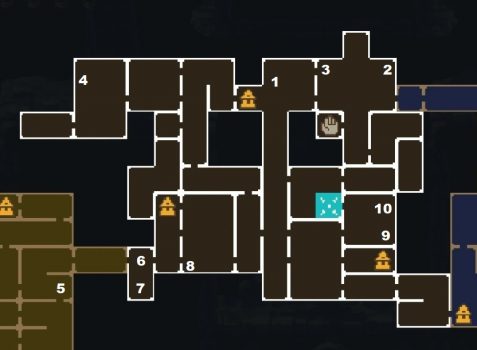
From the higher entrance head to the left, jump from the side wall to Cherub 31/33 (1) in the center above the stairwell.

Drop down to the bell and quickly climb up to take the exit through the bell door to the right. Ring the bell in the next room and jump across the platforms. Ring the bell on the other side and jump up for the Forgotten Tribute (2) on the ledge above.

Ring the bell again and jump across to the left side of the room for the Cloth of the Old Woman (3).
Head all the way to the left side of the map. Climb up the walls on the left side to find an Abandoned Rosary Knot (4).

Break the wall behind it to find Sister #7.
Fast travel to the highest shrine in the Severed Tower. We’re just going through here to open up the western entrance to the Sacred Tombs.
From the Shrine head up two rooms to (5). Break the glass mechanism to open the gate to the left and go through. Ring the bell and climb up the platforms. Take the exit to the top right.
Head over the bridge to Sacred Entombments. Break the glass mechanism to open the entrance from this side (6).
Slam down through the breakable floor and below you’ll find the Votive Offering Claimed by Rust Rosary Bead (7).
Take the exit to the right and go right again. Climb up the platforms, take a left exit and then higher right exit until you can break the chain holding the cage.
Drop down on top of it and slide to the left for The Thurifer Altarpiece (8). Head east to the room with the bell. Ring it and jump up the platforms. Take the exit to the top right. You’ll spot a chest behind a breakable wall.
Slam down to break the wall and you’ll find the Rosa of the Three Stars prayer (9) in the chest. Dash through the blue chain above it to find an Altar with a Mark of Martyrdom (10).
Next: Backtracking #2 (East Side)
Back: Streets of Wakes