Judgement
Judgement
Objectives: Make your escape from the city and find the Caravan where the cards are being played.
Special Rules: All enemies are Brimstone. Wandering units will be looking for you on each map. The Precision Gambit is twice as fast.
Tips for the Gold Token: For the Gold Token you’ll need to keep all of your companions alive. This means using them in the right order. They all must be Platinum, which means you must have already completed all of their quests. At the edge of the City Limits on the first map use Estrella. Use Ariadne the Hero for the battle with Draknar the Mighty, for the confrontation with the Clan use Colbjorn and finally Malaclypse will help you out when you are surrounded by Empire soldiers.
Deck Construction: When you begin the quest you’ll be given one piece of each type of equipment. I found it best to only add one weapon, helmet, breastplate and shield to the deck so that you can be sure you’ll get it straight away. You can then bring all of your rings and most of the artifacts. The Cardinal Sword is good for this quest as it has an 8-way attack that works well against large groups of enemies.
Escape the City: This quest is a battle-fest with one large fight after another. You’ll be facing all kinds of opponents but mostly Empire. For the first map you’ll need to make it through the gate in the walls. Once you get there you’ll be confronted with a large group of Corrupted. You can either accept the Goblins advice and find an alternative way to the other side or brute force your way through the gate. If you follow the Goblin he’ll demand two pieces of equipment as payment. I found it best to just go through the gate and keep my equipment.
At the gate, if you choose to fight, each of your companions can attempt to remove one of the 8 enemies. You will take a Pain card for any enemies above the first 4. Once you defeat them you’ll be across to the other side. Make your way to the City Limits.
There are too many guards here to get out safely. Use Estrella to distract the guards. She needs to be Platinum level (Estrella the Rebel) or she won’t survive.
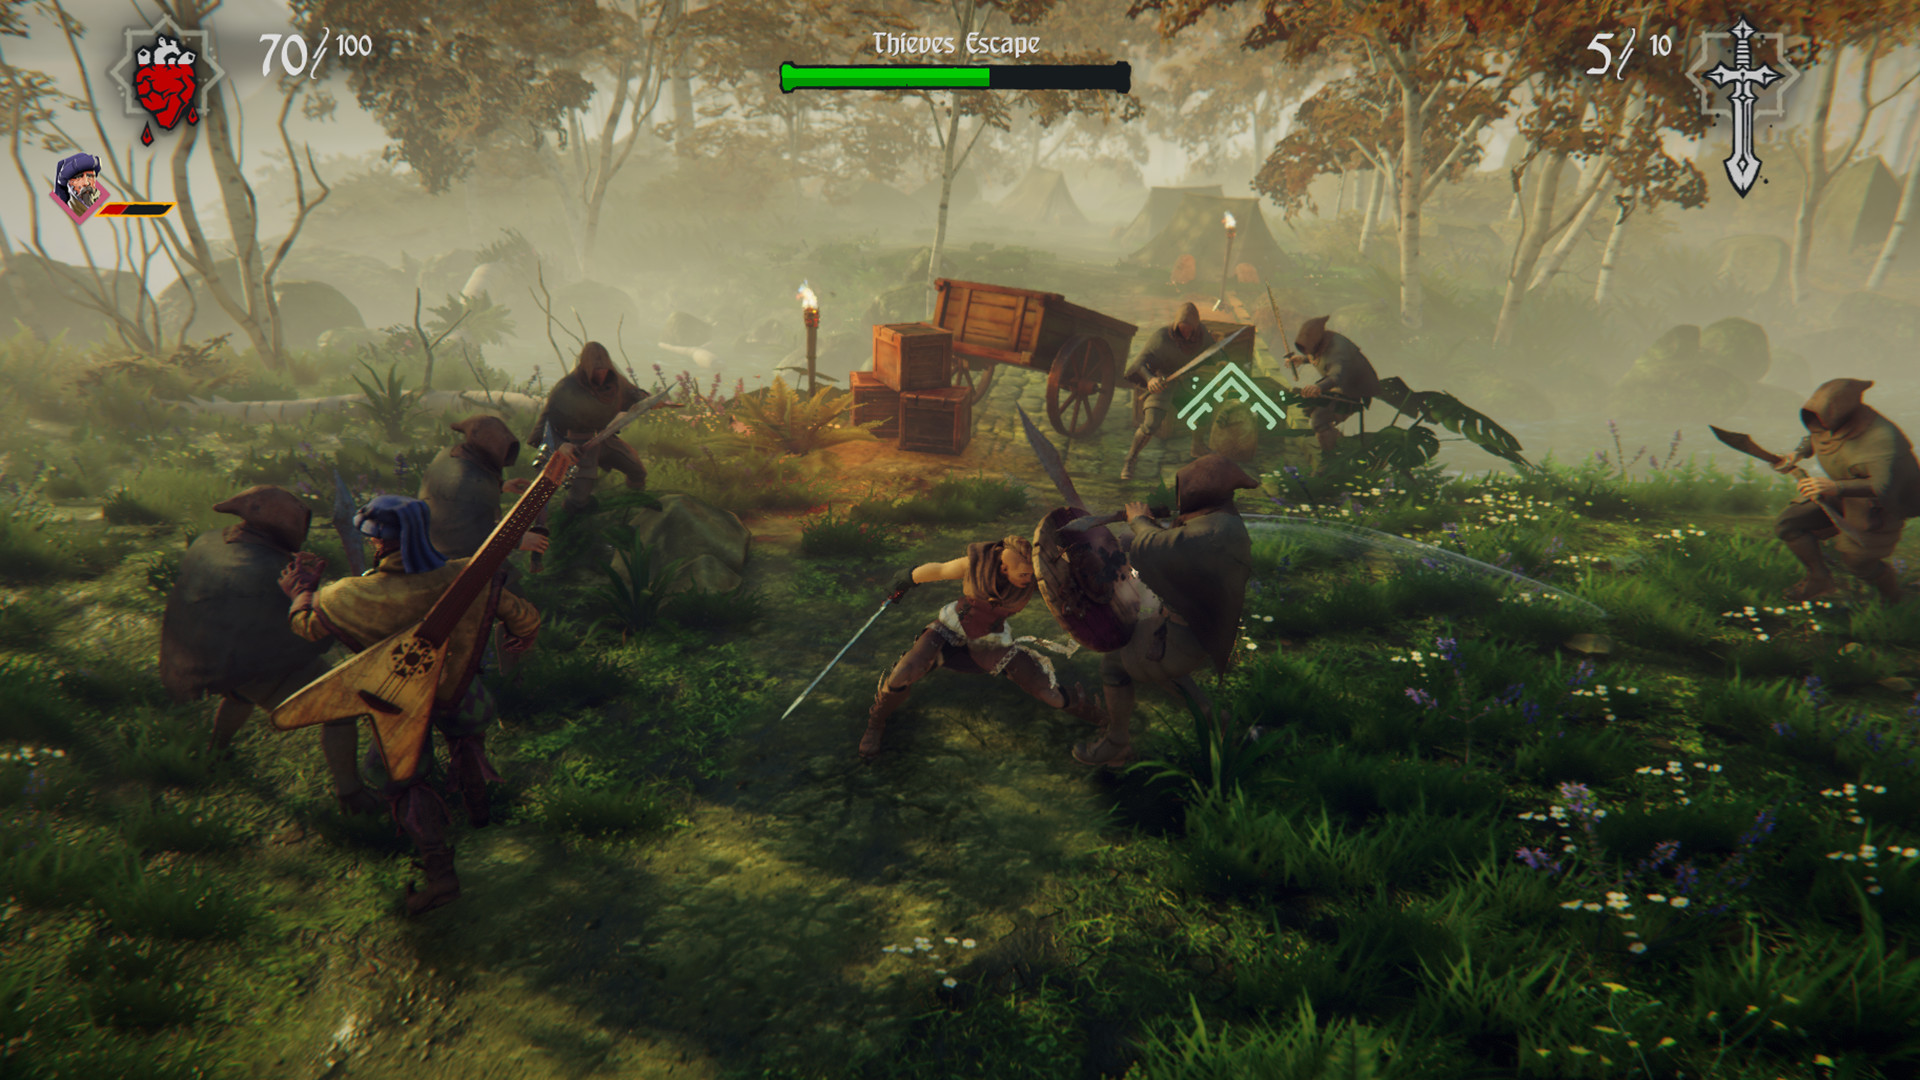
Cross the River: On the second map you’ll need to make it past a River Crossing guarded by Thieves. Thieves I find the most difficult to predict and therefore the most difficult to defeat in battle. Artifacts such as the Lion’s Heart can really help out in these tough battles.
Once across to the other side make your way to the Out of the Mud brimstone card. It’s here where you come face-to-face with Draknar the Mighty. Choose Ariadne to fight him in combat. If she’s Platinum she’ll win the fight and continue with you on your journey. Otherwise she will die.
Hinterlands: For the last map you need to make your way through the Hinterlands. As you go through the pass between the mountains you’ll be ambushed by raiders before coming on the Raider’s Camp. Once again you can choose to face them or follow the Goblin through a cavern. If you fight them your companions will try to remove some of them. You’ll then take a pain card for any monsters above the first four cards.
Make your way to the Northern Pass. Colbjorn will be needed to get past this challenge. If he’s not platinum then he’ll die and you’ll lose him for the rest of the quest.
Flee the Wilds: There’s only one path to take here. Head straight towards the A New Beginning card in the middle. Once the Imperial Soldiers surround you your companions will have one last chance to remove monster cards. If any remain beyond the first four you’ll take pain cards for them.
Traitorous Knight
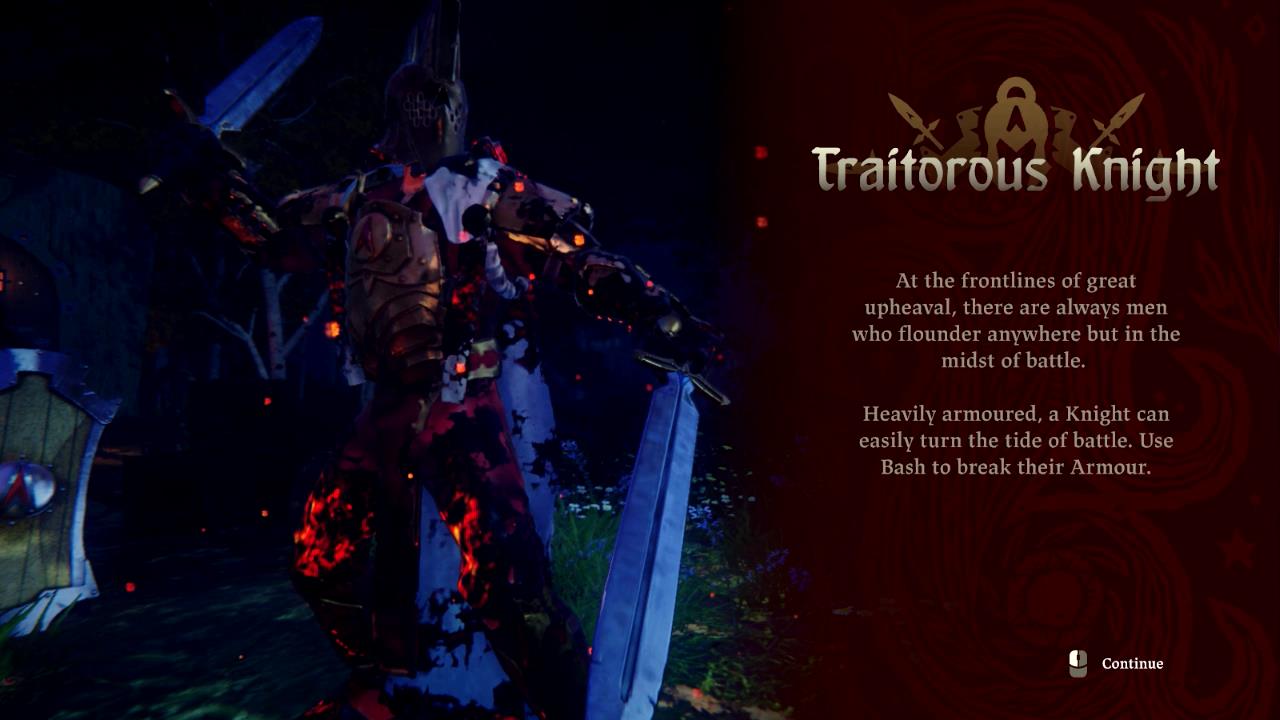
You’ll likely be facing a lot of enemies for this battle. After this long quest you should be used to the combat so kill all of the Empire Soldiers and defeat the Traitorous Knight to complete this mission.
Next: The World
Back: Hand of Fate 2