Aquatic Research Center
Back to Angel of Darkness
Press the yellow Button to open the airlock door and drop down to the left. There are 2 Turrets in this room so you’ll need to duck down and use your commando crawl. Crawl around the left side of the room and stand up to turn the Valve. This should release steam clouds into the room, making it harder for the cannons to spot you.
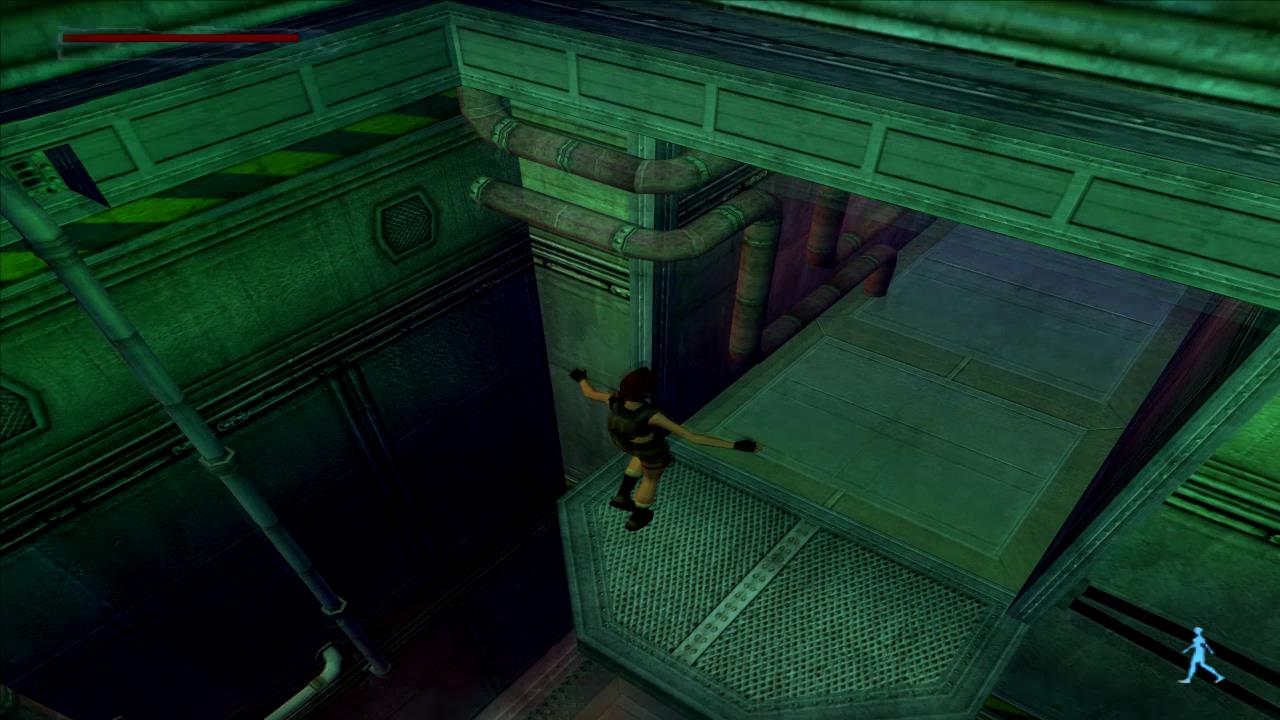
Crawl back through the small gap, stand up and run behind the second turret to the far wall. Climb up the pipe, traverse to the right and climb up a second pipe. Grab onto the thin ledge, continue traversing to the right and drop down onto the walkway below.
Follow the passage around to a long tunnel with 2 Turrets at the end. Draw your weapon and shoot at the tanks to the left of them. They should blow out, destroying the turrets.
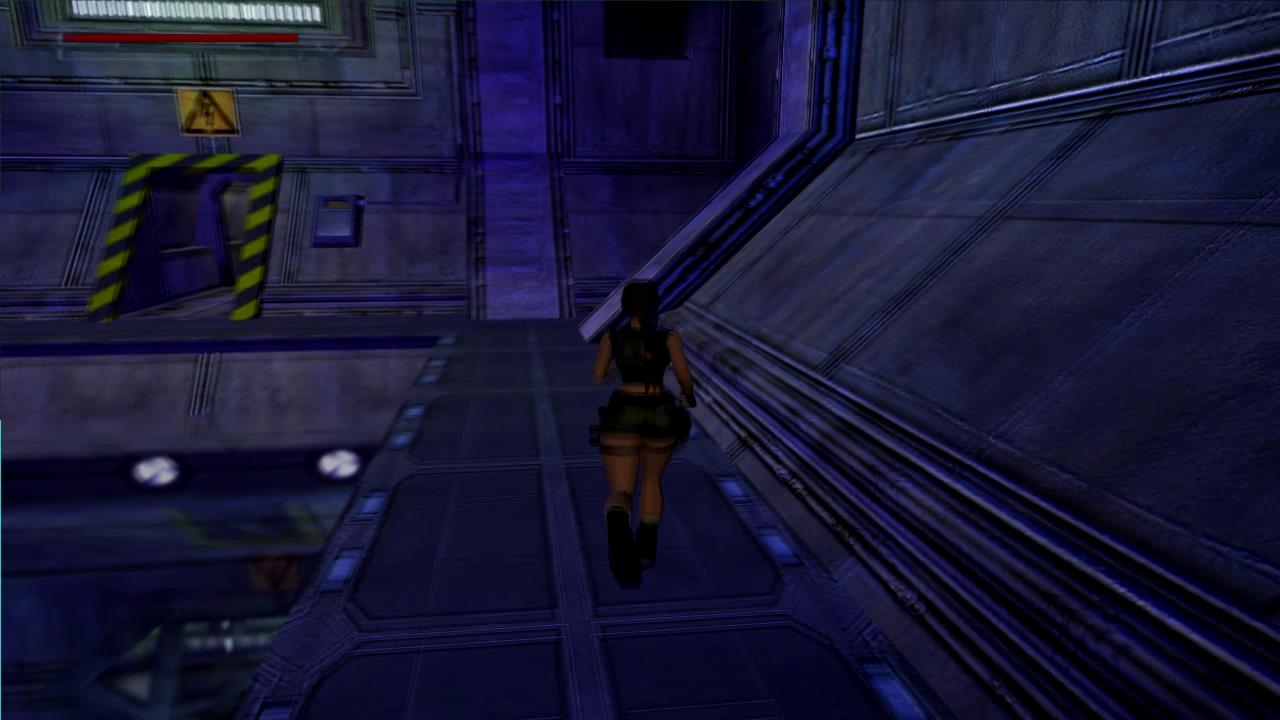
Run down the corridor, push the yellow Button on the right and go through the door. Climb the ladder to the top and run around the corridor to another door. Go through to the large room with pools.
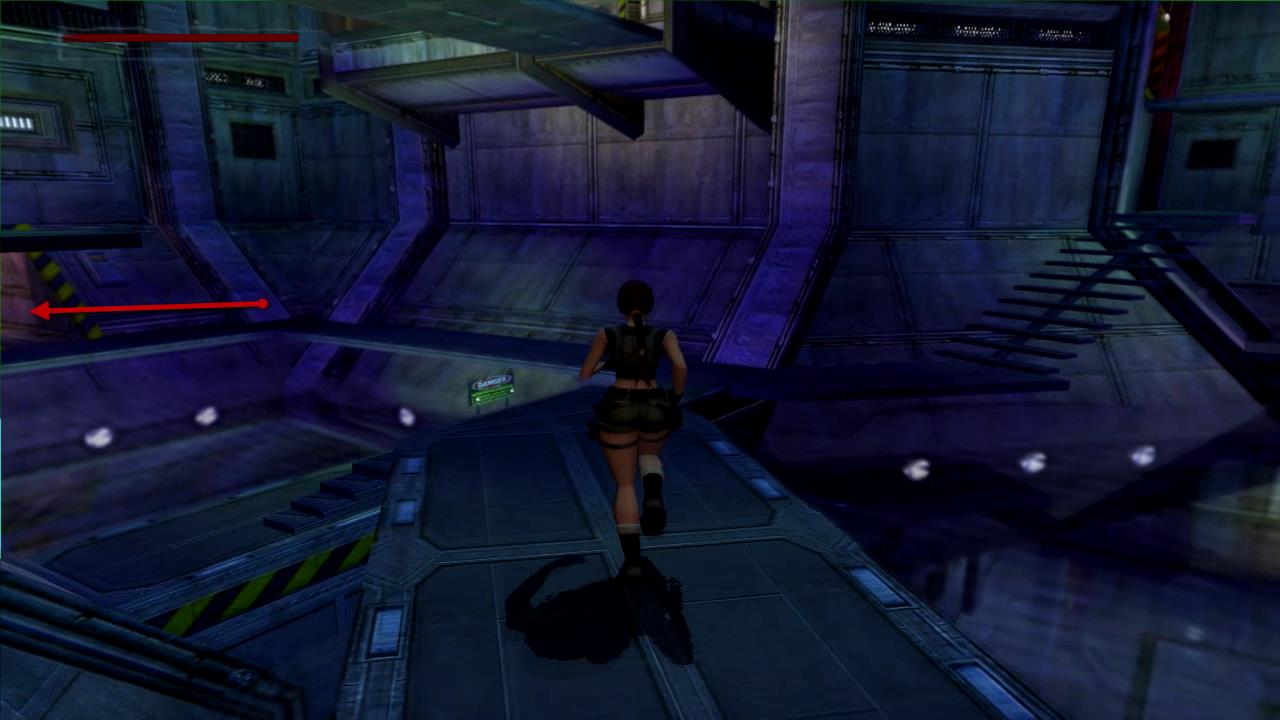
As you enter there’s a short cut-scene showing the status of the power which is still down. Head down the stairs to the right and follow the path around to the right until you can see the exit with the striped yellow around it.
Dive into the pool in front of it and swim through the broken observation window. Pull the Lever to restore power to one of the computers and to open a door elsewhere. Turn around and swim to the other side of the observation area. Swim up until you reach the top of the water and climb out.
Pick up the Small Medipak on the left side of the room and then push the yellow Button to open the exit. Follow the passage along until you emerge back out in the big pool area.
Head to the left and follow the paths around to the other side of the pool area. Enter through the door you just opened with the yellow stripes around it.
Follow the passage around and push the yellow Button to open the door. Go through and pull the Switch on the right side to open the door to the lift. Walk into the elevator and push the Button to take the lift down.
Head down the stairs and through the next door which opens automatically. Pull the Lever at the end of the observation area to restore power to the second control panel.
Head back and pull the Switch to open the door to the lift. Press the Button to take the lift back up. Follow the passage back to the big pool area. You’ll see a cut-scene of where you need to go.
Run up the stairs to the right and turn right when you reach the walkway. Pull the bucket out until it’s on the pad on the floor. Push the Button next to the walkway to move the bucket to the other side. Follow the bucket and push it as far as you can into the room to the right. Pull the Lever to fill the bucket up with chum for the creature in the pool below.
Pull the bucket back to the pad. Lara will gain an Upper-Body Strength Upgrade. Press the Button to send it back to the other side. Push the bucket back to the platform. It’s now ready to be lowered into the pool.
Head down the stairs back to the ground level and make your way around to the opposite side. Go up the stairs to the platform with small boxes and climb up the ladder. Go through the open door and follow the walkway around to a pipe. Climb up the pipe, traverse to the right and climb up the second pipe. When you reach the top grab the thin ledge and traverse to the left. When you’re above the walkway drop down.
Push the yellow Button to call over the moving platform and stand on it to be taken to the other side. Go through the doors and to the left. Pull the Switch to lower the chum bucket into the water. The beast will now be distracted by the food and won’t attack you. Turn around and push the Button to open the door opposite the moving platform. Go through and push another Button for the next door. Shoot the Guard and search the closets on the left and right side of the door for a Viper Clip and Mag Clip.
Go back to the moving platform and drop down to the water below. Swim ahead to the Lever marked 1 and pull it. Take a breath and dive back under the water. Swim through the open hatch marked 2 and then up until Lara pulls up out of the water. She’ll put on a wetsuit and the room will fill with water.
Pull the Switch and swim back down the way you came. Go through the trapdoor you just opened at the bottom of the pool to complete the level.
Back: Maximum Containment Area Next: The Vault of Trophies