Von Croy’s Apartment
Back to Angel of Darkness
You begin this level with all of your guns missing but you still have all of your ammo and health items. The painting that you found in the last level will be gone, Kurtis has stolen it, but Lara has managed to steal one of his Crystal Shards.
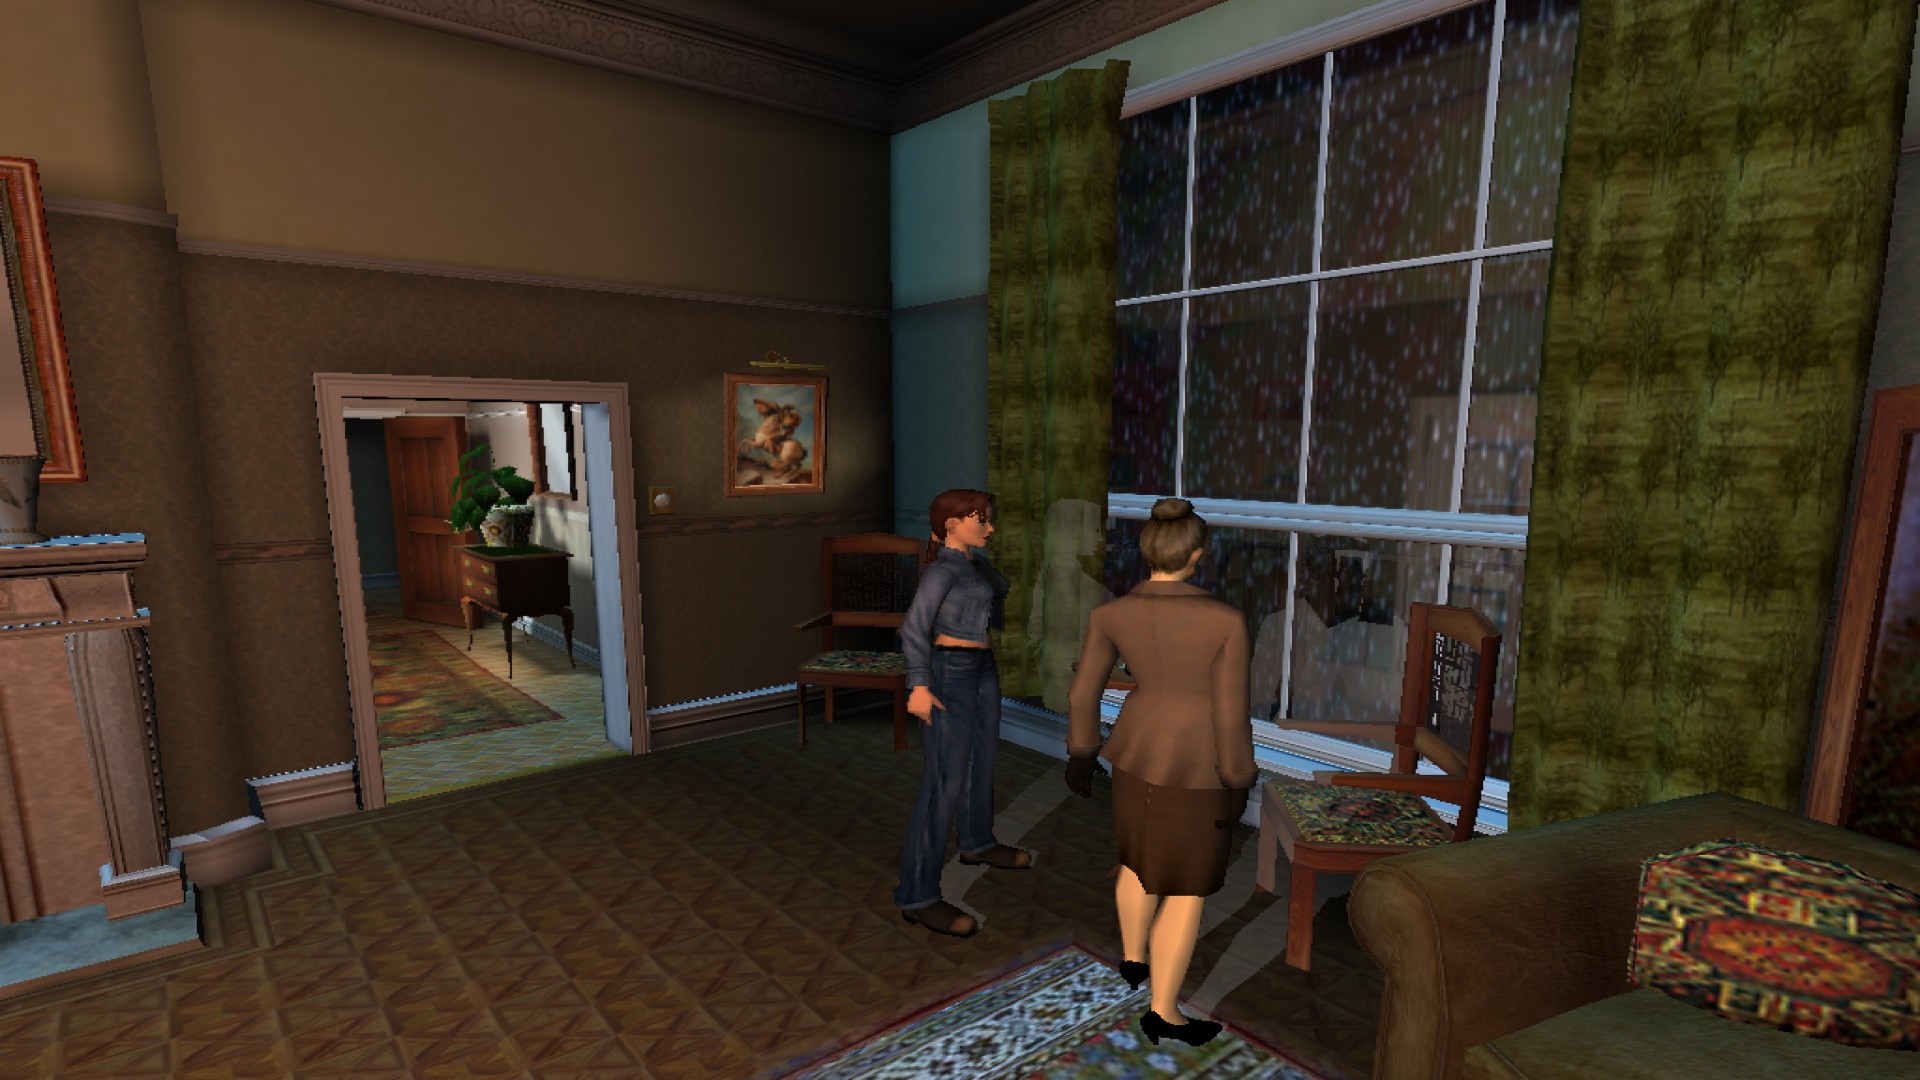
You begin on the downstairs level of Werner’s apartment. The Cleaner will show up when you pick up Von Croy’s Jackal Walking Stick so pick that up last. Stay out of the foyer for now as it’s trapped with trip wires and explosives.
In the study area you can use the computer for information on the Lux Veritas and search the desk for information on the Sanglyph. Behind the dining table you’ll find 2 Rigg Clips on the floor. In the kitchen you’ll find 3 Rigg Clips on the floor and counters. Behind the spiral staircase you’ll find Bandages.
Open the door to the right of the spiral staircase and Lara will get the Lower-Body Strength Upgrade. Inside the small room you’ll find 3 Rigg Clips. Go up the stairs to the bathroom.
There’s a Small Medipak on the wall by the entrance. Kick open the door to the bedroom and read the book on the writing desk for information on the Cabal. On the floor you’ll find 2 Rigg Clips. In the walk-in closet area you’ll find a Large Health Pack and 2 Rigg Clips on the floor.
Head down the spiral staircase and if you have everything pick up Von Croy’s Jackal Walking Stick. The Cleaner will enter through the foyer. You can duck down behind the couch or hide behind the pylon. Lara is terrible with moving and aiming so you may need to stay still and just heal up if you take too much damage. Eventually the Cleaner will run away when he’s taken too much damage.
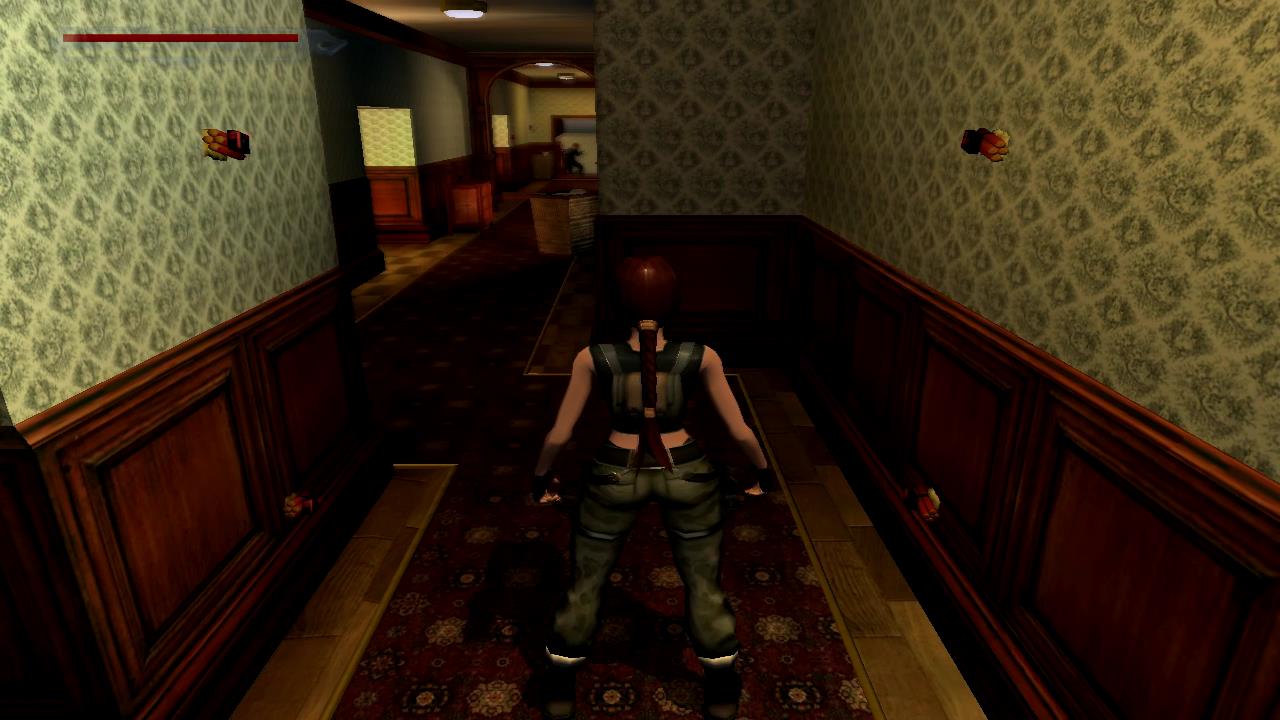
Follow the Cleaner out through the foyer which is no longer trapped. Go left, right and then all the way to the red door. Use Action and Lara will kick it open. Watch out for the laser tripwires to the left and pick up the Rigg Clip and Small Medipak.
Return to the hallway and enter the first room on the right. When you pick up the Rigg Clip on the floor by the couch the Cleaner will blast his way through the wall. Keep shooting at him until he runs off again. This time he’ll drop his Viper SMG and 2 Viper Clips.
Follow the Cleaner out through the hole and pick up the Chocolate Bar on the desk and the Cleaner’s gun and ammo. Walk through the open door and look down the hallway to the right. It’s lined with lasers. Commando crawl under them to the other side. Once you reach the corner an explosive will go off.
Climb onto the railing and jump across the gap to the right side of the fire. At the end of the passage ahead is a Small Medipak.
Return the way you came and jump over the railing to the landing in the far left corner. Turn around and jump across the gap in the stairs and then safety drop between the gap in the railing to the floor below. On the table you’ll find a Large Health Pack and on the floor under the stairs a Rigg Clip and Viper Clip.
Go back up the stairs and take the first corridor to the left. The Cleaner is waiting at the other end and he’s set a few traps for you.
Run through the first laser trips when it blinks off and take cover in the small alcove ahead and to the left where you’ll find a Rigg Clip on the floor. Run to the next alcove on the right for another Rigg Clip.
When the next set of lasers blink off run through them and jump over the next low lasers. Take cover in the alcove to the left. When the next set of laser blink off run forwards and take out the Cleaner. Don’t get too close to the last set of lasers blocking the door. When he dies you’ll see a final cut-scene before the level ends.
Back: Galleries Under Siege Next: The Monstrum Crime Scene