Eckhardt’s Lab
Back to Angel of Darkness
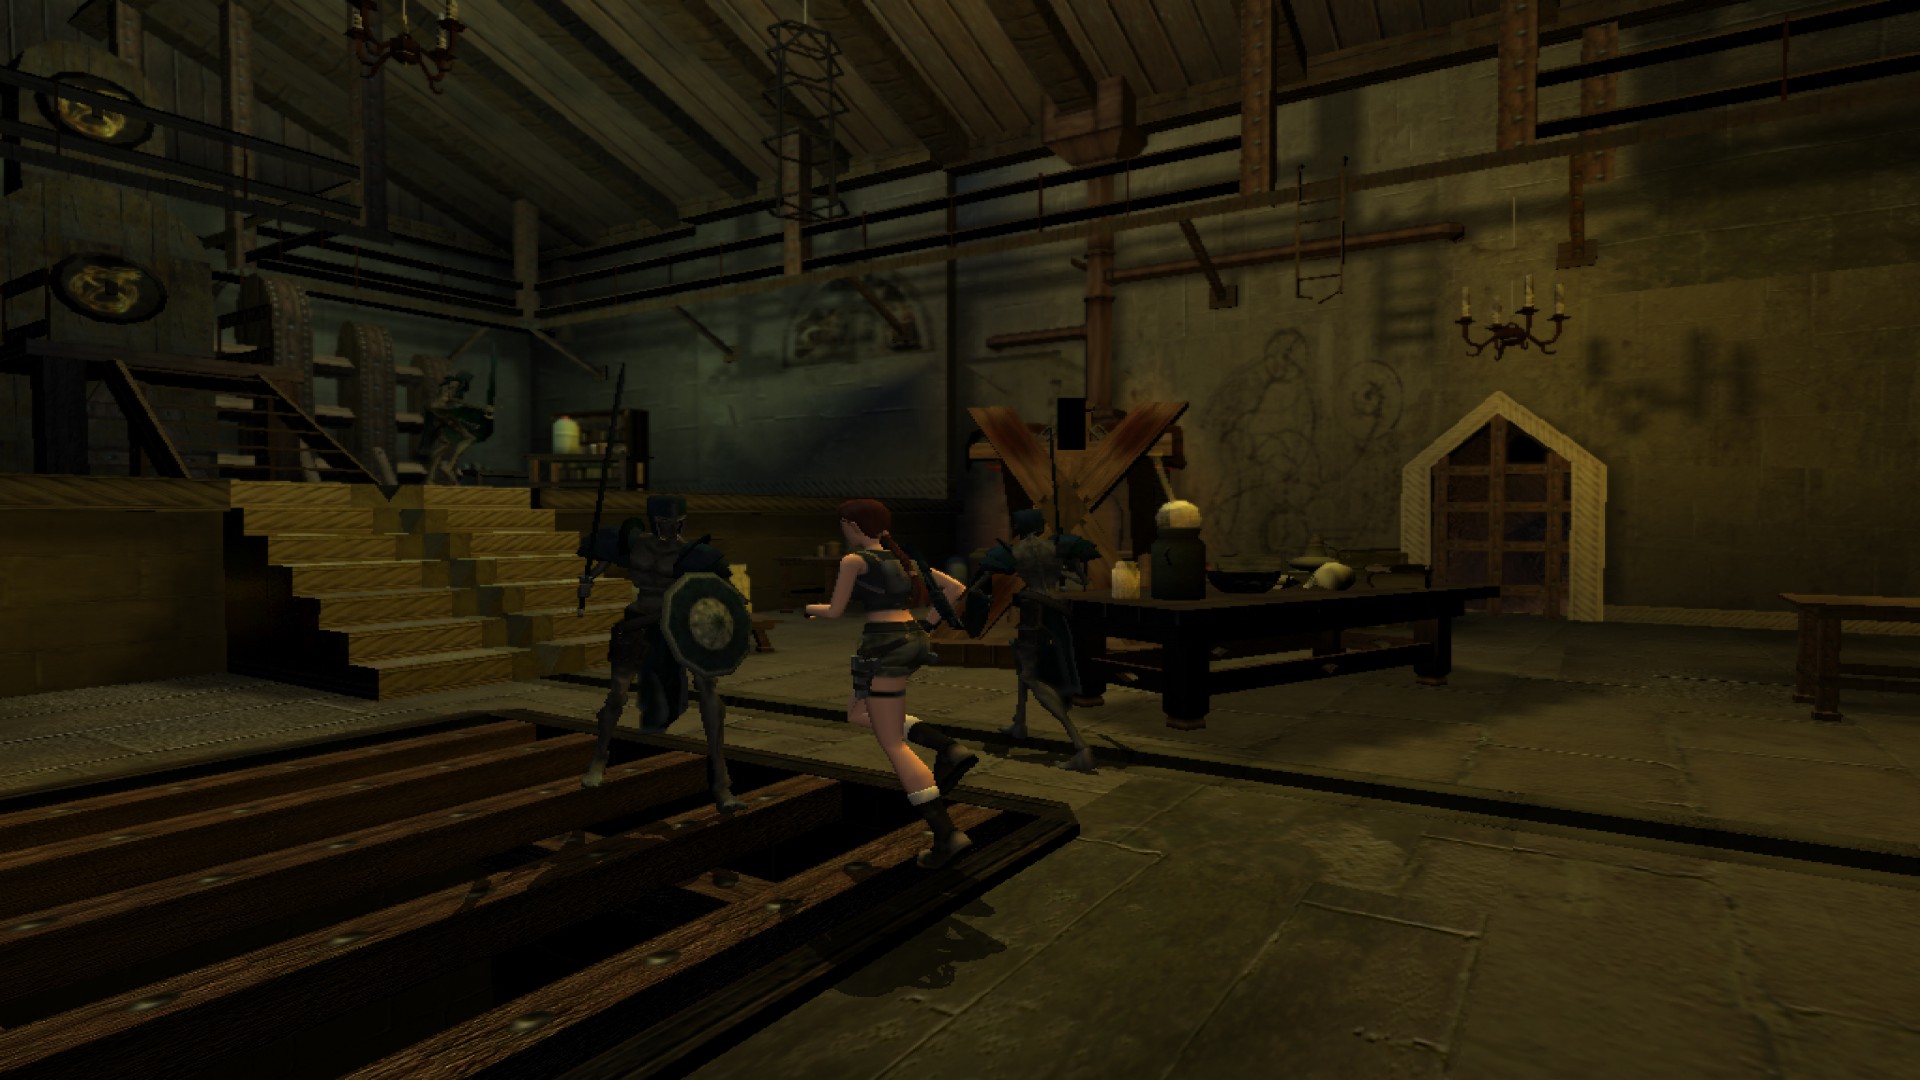
Run forwards and slide down the slope on the left side. While sliding jump forwards to land on the rock ledge ahead. Take a standing jump to clear the lava pit and next set of spikes. Run down the tunnel into the alchemist’s lab.
Run up the stairs to the left, run around the left side of the platform and crawl under for a Small Medipak. Crawl out the other side and pick up the first Alchemic Phial of Purified Oxygen from the table in the corner.
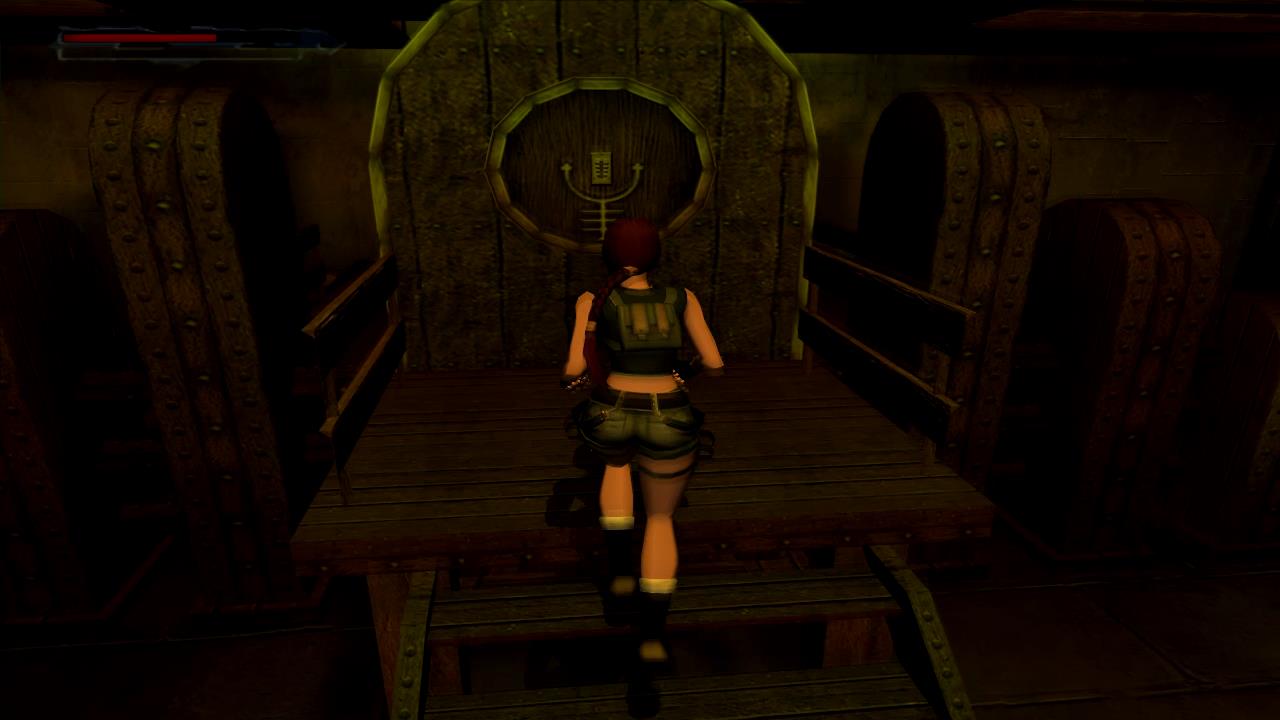
Run back down the stairs and pull the Lever to open the trapdoor and lift up the hatch that’s blocking the ladder. This also release 2 Undead Knights but just ignore them because you can’t kill them. Climb up the ladder and run around to the right. There’s a Large Health Pack on the wooden beam running along the wall at the back of the room. To jump to it stand between the gap in the railing and take a standing jump to grab onto the beam. Pull up and walk along to the left. Pick up the Large Health Pack, turn to the left and take a standing jump back to the wooden walkway.
Run back towards the ladder and take a standing jump onto the top of the dangling cage. Drop down into the cage through the trapdoor that opens to the right of the rope. Pick up the second Alchemic Phial of Purified Hydrogen and quickly climb back out to the top of the cage as it gets lowered into the pit below.
Climb into the passage on one side of the walls and pick up the third Alchemic Phial of Purified Salt. To get out of the pit climb up the wall as far as you can go. You can climb over the lip of the pit so backflip to land outside the pit on the other side.
Climb up the stairs and place the second Alchemic Phial in the receptacle.
Run to the opposite side of the room and through to the next room with the boiling water. On the other side of the pool is the receptacle for the third Alchemic Phial. Place it in the slot and run back to the other room. Climb up the ladder and run around the walkway to the right. Place the first Alchemic Phial in the receptacle.
With all three phials in place a cooling substance will flow into the pool of boiling water. Drop back down to the floor and dive into the pool. Swim to the bottom to pick up the Periapt Shard from the underwater pedestal. This will open a gate in the lab.
Swim back out and go through the gate you just opened. Slide down the tunnel and push open the door at the end. Run forwards to the center of the room for a showdown with Eckhardt.
Defeating Eckhardt
The central area is surrounded by a force field with Lara in the middle and Eckhardt running around the outside. Eckhardt will shoot lightning bolts at you but if you stay in the commando crawl he can’t hurt you. After a while he’ll create three copies of himself. These copies will come running towards the center. When they meet in the middle you’ll have a few seconds to punch them. When you do Eckhardt will fall down and Lara will stab him with one of the shards.
This process repeats again with Echkardt shooting fireballs and lightning bolts again. Hit the copies of Eckhardt when they join in the middle and each time Lara will stab him with another one of the shards.
The Nephilim
Once Eckhardt has been defeated the real bad guy will reveal himself. You can fight him directly but instead need to run to the Sleeper dangling high up in the room.
When the battle begins quickly run towards Eckhardt’s body and pick up Eckhardt’s Glove. Your notebook will be updated with the goal of using the glove to destroy the Sleeper. Run to the back of the pillar to the left and press Action to use the glove in the receptacle. This lowers two ladders.
Turn left and climb up the ladder. You’ll need to keep moving quickly or get hit by Karel’s blasts. Run around to the other side of the room and climb up the next ladder. Run around to the left and climb up the third ladder just before the end of the walkway.
Run around to the left and then along the walkway leading to the center of the room. Take a running jump towards the Sleeper to see the final cut-scene and complete the game!