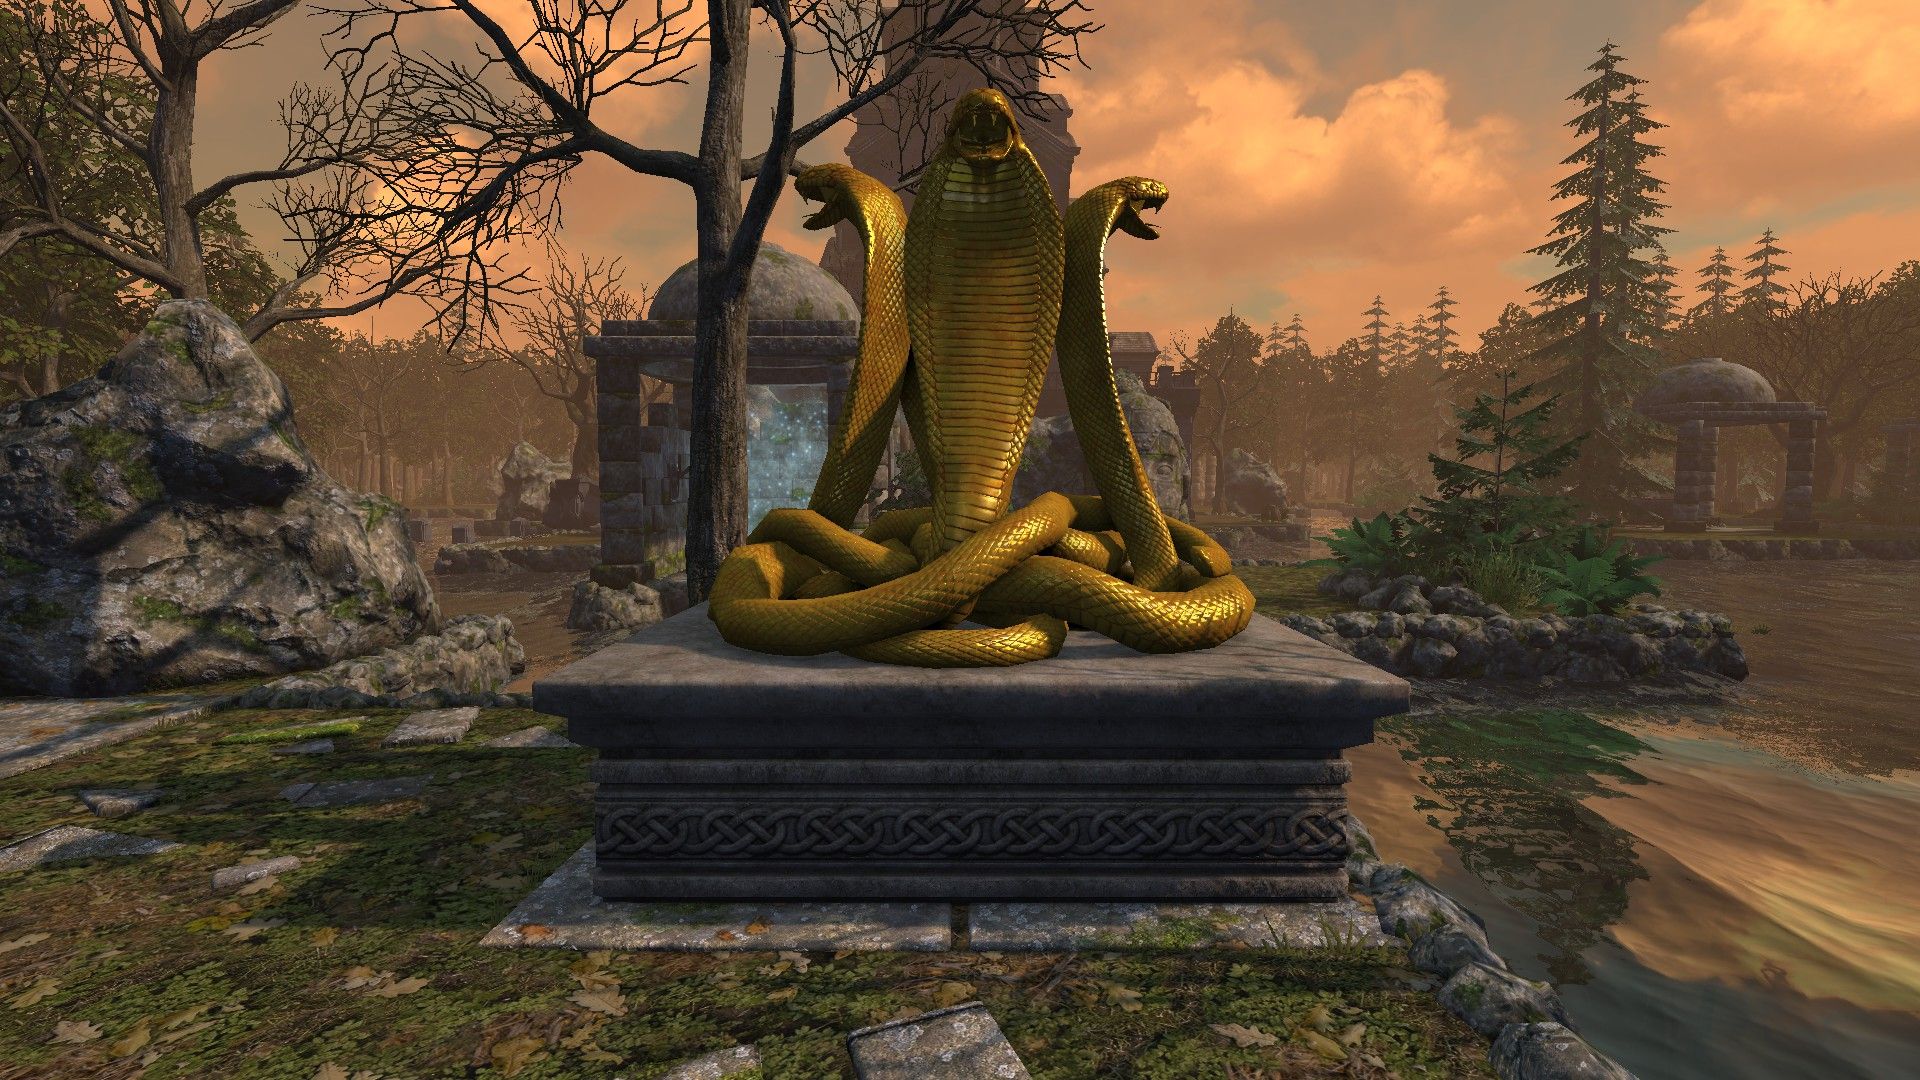
Shipwreck Beach
Back to Legend of Grimrock 2
You begin on Shipwreck Beach still trapped in a cage. To get out pick up the branch and use it to smash open the cage door. While exploring this area you’ll come across Giant Turtles and water humanoid creatures called Zarchtons. The Zarchtons have a jumping melee attack, leaping over a square to reach you. Take your time searching the area because you’ll soon be fighting your first boss, the Viper Roots.
Shipwreck Beach Map
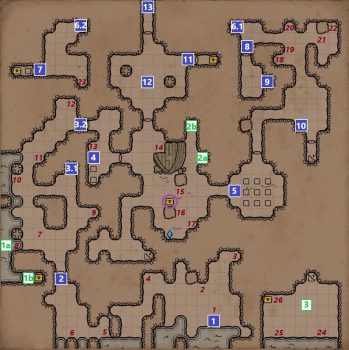
Main story elements are numbered in white, secrets in green and other items in red.
Shipwreck Beach Walkthrough
1: Pick up the branch and use it to break open the cage.
2: Press the button to open the door.
3.1: Iron Key to the gate at 3.2.
3.2: You’ll find the Key to this gate near the campfire at 3.1.
4: Throw an item onto the furthest pressure plate and stand on the one closest to you to open the gate to the east.
5: Place items on the pressure plates to form an X. This opens the gate to the north. You can pick up your items once the gate is open.
6.1: Teleporter (Windgate) entrance.
6.2: Teleporter (Windgate) exit.
7: Put an item through the bars onto the pressure plate to open the gate. The chest contains an Ornate Key, Dagger and Healing Potion.
8: Open this door with the Ornate Key found at 7.
9: A chest with a clue to the buried treasure, a Rapier, Shovel, Scroll of Poison Cloud and a Falconskyre. The Rapier can be placed into the hands of statues to open up new passages.
10: Place the Rapier in the statues hands to open the passage down to the Dead Sailor’s Cave.
11: Use a Golden Key to open the door to a bonus chest with the Backbiter, Potion of Strength and 10 x Pellets.
12: To call the Viper Roots boss you’ll need the Horn of Summoning from the Dead Sailor’s Cave. The arena will close and you’ll face 2 of these creatures. They pop up from the ground and attack or shoot a poison bolt before digging back into the ground. Each Viper Root takes up 50% of the health of the boss bar. When both have been killed they will drop a Power Gem and both exits to the arena will be opened.
13: Exit to Twigroot Forest
Secrets
Secret 1: Step out into the ocean (1a), walk south and then to a hidden chest at secret 1b. Inside you’ll find some Shoes, Torch and Smoked Sea Bass.
Secret 2: When you find the Rapier place it in the statues hands (2a) to the east of the ship remains. The wall to the north (2b) will open revealing a Gold Key.
Secret 3: Go through the Dead Sailor’s Cave to reach this little beach. You’ll find a few random items as well as a locked chest with the Thraelm Tribal Mask and a Healing Potion.
Buried Treasure
The clue to the location of the buried treasure is found in one of the chests. It reads “At the lone oak, in the shadow of the blue light, I buried it. – Captain Kilhagan”
Find the tree to the north of the Crystal of Life and dig one square north of the tree (circled in purple). Inside the chest you’ll find the Embalmer’s Robe and a Healing Potion.
List of Items
1: Branch
2: Food
3: Rock
4: Torn Breeches
5: Bone Club
6: Etherweed
7: Food
8: Etherweed
9: Darts
10: Sandals
11: Food
12: Rock
13: Tattered Shirt
14: Xafi Robe
15: Throwing Knife x 3
16: Food
17: Scroll of Fireburst
18: Peasant’s Cap
19: Falconskyre
20: Falconskyre
21: Falconskyre
22: Blooddrop Cap
23: Sling, Rock x 3
24: Etherweed
25: Etherweed
26: Thraelm Tribal Mask and a Healing Potion.
Next: Down to Dead Sailor’s Cave or north to Twigroot Forest
Back: Legend of Grimrock 2