Road to Gehenna Secret Zone
Back to The Talos Principle
To reach the Secret Zone head around the back of Dome 4. You’ll spot a floating island behind it. Take the fan to the next island and continue until there’s an island without a fan. Drop down to the island below and use the fan for one final boost.
Complete the sigil puzzle. You’ll need to find at least 10 stars to have the sigils. Here’s one solution.
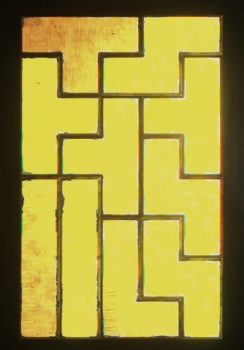
When the dome opens go through the portal to the secret area. These are all short but tricky puzzles.
Double Trouble
The lasers will open the barriers to the sigil but they also power the turrets. Bring both Jammers to the front side. Jam the first barrier and then the one behind it.
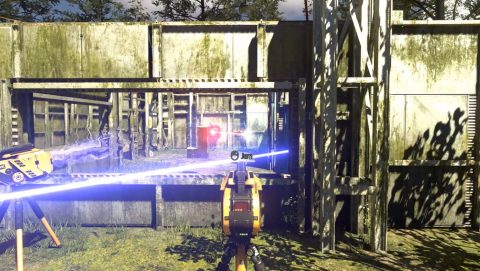
To disable the turrets remove the Jammer disabling the front barrier. The other jammer will still be locked onto the barrier behind.
Bring the Jammer around past the turrets and disable the first barrier through the window. Make sure you’re safely out of range of the turrets.
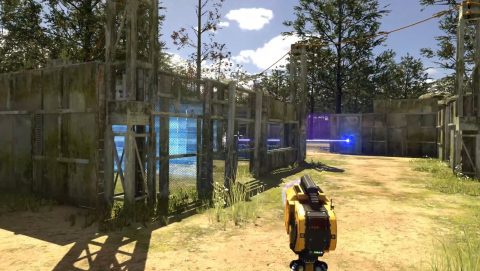
Run around and grab the Sigil.
Temporal Solution
Begin by placing two of the Connectors on either side connecting the lasers to the respective receptors. They will block each other out.
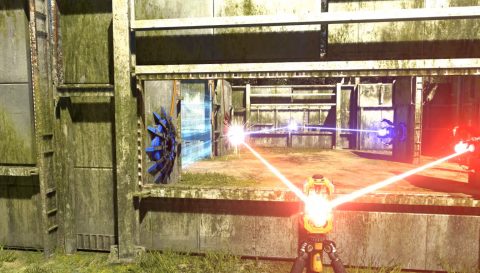
Use the third Connector to target the blue laser through the barrier. This blocks off the blue and lets the red laser hit the receptor. The first barrier will open.
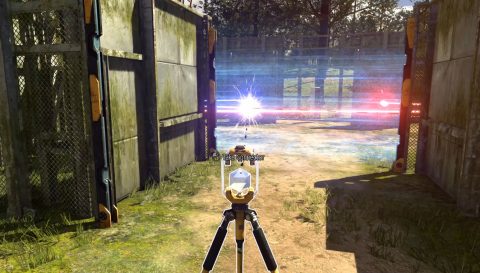
Pick up the Connector, step forwards and target the red laser. The next barrier will open. Go through and grab the Sigil.
Ray Mania
There is an easy way and a hard way to do this. The easy way is to run around to the hill at the back and jump onto the wall. Jump onto the next wall and drop down to the room with the Sigil.
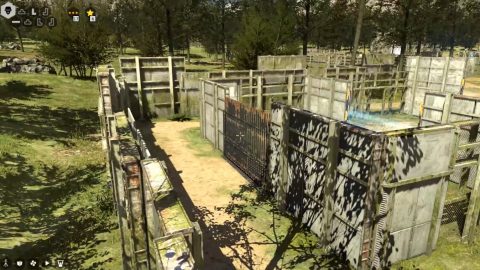
The hard way:
Use the Jammer to disable all four barriers and grab the four Connectors. The barriers in line with the sigil require one laser to open. The ones on the sides need two lasers.
You want to use the double laser barriers eventually but start by Jamming the blue barrier with red laser inside.
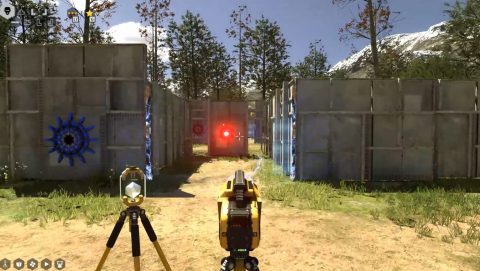
Grab the red laser and connector to the red receptors on either side and the red laser in the right room. Place the Connector in the center.
Use two Connectors to bring the red laser around the left building to the red receptor with the blue laser inside.
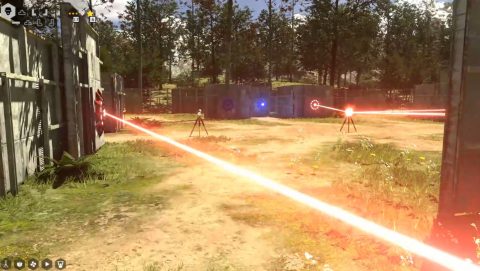
Use the final connector to bring the blue laser to the two blue receptors on the double laser barriers. Also connect to the blue laser in the left room.
The double laser barriers should now be self powering, this frees up two of the Connectors.
Bring the blue laser around the right building to the blue receptor on the sigil barrier. Bring the red laser between the buildings to the red receptor on the left side.
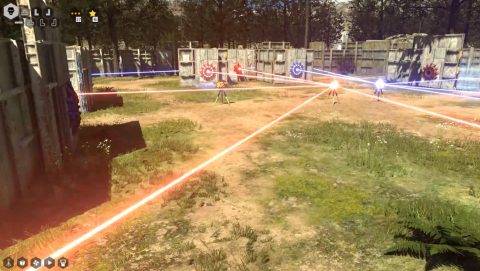
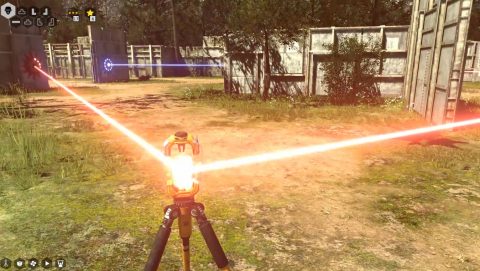
The two lasers will open the barrier so you can run through. Grab the Jammer to open the second barrier for the Sigil.
Binary
Use the 2 Connectors to bring the red and blue lasers to the receptors and free the Droid. Behind it you’ll find a Jammer.
Use the Jammer to open the barrier with the 2 Connectors behind it. Around the corner you’ll find the Sigil behind 2 barriers.
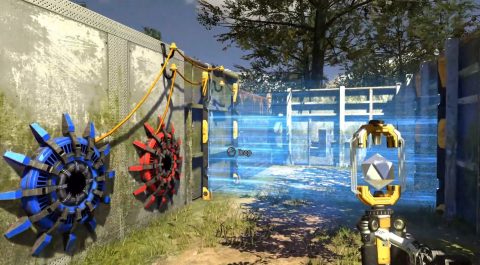
Use a Connector to connect to both receptors. They won’t be active yet. You can attach different colored lasers to a connector but only one will be active at a time.
Place a second Connector by the barriers. The other 2 Connectors will be bringing the lasers through while the droid moves through them to disconnect them one at a time. The setup should look like this.
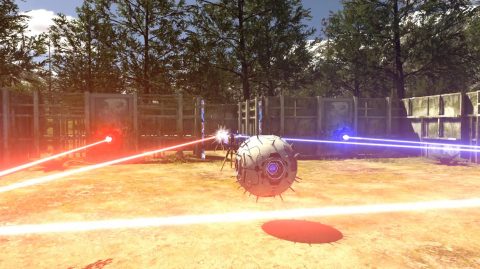
Run around and go through the barriers as they open. You’ll only get half a second to run through each one. Grab the Sigil and move on to the next puzzle.
Small Space Big Solution
This is one of the trickier puzzles. You’ll need to work your way around the small sections of the puzzle clockwise until you reach the sigil.
Use the Connector to open the first barrier. Then use the second Connector through the window to attach to the blue laser. The secret is that you don’t want the first Connector to be attached to the blue laser. Instead connect it to the second Connector through the window, then the blue receptor and red receptor.
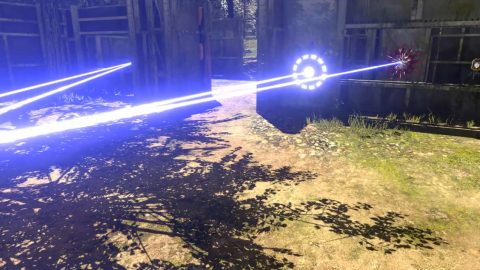
Because the first connector is not attached to the blue laser directly you can switch it to red later.
Go through the first barrier and reset the connections on the second Connector. Attach the red laser to the first Connector. The second barrier will open.
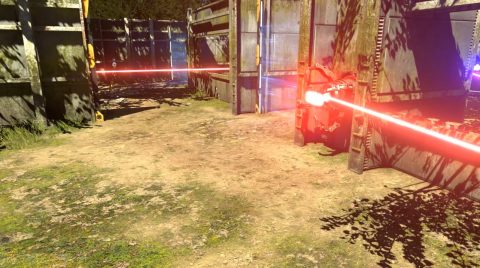
Now use the third Connector with the red laser to keep the second barrier open.
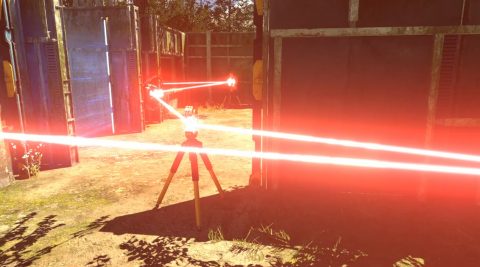
Change the second Connector to blue to open the first barrier also so you can get out. Grab the first Connector and now attach it to the blue laser, first blue receptor and second blue receptor through the window to the right.
Go through and pick up the second Connector which isn’t needed anymore. Attach the red laser from the third connector to the red receptor by the sigil. You’ll need to block the blue laser at the same time.
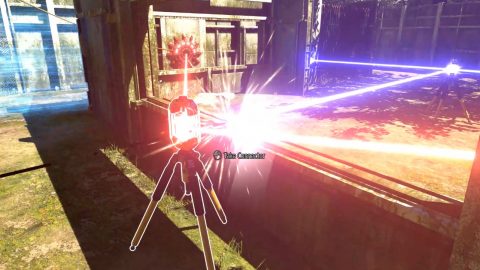
Go through and grab the Sigil.
Cut it Out
Grab one of the Connectors and attach it to the blue laser behind the fence. This cuts off the blue laser from the first Connector and unpowers the fan.
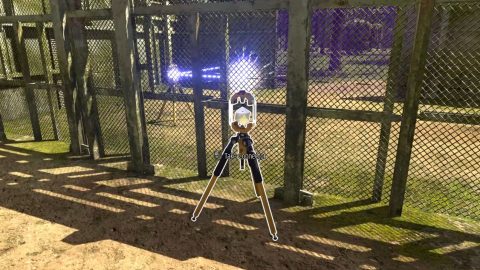
Go through and flip the switch to turn off the fan. Grab the second Connector and attach it to the blue receptor and blue laser at the back. Place it down behind the laser. You want to break the connection.
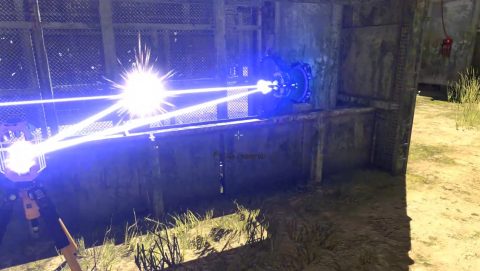
The second fan will stop so run around and grab the Sigil.
Transfer
For the final puzzle you’ll see 3 Connectors and two laser. Grab one Connector and attach the blue laser to the two blue receptors. One is through the window to the left.
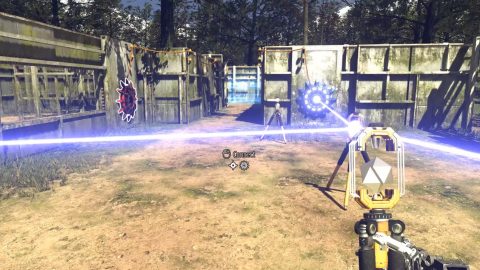
Grab a second Connector and attach the red laser and the red receptor. Place it down at the front of the puzzle. The lasers will block each other for now.
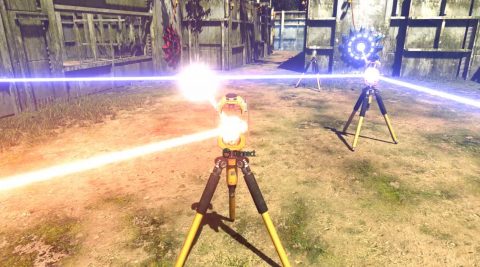
Grab the third connector and place it down attached to the red connector. This blocks blue so red can reach the receptor and open the first barrier.
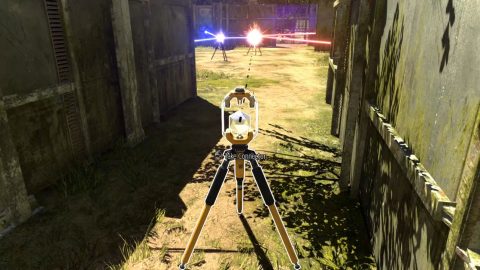
Go through and connect the blue connector through the window to the blue receptor on the second barrier. When it opens go through for the last Sigil.
Return to The Talos Principle


