World A Level 6
Back to The Talos Principle
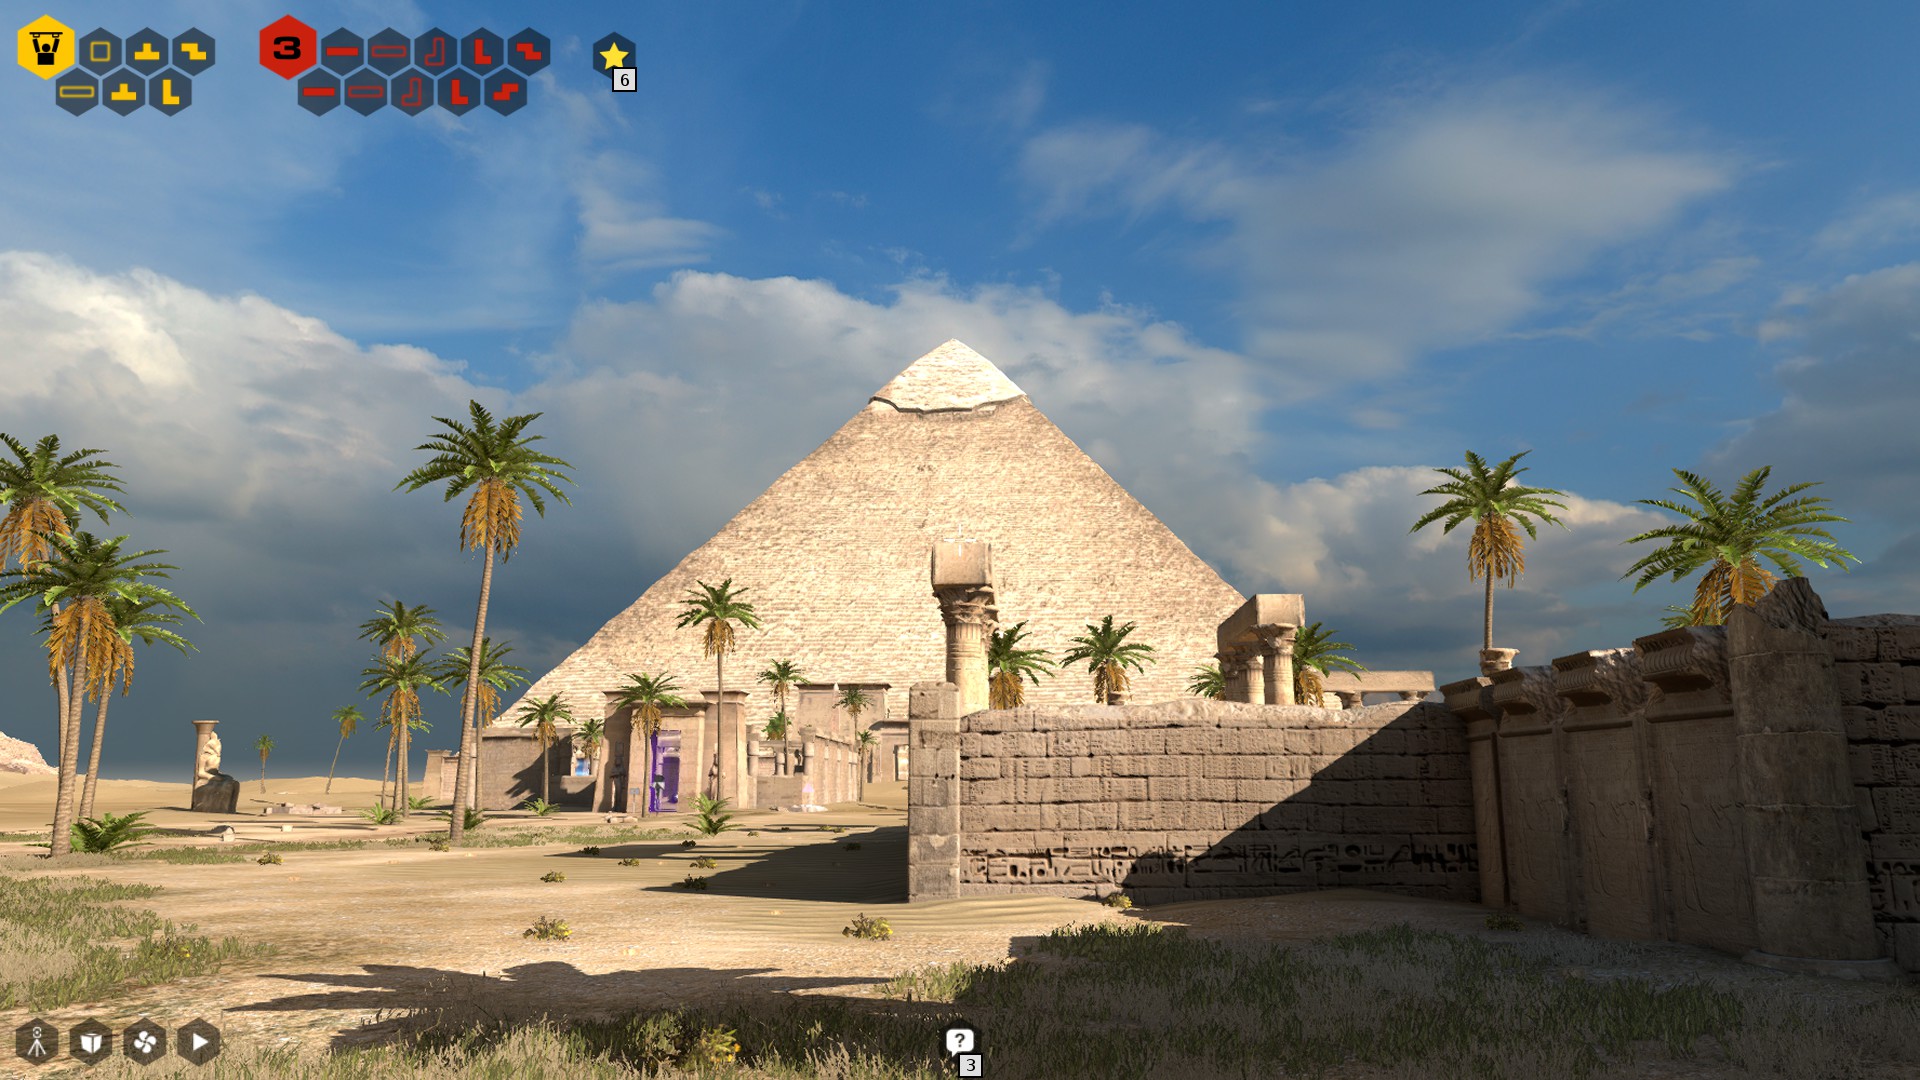
World A Level 6
In this level you’ll find one Star and 4 Sigils. There’s also 3 Terminals to find. The first is just ahead of you when you enter from the portal.
Star #8
Run to far side of the level and look behind the low wall on the right side to find a box.

From the portal find the low wall on the left side. Place the box near the center of the low wall so you can jump onto it, then onto the small wall protruding from the higher wall, then over the wall into the yard beyond.

Inside you’ll find Star #8 and Terminal #2. Climb back over the ladder to the main level area. In the back left corner you’ll find Terminal #3.
Mobile Mindfield (Green)
Head around to the left while avoiding the drones to find a Jammer. Bring the Jammer back and disable the barrier to trap the drone inside.

Open the other barrier where the drone came from and grab the Keys. Disable the Turret from just in front of the gate as you can see it over the wall.

Go through and head around the corner to the right. Pull the switch to disable the first turret so you can grab the Jammer. Bring the Jammer with you and disable the second Turret. Run forwards and grab the Green Sigil.
A Door Too Far (Red)
Run forwards until you find Connector #1. Use it to open the first barrier.

Run forwards and to the left to find Jammer #1. Jam the barrier at the box and you’ll find a Box to the left. Run around to the right until you find Connector #2. You can use the box to trap in the Drone towards the wall so it doesn’t affect the lasers.

Use the Jammer to open the first barrier from the inside. Then the two Connectors to open the two barriers inside the maze area from the windows.

Go through the first barrier, grab the Jammer and open the final barrier in the far right corner for the Red Sigil.
Deception (Red)
Follow the path around and you’ll find the Sigil behind a barrier to the left. You’ll need to unlock a series of barriers, finding more connectors as you go. Connector #1 can be found to the left of the next barrier. Place it on the raised platform to connect the red laser to the receptacle.

Go through to find Connector #2 in the corner. Open the next barrier for Connector #3 and the one after that for Connector #4.
The final barrier leading back to the start area doesn’t need to be opened. Instead take the Connectors back, just leaving the ones needed to open up the blue laser.
Bring the blue laser back to the blue barrier so you can get to the Red Sigil.

Bichromatic Entanglement (Red)
Grab the Connector on the right side and attach it to the laser and the blue receptor through the barrier. This is needed for later when the barrier is opened.

Go around to the other side and attach the Connector to the first one and the blue receptor. This opens the barrier to the red laser and another Connector.

Attach the third Connector to the red laser and the two red receptacles. The first Connector will trigger the blue receptacle, making the second Connector obsolete.

Grab the second Connector and use it as a weight on the pressure plate so you can grab the Red Sigil.
Next: World A Level 7
Back: World A Level 5