Road to Gehenna Zone 3
Back to The Talos Principle
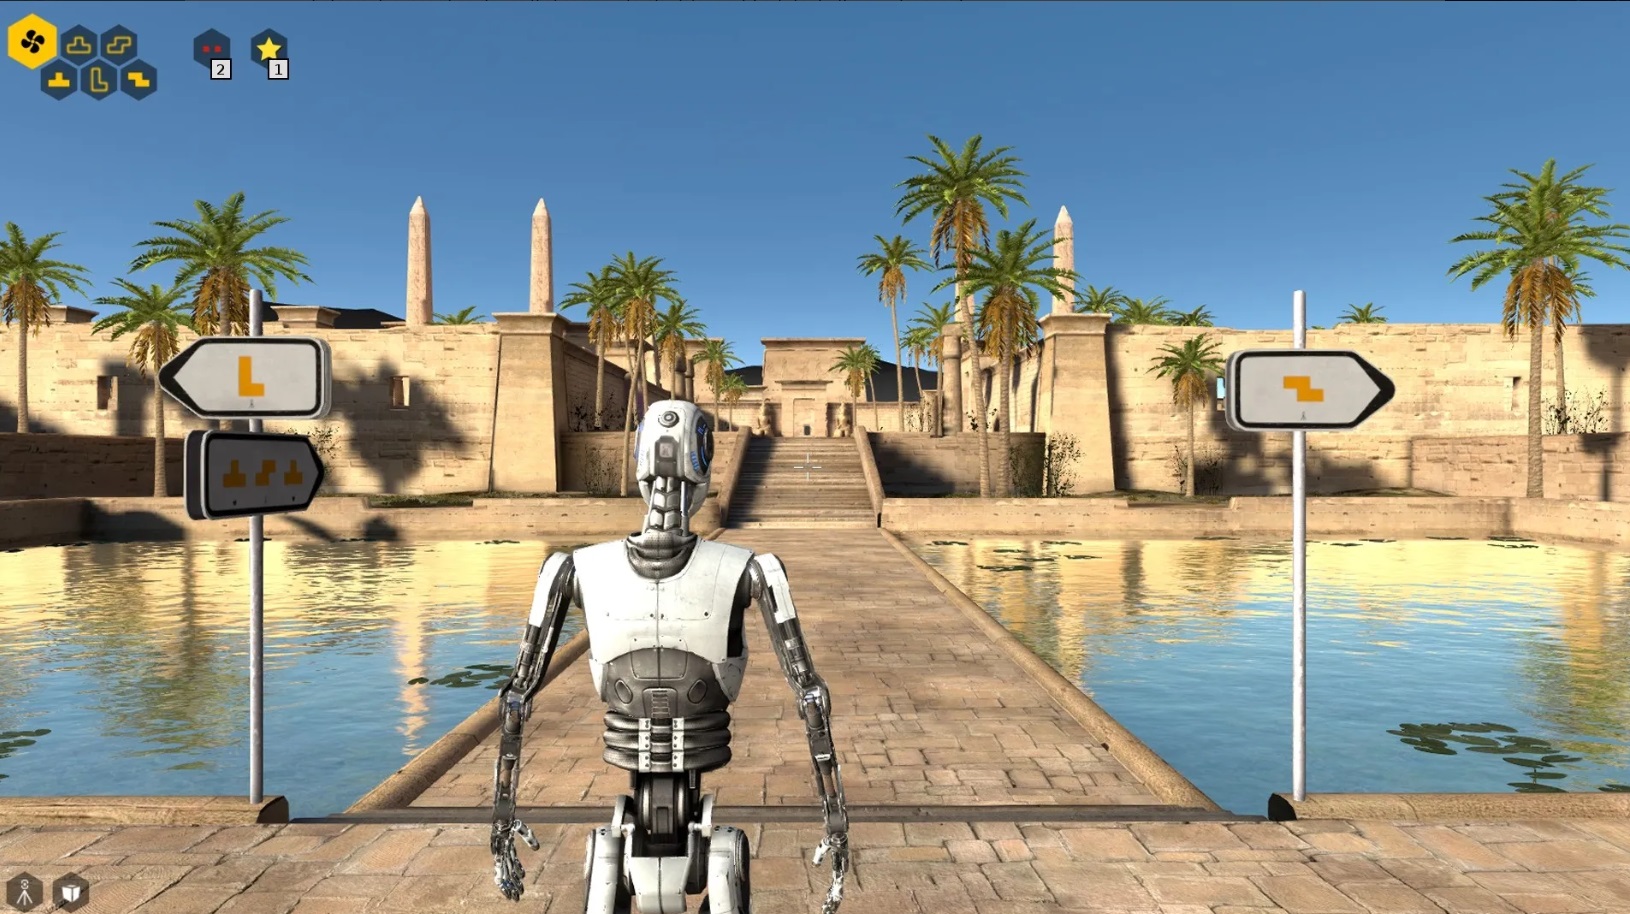
Zone #3 consists of a long bridge with puzzles on either side as you drop down. If you drop down off the bridge to the right you’ll find Pendulum.
Star #9
Enter Pendulum, grab the Box and place it on the Droid moving towards and away from the prisoner.
Grab the second Box, ride the droid over to the ledge on the right, place the second box on top and jump onto it.

Jump onto the wall on the other side, drop onto the low roof. Sneak around the side of the wall and drop into the courtyard with Star #9.

Climb up the ladder to get out and enter back into Pendulum.
Pendulum
There are a couple of ways to complete this puzzle, the hard way and the easy way. The hard way is to use the Jammer to make the Droids move opposite each other. Place the connectors on each droid and connect the blue laser through the high window. The laser shouldn’t get blocked if the droids are moving exactly opposite each other.
We want to get the Star as well so we’ll do it the easy way for both the prisoner and the star.
Place a Connector on the ledge where you found a Box and connect it to both blue receptors.

Grab both boxes and place them down on the right side of the back entrance to the puzzle. Place the second Connector by the boxes so you can grab it later.
Go out the back exit and around to the left up the hill. Drop back into the puzzle from the side of the hill, jump onto the two boxes and grab the Connector.

Continue across to the wall on the other side. Drop the Connector down and grab a Box. Place the Box on the edge of the ledge, grab the Connector and jump across to the wall.
Run around until you’re looking over the center of the puzzle. From here you can see the blue laser and first Connector. Place the Connector on the edge of the ledge sending the blue laser through a window to the first Connector.

Drop down and take a look at the barriers. The first barrier is open. Use a Jammer on the barrier to the left side and pull the switch to free the Prisoner.
Star #10
After freeing the Prisoner in Pendulum use the Jammer to open the second barrier. The blue laser can now reach the receptor for the third barrier with the Star.

Climb up the hill towards the end of the bridge and enter the puzzle on the left.
Harmony
Grab a Box and place it down at the top of the stairs. Grab a second box and jump onto the wall behind it.

Bring both Boxes over the wall. Use them on the buttons to open the barriers and free the Connector and Jammer. The Jammer can press a Button and disable the final barrier by the receptor. Use the Connector to bring the blue laser to the receptor and power the fan. Grab the fan piece from the fan on the wall.

Use the Fan Piece on the final button to open the barrier back to the center. Bring all the pieces out one-by-one. You should have a fan piece, 2 Boxes, Jammer and Connector.
Use a Box then a Connector on the buttons down the corridor leading towards the switch. The Connector on the button should have a window next to it. Connect the red laser to the red receptor.
It won’t be a stable connection because the droids will be passing in front of the laser. Use the jammer to get them moving together. This should be just enough time to power the fan.
Climb up the steps on the left and get the second pair of droids moving together. Then jam the barrier so the laser hits the connector.

Drop down and connect the second red laser to the first connector. With two sources of red lasers coming through the fan should have a stable connection. If not just play around with the timing of the droids.

Place the fan piece on the fan and get blown up to the switch. Pull it to free the Prisoner.
Star #11
Stay in Harmony and grab the spare Box. Boost up to the ledge with the switch and jump across to the top of the low wall.

Drop it off over the wall on the right side. Grab the Jammer and jam the barrier through the window next to the Connector. Climb over the wall and place the Box on the second button and the Connector in the yard on the third button. This should open all barriers to the Star.

Ray Trivia
Go back across to the other side of the bridge. You’ll find the entrance to Ray Trivia on the left.
Connect the red laser to the two red receptors. This frees up a second Connector. Use the second Connector to bring the blue laser to the blue receptor. This frees up a third Connector.

Use the third Connector to connect the blue laser on the left (when entering the puzzle) with the receptor on the barrier next to it. This frees up the second Connector.
Now Connect the second Connector with the red laser to the red receptor the same side as the blue. This frees up the first Connector.
Now place the first Connector in the right corner so that it powers the blue receptor and connects to the blue receptor with the prisoner.

The other Connector with the blue laser is now obsolete. Grab it and use it to connect the red laser on the other side to the barrier with the prisoner. Go through, pull the switch and rescue the prisoner.
Star #12
This star is not in Ray Trivia but you do need to use a Connector to bring the red laser to the far right corner, as seen when entering the puzzle.
Now climb up onto the bridge and run along it until you see a Connector. Use it to target the red laser you placed in the corner in Ray Trivia.

Use it to power the fan and boost across to the Star in the water.
BFF
Drop off the edge on the other side of the bridge to find BFF. Inside you’ll find a Jammer, 2 Connectors and 2 Boxes.
Jam the droid and connect the red laser to the fan receptor. Use the second Connector to open the barrier down the lane beyond the turret. Use the boxes to block in the droid and then Jam the turret. Run down the lane and pick up the fan piece.
Use a box so you can reach the fan on the wall and place the fan piece.

The goal is to get the droid lifted up by the first fan and then blown into the turret so both are destroyed.
Make sure both fans are powered. Release the droid. Jam the droid after it blocks the laser going to the fan on the ground to give it time to power back up. Then release it and it should get blown over the wall and into the turret.

Finally grab the fan piece on the wall and the Connectors. Place a box on the fan on the ground with a connector on top. Attach it to the laser and red fan receptor. The red laser should be airborne.
Use the Connector through the windows to open the red barriers. The Jammer can open the first one and place a box on the button to open the second. Look through the window and jam the final barrier.

Run around and pull the switch to rescue the final prisoner for this zone. Find your way back to the portal and enter the hub world.
Next: Road to Gehenna Zone 4
Back: Road to Gehenna Zone 2