Delta Labs Sector 3
Back to Doom 3
Delta Labs Sector 3
When you enter the level head through the door and take out the Zombies and Commando. Only one door is open so enter Security Station 1. Press the Open Lock button but watch out for another Commando behind you.
Go through the previously locked door to HST Observation. You can see the destroyed bridge through the window on the left. Explore the bathroom on the right if you want. Then go through to Lower Terminal Office.
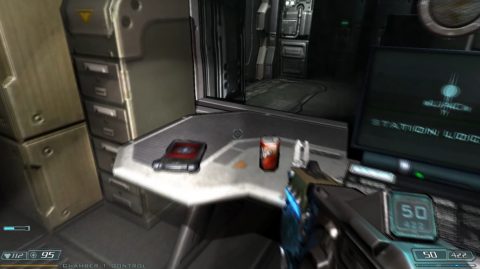
There are a lot of enemies in here so you may want to use Grenades to clear out the area. Storage 03 is locked from this side so go down the steps to the lower area and you’ll find the Frank Cerano PDA on the table.
Go through into the next room but watch out for the Chaingun Commando on the balcony above. Chamber 1 is locked so enter the next room, pick up the Han Lee PDA from the desk and then press the Cycle Chamber button to unlock the Chamber 1 door.
Go through the Chamber 1 decontamination and out the other door. Watch out for the Commando and Arch Vile on the other side. A BFG works well to take them both out.
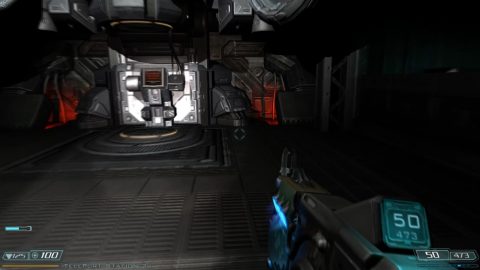
In the next room you’ll find Locker 386 and 387. Use code 836 to open them both. Go into the next room to find the first teleporter.
Use the console to Transfer MCS Access Permission to this station. Then Scan for Active Pads. You’ll find a pad on the Balcony.

Click on it and then activate the teleporter. You’ll be on the balcony above the chamber. Take out the Revenant and go through the door.
After decontamination kill the Commando on the other side. Inside the storage room on the right you’ll find a Health Station. The door where the Commando came from locks behind you when you go through. Don’t step back before it closes or you’ll get soft locked.
The room will turn dark and you’ll be attacked by a Revenant and Imps. Take them out, head into Security Station 2 and Open the next door.
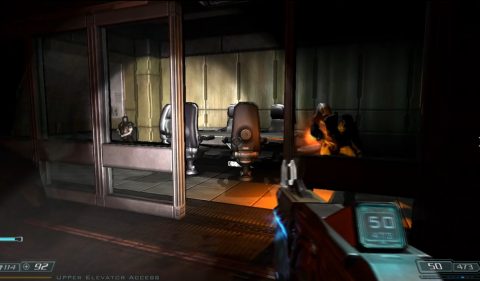
Take out the Commandos and go through the door you just unlocked. Watch out for the enemies that spawn in the meeting room on the right.
Go through to the next room and kill the Imps. You’ll be in Terminal Processing. Check the offices for ammo and continue up the stairs. An Imp will crawl up through a panel in the floor.
You’ll need to drop down the hole and crawl through to the next room. Enter the room on the left and Cycle Chamber. Check out the Storage room if you want, then go through to the teleporter room. Watch out for the 2 Revenants!
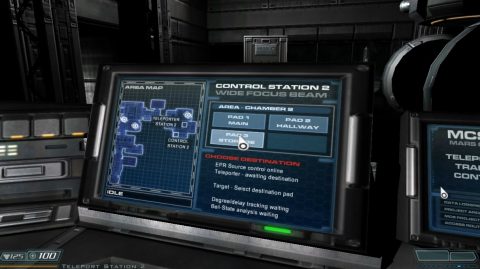
Use the console on the right to search for teleporter pads. This time you’ll find three, Main, Hallway and Storage.
If you want to explore everything go to Storage first. It leads out to the Hallway.
Grab the loot in storage and then open the door to the hallway. Head around the corridor to the next room and clear out the enemies, a Revenant and Commandos. Use the Health Station in the kitchen if you need it.
Open the door to the destroyed bridge and curve around to Chamber 3. To the right is a stairway down to a locked door which leads to a teleporter. Instead open the other door and make your way around and down the ladder. Enter the small office and press the Cycle Chamber button.
This opens the door down the stairs back where you came from. Head back, go through decontamination and use the console to search for teleporter pads after killing the 2 Commandos and Revenant.
There are four options this time, Exit, Security, Storage and Hallway.
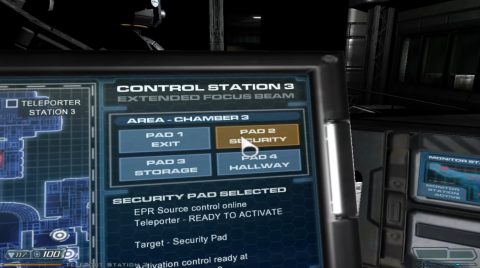
Go to Security first and look around for the Marten Shultz PDA.
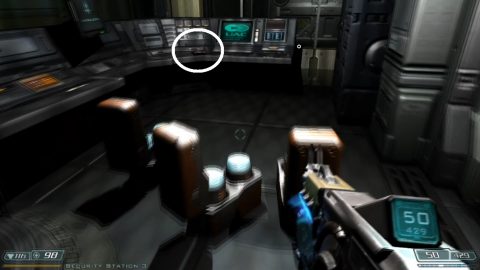
Unlock the door and make your way back down the stairs to the teleporter room. This time go to Storage. It takes you to the Storage room that we couldn’t open from the outside. The problem with going back here is that you’ll need to traverse the whole level to get back to the exit.
Inside you’ll find the final Locker 317 with the access code 841.
Make your way back through the entire level, use the teleporter and you’ll be on the other side of the destroyed bridge. Take the lift down to Sector 4.
Next: Delta Labs Sector 4
Back: Delta Labs Sector 2B