The Kayran
Back to Chapter 1
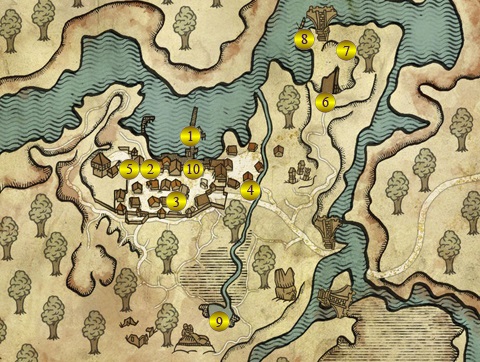
- Docks
- Merchant
- Bookseller
- Cedric
- Entrance to Loredo’s Compound
- Triss (Later Sile)
- Kayran’s Lari
- Shipwreck
- Cave behind Waterfall
- Sile’s Room (Above Tavern)
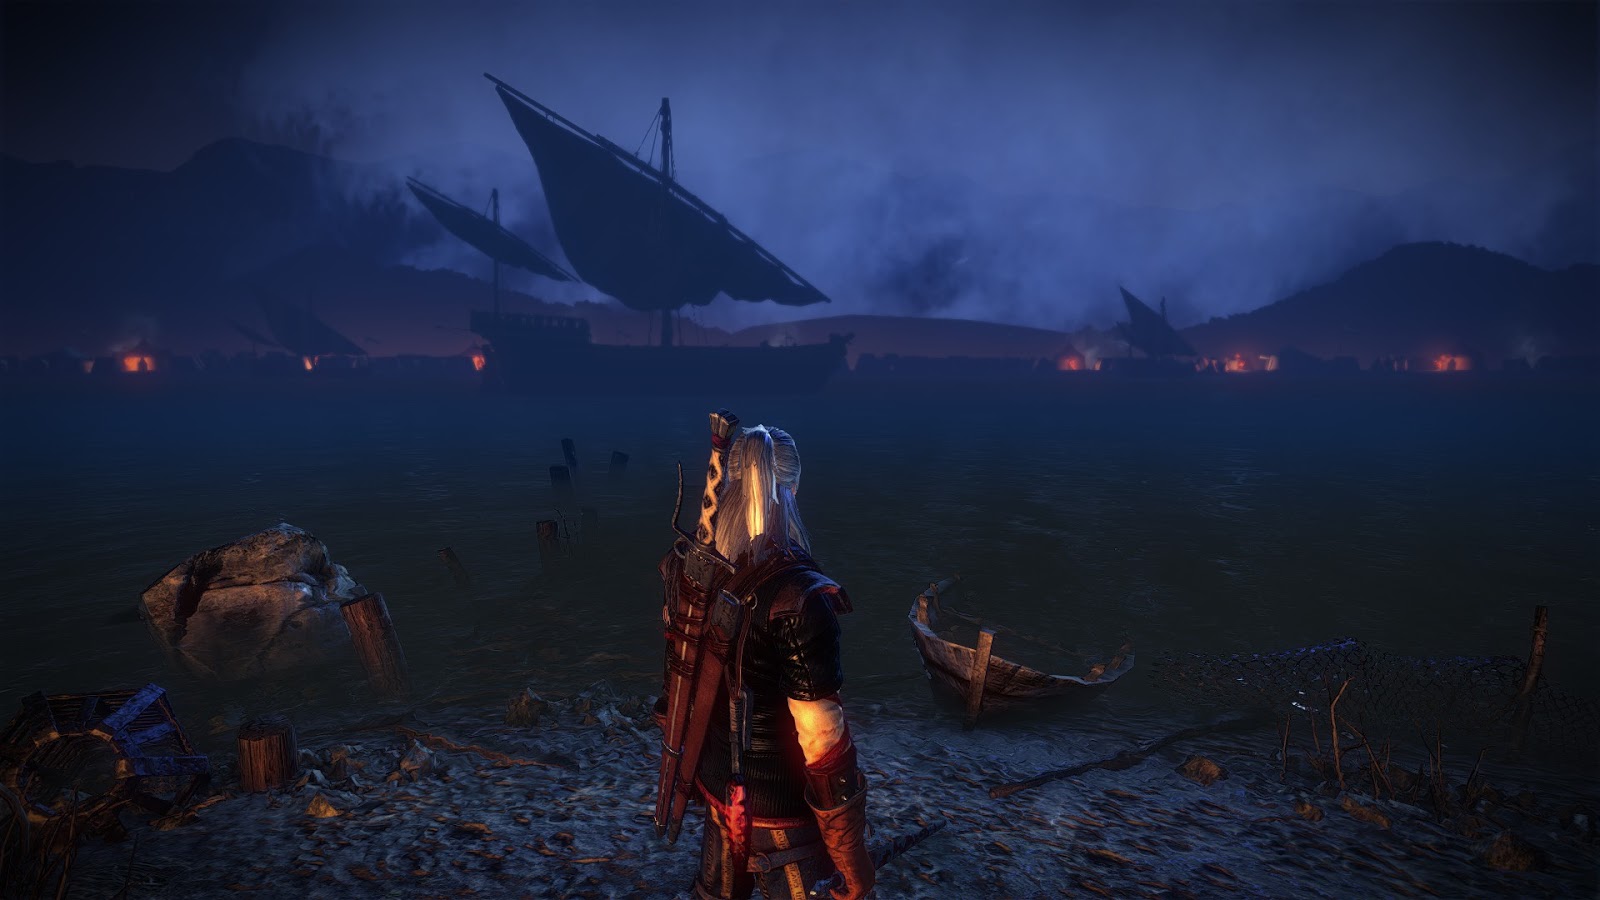
This main quest incorporates three smaller quests,The Kayran, The Kayran: A Matter of Price and The Kayran: Ostmurk. This quest spans most of Chapter 1 and ends with a boss fight against the Kayran. Once you finish By the Gods – Stringing Up Sods and run out to the Docks (#1) to see the beast this quest will begin.
The beast attacks one of the locals and the other locals aren’t happy about it. Talk with Sile and Triss for some information about the Kayran. Sile already has a contract with the local merchants to get rid of the beast but wants your help.
After the discussion visit the Merchant (#2) to sort out your payment. You can use Intimidation or Axii to double your payment. If you use Axii on him it will open up an ability called Haggling later on.
If you haven’t read the book on Kayrans visit Einar, the Dwarven Bookseller (#3) and purchase a book called Kayran – A Monograph. This contains a lot of information about Kayrans.
In the small village of Lobinden you’ll find Cedric (#4). He’s often found on one of the walkways above the village. When you’re about to speak with him Triss will appear, giving you a chance to have a chat with her about Sile and the Kayran. Cedric will give you information about the local lore and the beast.
Cedric says that something has caused the Kayran to grow much bigger than it should and that you can find shipwrecks on the coast to the north east. Cedric also sells a Diagram: Kayran Trap which isn’t necessary but may make the fight slightly easier. One of the parts to the Kayran Trap can be found out the back of Loredo’s Compound (#5). This is described in the Indecent Proposal quest.
Triss opens up a portal and takes the easy way to the coast. You’ll need to go on foot. Along the way to the meet up point with Triss (#6) you’ll come across a few Bandits. Take them out and then follow Triss down to the Kayran’s Lair (#7). Triss will figure out that the Kayran has mutated which is why it’s reached enormous size. Examine the mucus in the lair to find out it’s poisonous. You’ll need some kind of protection from the poison which can be made by using an ingredient called Ostmurk.
Near the lair you’ll find the Shipwreck (#8). Loot the body for a Key to a nearby Chest. inside the chest is the Captain’s Log and Captain’s Report. Acquiring these will begin the Mystic River quest.
Ostmurk can only be found at the back of a Cave (#9) underneath the waterfall. Cedric (#4) will give you the location or you can just find it yourself. The cave is filled with Nekkers so be prepared for a fight. At the back of the cave is a Greater Rotfiend. It explodes once killed so roll away from it after the killing blow. Pick up the glowing moss (Ostmurk) at the back of the cave and use it to make the Mongoose potion, which will give you immunity to the Kayran’s poison.
Once you are ready meet Sile in her room above the Tavern (#10). The two of you will automatically make your way to the site above the Kayran’s Lair (#6). Sile will stay up the top and cast spells. Drink your potions before heading down for the boss fight.
The Kayran Boss Fight
The Kayran has a few attacks, the first is using it’s tentacles to slam them into the ground. You won’t last long if you’re caught underneath them. Keep an eye on which tentacle is lifting up and dodge out of the way before it comes crashing down. The other attack is a poison spit. If you have the Mongoose potion you shouldn’t take damage but it will still trap you for a little while. Rapidly left-click to free yourself from the spit.
For the first phase of the boss fight you’ll need to chop off 3 of the Kayran’s tentacles. Only the 2 tentacles on each side can be chopped off. You can use either the Kayran Trap to automatically cut the tentacle or the Yrden sign to trap the tentacle for a few seconds so you can chop it off. You’ll need to place either the trap or the sign under where the nob of the tentacle is likely to come crashing down. Place the trap or sign on the ground. Wait for the Kayran to lift its tentacle up and then dodge out of the way.
After each tentacle is cut off the Kayran will go into a rage, knocking down parts of the bridge. Keep to the back of the area on either side to stay safe. Using the Quen sign will save you from taking full damage if you do get hit by a tentacle.
Once 3 tentacles are cut off the second phase will begin. The Kayran will sweep the ground with one of its tentacles. Use the QTE to dodge the attacks and to jump onto one of them. Attack the tentacle while you’re on it until the bar fills up. Press the Space bar when the QTE inticates to jump off.
The Kayran will go into another rage and destroy part of the bridge. This time the fallen bridge forms a ramp. Run up the ramp while avoiding the tentacle attacks. At the top of the ramp Geralt will drop a bomb onto the top of the Kayran, killing it once and for all.
Collecting Your Reward
Sile will stay with the Kayran to collect samples. You’ll want to loot the Kayran as well. There are two spots to loot the Kayran, one on the left and one to the right side. You should also find the Kayran Trophy for your troubles.
Head back to the Merchant (#2) to claim your reward of 500 Orens (or 1,000 Orens if you convinced him to double the price).
Back: The Floating Prison Next: The Rose of Remembrance