Level 20: Cleopatra’s Palaces
Cleopatra’s Palaces
Secrets: 1
Run down the hall and jump into the water with the fountain. Swim through the underwater tunnel on the right side and climb out into a small room. Look inside the small hole to drop down the floor in the corner of another room. Swim through the tunnel back to the fountain.
Climb out and run through the exit to the right of the balcony. If you haven’t shot the bench on the right destroy it now for a Large Medipak. Continue forwards and shoot the other two benches in the alcoves for Arrows and Revolver Ammo.
Continue around to a hallway with a large bird drawing on the wall and holes in the floor. This is a spiked trap.

Open your inventory and combine the Mechanical Scarab with the Winding Key. Use the Mechanical Scarab while you’re close to the scarab engraving on the floor. The mechanical scarab will trigger the spikes allowing you to get through to the other side of the hall. Pick up the Mechanical Scarab before you continue.
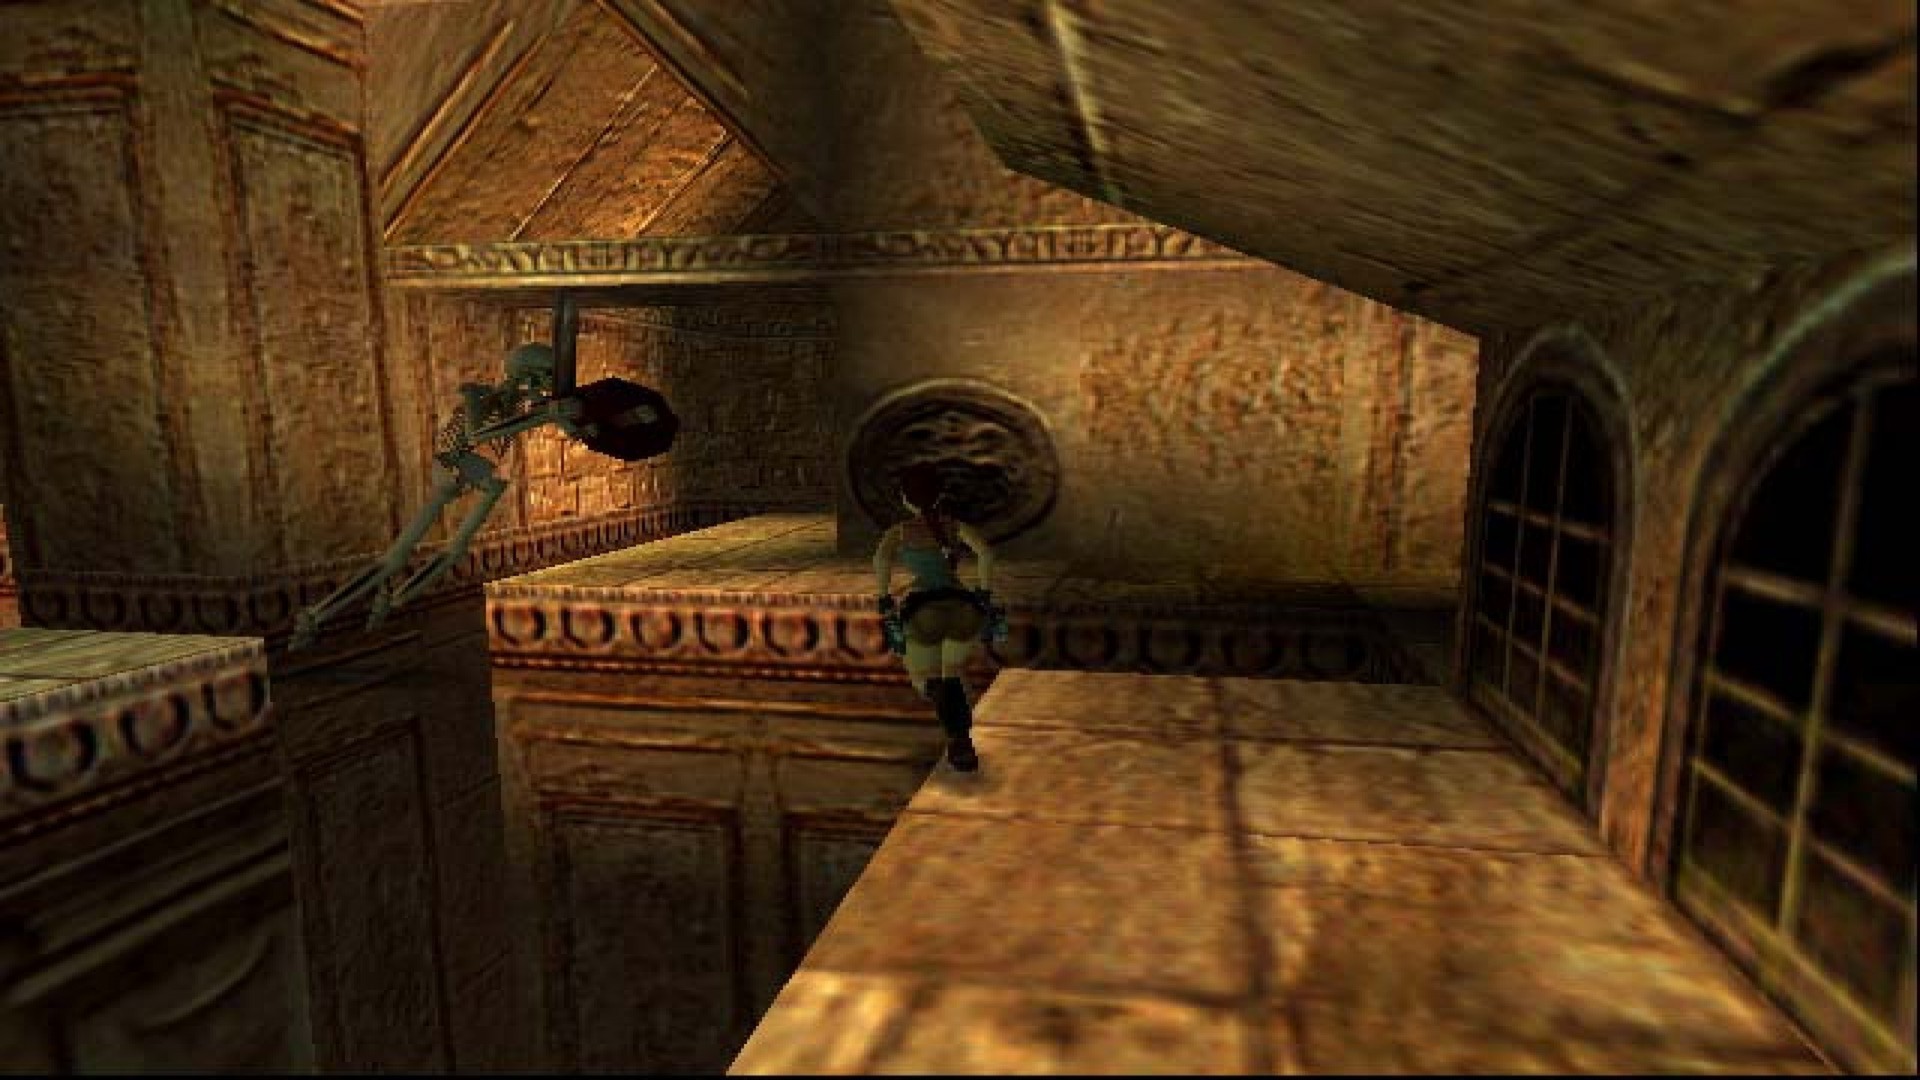
On the other side of the hall go through the corridor on the left and open the sarcophagus to pick up the Right Gauntlet. A Skeleton will rise up and attack as you investigate the sarcophagus.
Head out of the small room, avoiding the scissor blades over the entrance to the corridor and go through the wide hallway to the left. At the t-junction a Skeleton will attack from the right. Walk just past the skeleton and drop the Mechanical Scarab to make it past the next set of spikes. Pick up the Mechanical Scarab before continuing.
Follow the corridor around and enter a small room on the right. Open the Sarchophagus for Shotgun Shells (Wide), Shotgun Shells and a Large Medipak. Another Skeleton will attack and you’ll have to avoid the scissor blade trap on the way out.
Dodge past the scissor blades and run up the stairs and down the other side to a room with large columns and a blue roof. A Golden Bird Statue will follow you into the room and attack from behind.
Open the sarcophagus opposite the entrance for a Small Medipak, turn left and run through the dark corridor in the corner. Head up the steps for Shotgun Shells. There’s a receptacle here but you don’t have what you need yet, so turn around and stand at the entrance to the corridor on the right.

Place the Mechanical Scarab on the ground and let it wander through the spikes. Follow along behind and pick it up at the other side. This is Secret #1. Open the sarcophagus for Explosive Arrows, a Small Medipak, 3 x Shotgun Shells and Shotgun Shells (Wide). This will be the last time you can use the Mechanical Scarab. If you use it again it will explode.
Go back to the room with the large columns and go through the corridor on the right with the black birds painted on the side. You’ll notice a corner of the floor has fallen away. Drop down, shoot the bench and grab the Arrows.
Jump back and and you’ll notice a Switch on the wall. As you approach a Skeleton will attack.

Jump up and pull the Switch to open the door to your left. You don’t need to go through it now. Instead jump onto the block in the center of the room and take a standing jump to the crevice in the wall. Traverse all the way around to the right until you can pull up.
Shoot the bench just ahead for some more Arrows. Then continue through the corridor on the right, past the scissor blades into a room with a small pool. Open the sarcophagus on the left for the Right Greave. As you do a Skeleton will rise up and attack.
Go back through the scissor blades, turn right and left through the vines. Drop down to the room below which is the room you came from with the block in the middle.
Continue running forwards to the corner that’s fallen away and into the corridor with the black bird paintings. Inside the corridor the door on the left should have lifted up. Go inside and open the sarcophagus for the Pharos Knot.
Leave the room and turn left to go back to the room with large columns. Run through the corridor to the left of the sarcophagus.

Go up the steps and place the Pharos Knot in the receptacle to open the door to the right. Go through the door and pick up the Small Medipak from the low pedestal for a cut-scene.
An image of Lara appears on the other pedestal. If the image of Lara is hurt you’ll also take damage. Climb onto the block by the wall on the left, jump up to the hand holds on the roof and monkey swing across to the other side.
Drop down into the small alcove, walk to the end, turn around and jump up to grab the ledge above. This takes you to the middle floor of this 3-story room.
A Golden Bird Statue will enter from the left. Take it out quickly or it might start shooting at your image. Explosive arrows work well. Now jump across to the other side and climb into the alcove on the right.

Run up the ramp and then back down again, dropping down to the ledge. You need to do this to trigger the second Golden Bird Statue. If you leave it alone it will start attacking your image. You should be able to shoot it from this ledge. Once it’s killed climb back into the alcove and run up the ramp.
Jump across to the center hanging ledge, turn around and kill the Skeleton that appears behind you. In this room there are 2 Switches, one on a block either side of the hanging ledge.
You need to jump across and pull both of the Switches. When you do the door on that side will open. You’ll drop down to a ledge below and lose a bit of health. The Switch on the east side will trigger a Golden Bird Statue so make sure you take care of it when you drop down to the ledge below.
Climb back into the alcove and go back to the dangling ledge. Take a running jump to the ledges on both sides and go through the open doors to look in the square holes. One side will have the Hathor Effigy and the other has a Skeleton and the Ornate Handle. Open your inventory and combine the Effigy and the Handle together to make the Portal Guardian. The bench in one of the corners has a Large Medipak.
Jump back to the hanging ledge and then to the ledge with the stand and the closed door. Use the Portal Guardian on the stand to open the door. Walk through the door, kill the Skeleton and run down the steps. The bench has some Uzi Clips.
Continue around the corner for a cut-scene. When Lara sits on the throne 2 Throne Room Guardians will emerge from either side. Only one of them will attack at a time.
Run towards the guardian that’s attacking you, get close and duck down. He won’t be able to hit you from this position so you can use your pistols to kill him. It will take about 30 seconds of shooting with a pistol to kill a single Guardian.
Do the same with the second Guardian and then look in the sarcophagi in the small rooms on both sides for the Breast Plate and Left Greave. Once you have both of the items trapdoors will open on the floor just in front and to the side of the throne.
Drop down one of the trapdoors and head forwards down the steps to end the level.
Next: Level 21 (City of the Dead)
Back: Tomb Raider 4