Return to the Sacred Lake
Return to the Sacred Lake
Secrets: 1
Run down the corridor to an outdoor area with two obelisks surrounded by a pool of water. Dive into the water and pick up the Shotgun Shells. Swim around the other side and swim through the small gap to pick up the Small Medipak. Swim up to take a breath and pull up onto the middle island.
Run down the corridor to an outdoor area with two obelisks surrounded by a pool of water. Dive into the water and pick up the Shotgun Shells. Swim around the other side and swim through the small gap to pick up the Small Medipak. Swim up to take a breath and pull up onto the middle island.
Run down the corridor to an outdoor area with two obelisks surrounded by a pool of water. Dive into the water and pick up the Shotgun Shells. Swim around the other side and swim through the small gap to pick up the Small Medipak. Swim up to take a breath and pull up onto the middle island.
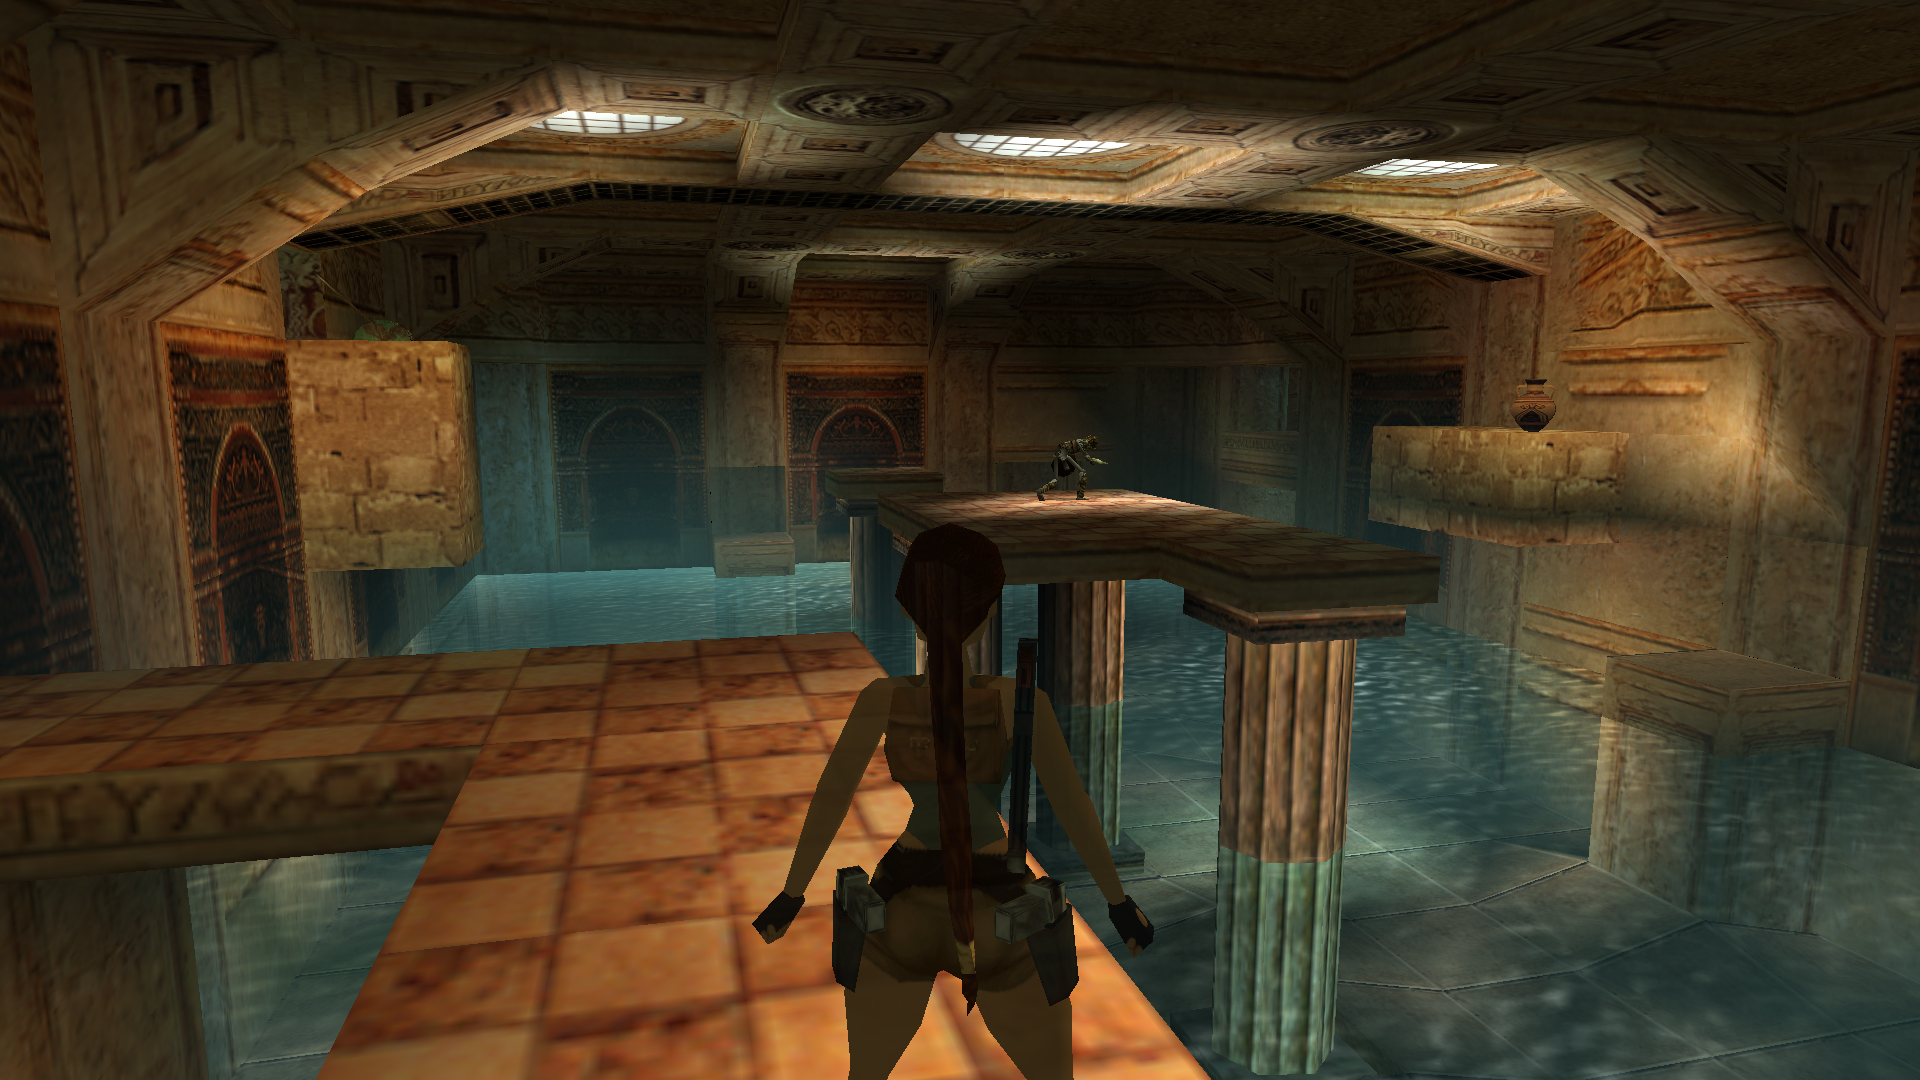
Kill the 3 Black Scorpions crawling around on the other side of the pool. Open your inventory and combine the Sun Disk and the Sun Goddess to make the Sun Talisman. Use the Sun Talisman on the small pointed object between the two pillars. This will cause the four doors around the edges of the pool area to open.
The door to the east has nothing in it. The door to the north has a small crawlspace with a Small Medipak. The door to the south leads to a pit with a wooden pole in the center. Jump across to the pole and slide down. Drop down to the water to find Uzi Clips.
There are two underwater passages on either side of the wooden pole. Dive down to find the Shotgun Shells on one side and a Small Medipak and Shotgun Shells (Wide) on the other. While in the underwater passage open the door and follow the passage on the other side for Secret #1. Pull up at the end of the passage for Shotgun Shells (Wide), a Large Medipak and Explosive Arrows.
Swim back through the passage and climb up the pole. Backflip to the ledge with Flares and then take a standing jump over to the exit. Run back to the obelisks and then go through the west door. You’ll come to a room with large pillars.
Head over to the wall on the left side and climb into the alcove for Shotgun Shells, Uzi Clips and a Small Medipak. Drop back down and climb up the rock in the center of the room.

Jump up to grab the handholds and make your way towards the thin passage in the wall. As you head closer towards it you’ll be attacked by Bats. The best thing to do is drop down and kill the bats before climbing back up again. Monkey swing across to the very end. Drop down and grab onto the opening. Climb in and run up the ramp.
The alcove to the left has some Uzi Clips. The passage to the right leads to the exit. Climb up to the right and turn around at the end. Jump to the passage above and walk forwards to the gap on the left. Take a running jump to grab onto the ledge on the other side of the gap. Pull up and drop down to the walkway below.
Walk to the left and take a running jump to grab onto the higher ledge.

Drop down on the other side, kill the Bat and drop down to the ground. Head into the small room with pedestals and pick up the Flares and Uzis. Leave the building and run across the sand to the opening on the other side. As you get close the level will end.
Next: Level 10 (Tomb of Semerkhet)
Back: Tomb Raider 4