Level 29: Outpost Omega
Back to Doom 64
Level 29: Outpost Omega

From the Start open the doors to the left and right to clear out the Zombiemen and Lost Souls. Press the Button in the room to the left to open the wall to the east.
The next room is trapped. When you grab the Rocket Launcher in the center of the room 4 Mancubus will appear in the 4 cages. Kill them and go back to the entrance of this room. While facing into the room press the electronic panel on the right. This lowers down the far wall with the Red Key.

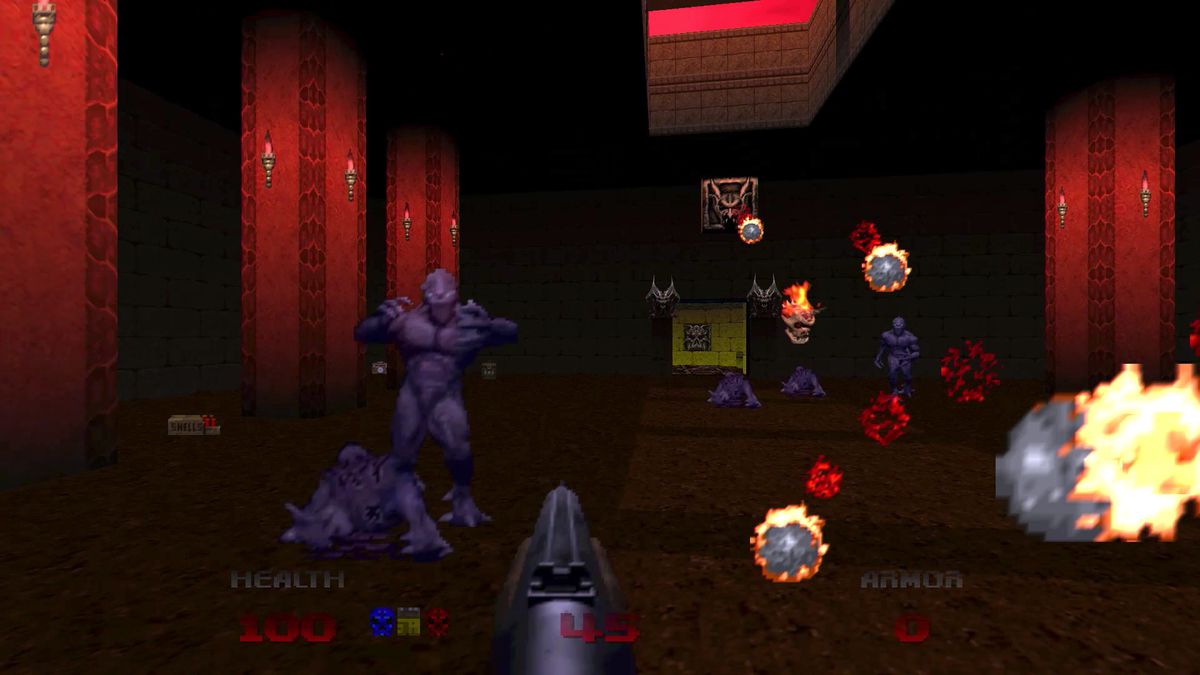
The Red Key is optional but is needed for a secret later on. Go through the exit to the north and clear out the Pain Elementals. Kill them quickly before they spawn too many Lost Souls.
The two Buttons on the left side of the room lower down two sections of wall with Rockets and a Health pack. Head up the stairs to the north and run back down. The ledge with the Armor will have lowered. Ride it up and press the Button. This lowers down the other ledge with the Super Shotgun. This is Secret #1.
Head up the stairs to the north again and this time press the Button. The passages to the left and right will open up.
Follow either passage around and then go through the door to the west. This leads around to the Blue Key and drops you back out at the previous room. Head back and this time go through the Blue Door to the east to the puzzle room.
Drop down into the room and take out the Hell Knight to the left and the Imp straight ahead. The Yellow Key will be in one of the 3 alcoves along the north wall but it seems to be random. Drop down straight ahead and follow the corridor with the Health Bonuses around. You should be able to see the three alcoves. Drop down and the two empty alcoves will close, leaving just the alcove with the key. Take the teleporter back up to the top of the puzzle room.
Depending on where the Yellow Key is drop down and dash across the gap to grab it. Drop down again and take the teleporter back up to the top.
Drop down once, turn to the left and press the monitor. Quickly drop down all the way to the corner with the Supercharge. This is Secret #2. Take the teleporter back up to the top.
Drop down once, turn to the left, drop down and turn to the right. Dash across to the next platform and the wall ahead will lower down revealing a Button. Kill the Hell Knight and dash across to his platform. Press the Button and dash back twice. take the lift up and shoot the second Button on the south wall.

Drop down and dash across to the middle ledge. The wall to the right will have lowered. You can now Dash across to Secret #3 and Secret #4 with a Backpack and Mega Armor.
Dash back to the middle ledge. Turn to face the wall to the north and press on it to lower it down. Shoot the Button behind it and the Unmaker will appear for Secret #5. This is the most powerful weapon in the game.
Kill the Hell Knight that spawns in next to the Button. Dash across and press the Button. Dash back twice, ride the lift up and shoot the second Button. The ledge in the middle will now have lowered all the way down.
Dash back to the middle ledge. Drop down, open the door (you’ll need the Red Key) and grab the first Demon Key. This upgrades the Unmaker to make it even more powerful. This is Secret #6.
With that out of the way drop down to the floor and take the teleporter up to the top. Leave the puzzle room and make your way back to the start of the level. When you enter the square room you’ll have to face the 4 Mancubus again.
Open the side room to the left (north) and press the Button to open the door to the west. Go through and take out the Demons and Imps.
Hit the Button on the left side to lift up the central Switch. Press the Switch to open up the path to the Exit and release 4 Pain Elementals and Lost Souls.
Before going to the Exit hit the Button on the right side to open up Secret #7 for some energy cells. Once you’re finished exploring take the stairs in the center of the room down to the level Exit.
Back: Level 4: Holding Area Next: Level 5: Tech Center