Yooka-Laylee and the Impossible Lair
 Yooka-Laylee and the Impossible Lair is the second game in the series by Playtonic Games. You play the rold of two little creatures, Yooka and Laylee, who must explore the world in search of bees. Once you have enough of them you’ll be able to storm the Impossible Lair and defeat Capital B.
There are 20 Chapters that you’ll find out in the overworld. Each of them has an alternate version making 40 chapters in total. You’ll find a trapped bee at the end of each chapter and a few scattered around the overworld.
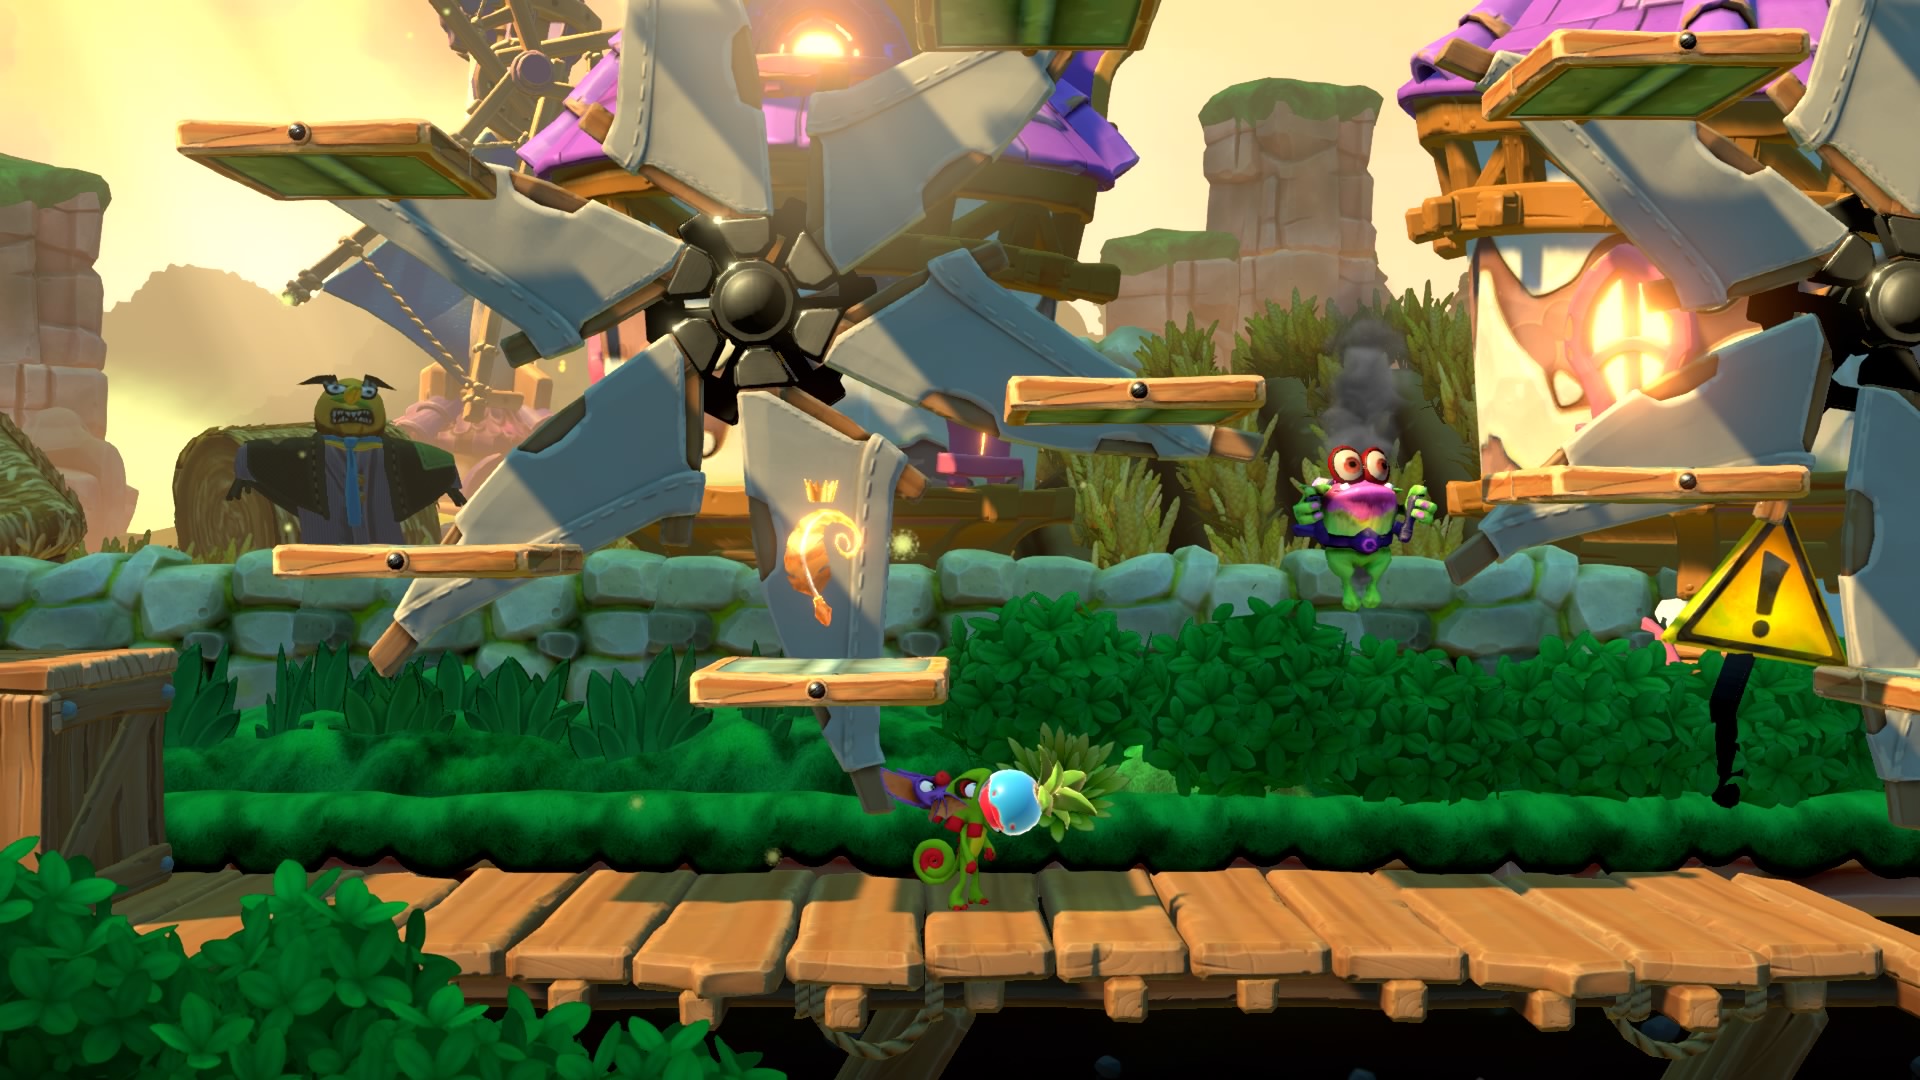
Yooka can roll, jump and spin. If you have Laylee with you you’ll be able to perform a Buddy Slam. Doing a Buddy Slam and immediately pressing roll and jump will give you a Jump Boost. You can use this to reach areas you can’t ordinarily reach.
Yooka-Laylee Walkthrough – Introduction
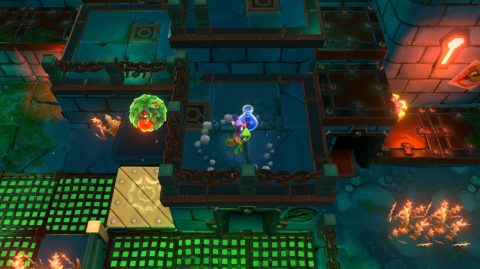
Once the game begins you’ll be in the tutorial level where you’ll learn the basic movements. Follow the level to the right until you run into Queen Pheobe again. She’ll give you her Beetalion, a swarm of bees that will surround and protect you.
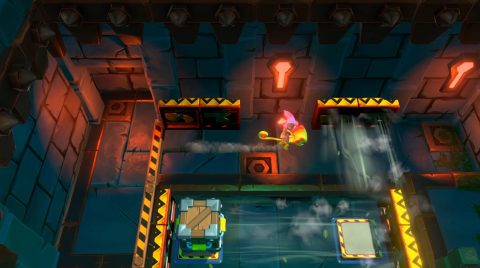
Make your way through the hazards until you come to the boss fight against Capital B. The game intends for you to die pretty quickly here although it is possible to beat the game if you are really good.
After the fight you’ll be taken out to the overworld where you can explore and search for secrets. Queen Pheobe will be here and will remove the Chapters from the Tome so you can complete them and gather up the bees.
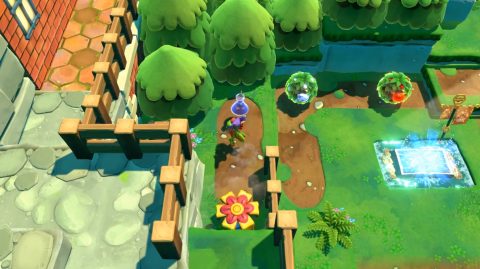
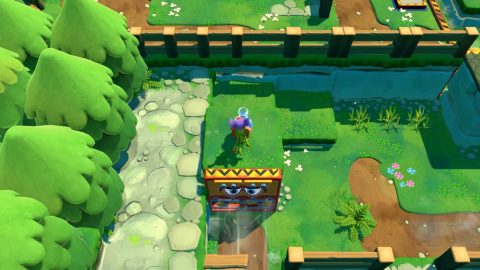
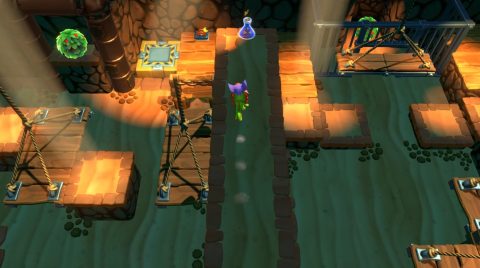
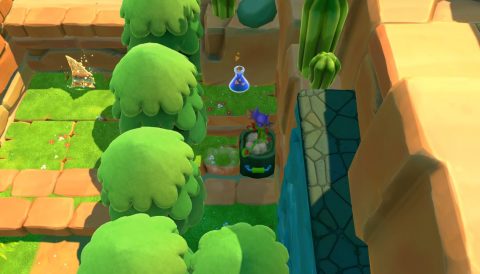
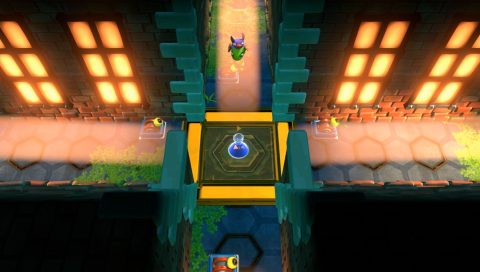
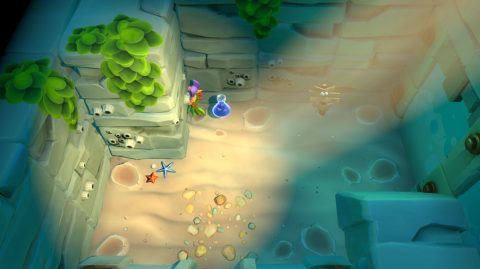
Hivory Towers
Walk down to the south and buddy slam on the last tile to the south. This will reveal Tonic 1/62 (Quill Banker). Walk to the south and try out the first chapter:
Once you’ve completed the first chapter you’ll have your first bee. The bees stay in tents in the starting area and will come out to help you when you next attempt the Impossible Lair. Queen Pheobe will let you know that you can try the lair again or continue looking for bees.
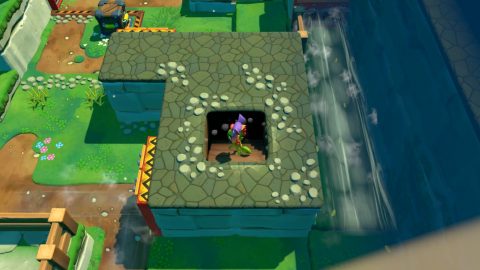
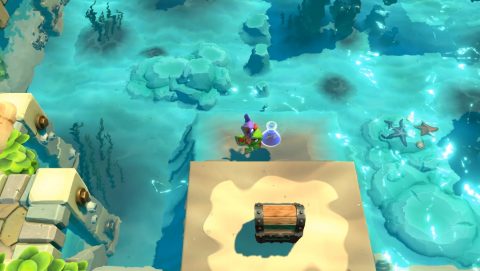
Push the crate to the south into the recess and the gate will lower. Head through and drop down the steps for Chapter 2.
Just to the right you’ll find a Switch. Flip it to turn the sluice gate. You’ll use it later to alter the flow of water. For now jump onto it so you can get up to the ledge and enter the cave. Use the Bombs on the Bomb Plant to break the weak blocks so you can get to the Treasure Chests. When you’re done exit the cave.
Head to the right and talk to the Paywall. This one requires 1 Coin to lower. Other paywalls will be more expensive. Go through to the next area.
Outskirts
Just ahead you’ll find Vendi, an NPC who will tell you about Tonics and give you one for free, Tonic 2/62 (Catchee). Buddy Slam on the fern below Vendi to reveal Tonic 3/62 (Yooge Head).
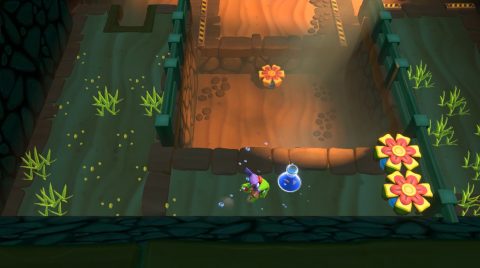
Follow the path to the south and pull the box across to the right so you can jump onto the ledge with the Treasure Chest. Push the box up to the north and use it to jump up to the plant with the Bomb Berries. Grab one and throw it at the stones to the left and those blocking the stairs leading down. Follow the stairs down.
Kill the little blue creatures and then use the Bombs to blast the stone wall and the stone blocking the exit to the east. Use a final Bomb to blow up the stone on the upper platform. Underneath you’ll find Tonic 4/62 (More Checkmates).
Go through the exit to the east and take up the Pagie Challenge. The Pagie will lower the platform to the north so you can speak to Dr Puzz. She wants you to pull the lever to activate her machine. You’ll do that later. For now head to the left for Tonic 5/62 (T.W.I.T Coin Banker) and then start chapter 3. This chapter has a secret and regular exit so you’ll need to go through it twice to get both Beettalions.
Pull the box to the north down and then to the west so that it fits in the hole. You can now use it to jump over the fence.
Just when you think you’ve reached a dead end the Queen Bee will make the Frost Berry plant grow. Now you can throw a Frost Berry at Chapter 4 to turn it to the frozen variation.
Chapter 4: Frantic Fountains – Frozen
Once you’ve rescued the Bee from Chapter 4b the Queen will grow the Scorch Berries so you can turn the chapter back to it’s original form. A Pagie will also appear in the northeast corner.
Take up the Pagie Challenge. When you win the Pagie will remove some of the trees from the forest so you can see the next paywall and continue along the path to the west. Just at the corner of the path, to the north of the bouncy flower, slam the ground to find Tonic 6/62 (Cinematic Ratio).
Head to the south and bounce on the tall grass just under the sign. This should reveal Tonic 7/62 (Blockbuster Film). Use the bouncy flower to get up to the grass on the eastern side.
Taking the secret exit in the glasping glade will take you up to the ledge above where you can rescue another Beetalion. You’ll then need to complete the chapter again to rescue the Beetalion waiting at the regular exit.
Flip the Switch to lower the gate to the right and grab Tonic 8/62 (Googly Eyes) by the locked door.
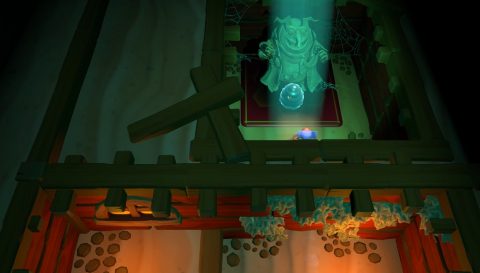
Walk up to the north and pay 1000 Quills to open the cage for the Key. Take the Key and use it to open the locked door to the south. Head inside the cave and you’ll see another locked door.
Kill all the little blue creatures to open the cage with the second Key. Grab the Key and open the second locked door. Inside you’ll find Rampo. Apparently he’s stopping up the water.
Grab the Key to the left of Rampo and open the next locked door. Make your way down to the south and follow the river under the ledge. Grab a Rock from the small rock pile and throw it at the gate to lower it. Grab another one and throw it at the Switch in the middle of the pond. This will lower the bridge.
Run across the bridge to the final Key. Grab it and open the last locked door to the north. Grab a Bomb and throw it at Rampo. The water will start flowing again. Before you leave roll under Rampo for Tonic 9/62 (Broken Controller).
Follow the river out of the cave the way you came in and now you’ll see chapter 5 has changed.
Chapter 5: Gasping Glade – Grown
When you’re done grab a water berry from the plant to the left and grow the bomb berry plant a little to the north of Chapter 5. Grab a bomb and go back down to the left and use it to blow up the block in the wall to the left of the water plant.
Enter into the cave, kill the three little gremlins and then pull the block onto the pressure plate. This will lift up the platforms so you can take the higher exit.
This takes you to the upper grass area. Head around past the sign and use a bomb to blow up the block with the Lever on it. The Lever will drop down to Dr. Puzz below. Drop down and hit the Lever to change to the alternate version of Chapter 3.
Chapter 3: Wild Web Woods – Wilder
Make your way to the north past the fence and follow the path around to the right to the Water Plant. Use it to water the Bouncy Plant to the north and the next Water Plant and Bouncy Plant.
Use the second Water Plant to water the next Bouncy Plant just under the Paywall. Use one more Water Bomb to water the final Bouncy Plant to the left of the Paywall, next to the brick wall.
Bounce up and go through the door to the left. Inside you’ll find a Treasure Chest and a Lever that opens the first side of this intersection. You’ll open the three other sides later.
Go back out and walk along the path to the south. Drop down to the right for Tonic #10 (Tri-Twirl).
Just to the left you’ll find another Treasure Chest as well. Bounce back up and continue to the left. Take up the Pagie Challenge. This one is like Space Invaders. Use the Fruit to shoot all the flying enemies, including the very small one at the very top of the screen.
Once you’ve completed the challenge the Pagie will make the water flow from the wall beneath you. Before exploring the new water source check out the starting area of this game for a few new items.
Return to the Queen Bee and use the Bee Tents to jump up to the ledge to the left.
Head to the north for Tonic #11 (Tick… Tock…). Come back all the way to the south until you find the Bomb Plant on the upper ledge. Grab a Bomb, drop down and use it to break the block in the wall just to the north of Chapter 2.
Go inside to find Tonic #12 (Spider Charm), and the second Lever leading to the 4-way intersection.
Come back out and hit the Lever to the right so the water flowers into Chapter 2. This unlocks the alternate version.
Chapter 2: Factory Fright – Flooded
Hit the Lever again to make the way run off to the right and follow it along to a flooded area at the end. Swim over to the hole in the wall which you can now get into.
There are two Treasure Chests in this cave. One under the bridge and one on top of the bridge. Follow the path around and take the exit to the south. You’ll come out at Shipwreck Creek.
Shipwreck Creek
Push the Box off the ledge so it fits in the hole below and then grab Tonic #13 (Noir Film) from on top of the small house.
Drop down and enter the small house. Inside you’ll find Dr. Puzz with a strange contraption and Tonic #14 (Derrorim).
Head outside and break the box in front of the bigger house to the left. Go inside and talk to One Book hiding inside. Roll against the north wall to drop Tonic #15 (Less Checkmates) from the shelf.
Head outside and climb onto the house. Hit the wheel to lift up a ledge so you can get to Tonic #16 (GB Colours) on the circular platform.
Drop down and slam the rocks with the towels on them for Tonic #17 (GB Resolution). Walk to the southwest corner and talk to the sign. He tells you there’s a tonic hidden behind him. Slam the grass behind him for Tonic #18 (TV Ratio).
Head to the north and talk to Blasto if you want. Tell him to turn around and then light the fuse by spinning next to him. He’ll shoot the bridge and push it over so you can get back.
Half way across the bridge do a slam to reveal Tonic #19 (Quill Magnet). You should have finished this area for now so make your way to the north to the next Paywall. Pay the 10 Coins and head through to the Forest Area.
Forest Area
Enter the forest and roll into the small bridge to knock it over. Just ahead you’ll find Chapter 6.
Knock over the next bridge and continue to the north. You’ll see a bit of path poking out from under a tree. Follow the path to the west then north and out into the clearing where you’ll find Tonic #20 (Thick Skin).
Head back to the path and knock over the bridge to the east. Take up the Pagie Challenge. In this one you’ll need to deal with a room full of dog creatures. Once that’s complete the Pagie will rid the forest of the poisonous gas.
Grab the Treasure Chest to the north and head back to the south. Go under the lookout and search around down there for Tonic #21 (Yooman).
Walk to the west and grab a Bomb from the Bomb Plant. Use it to blow up the blocks to the east. Climb up to the lookout and drop down to the Scorchberry Plant. Use the Scorchberries to destroy the thornbushes here and around the pot to the west.
The pot is cranky without his sugar so you’ll need something to sweeten him up. Grab another Scorchberry and use it to destroy the brambles to the north.
Head up the grass steps to the sign. He’ll tell you there’s a secret in the deep dark forest. Drop down and use the Scorchberries once more to get rid of the brambles blocking the path to the east.
Follow the path to the north for a Treasure Chest, and behind it a Key. Take the Key down to open the gate in the south. From here walk to the west for a Treasure Chest and slam on the end of the path for Tonic #22 (Shadow Stingdom).
Head back to the north and push over the bridge next to the pumpkin so you can start the next chapter.
When you finish the chapter you’ll be on the other side of the gate.
Chapter 7: Production Path – Panic
This chapter has a regular exit and a secret exit. The secret exit leads to the ledge above where you’ll find another Beettalion.
Roll over the bridge to the east and jump up the tree stumps for Tonic #23 (Black & White Flim). Drop down and go through the gate that you opened earlier.
Push the box off the edge and drop down with it. Push it onto the pressure plate to close the bridge over. Run over the bridge and you’ll be taken to the next area.
Walk to the right and pay 500 Quills to open the cage and release Fan Part 1/2. Give it to the Fan NPC. Let the Fans blow you up to the north and jump up to the top of the Fan furthest to the north. Buddy Slam on top of it for Tonic #24 (Vintage Film).
Walk to the south and jump across to the center platform so you can take up the Pagie Challenge. For this one you’ll need to jump so a Copy Gremlin jumps his way down to the sawblade. Once completed the Pagie will lower a platform to the north so you can get through to the next area.
Walk up to the north, climb up the steps and head into the cave to the west. Take out the little Gremlins and buddy slam the ground in front of the cage. This will reveal a Yellow Key that you can use to open the cage with Tonic #25 (Super Sonar).
There are four exits in this area. Take the exit to the lower right. Push the Crate off the edge and then take it around to the north. The Fans will help blow it around. Push it on the Pressure Plate to the north and the Fans in this area will stop.
Pay the 500 Quills to open the cage with Fan Part 2/2. Grab it and climb up the stairs on the right side. Drop down and the fan will blow you to Tonic #26 (Flower Hour). Take the Fan Part 2/2 back to the Fan NPC and he’ll start blowing. This activates the second version of chapter 8.
Chapter 8: Windmill Way – Windy
Go back to where you picked up the second fan part and climb up the steps to the right. From the top of the fan take a rolling jump down to the left so you land on the stone platform. Do a Buddy Slam on the symbol to reveal a staircase.
Go inside to find a Beettalion called Danciel. Come back out, drop down and make your way to the north. Head up the stone steps and enter the cave. This time take the exit to the south west.
Knock over the bridge below to open up a shortcut and then enter the hut to the east. Roll into the wall under the shelf to drop Tonic #27 (Upside Down). Take the exit to the west and buddy slam on the tree with the Pumpkin.
This will make the Honeycomb drop to the ground. Drop down and pick it up. Take it back to the dark forest to the west and give it to the pot. It will overflow and give you the alternate version for chapter 6.
Chapter 6: Sawblade Evade – Stuck
Head back to the Pumpkin and then north into the cave. This time take the exit to the west. kill the Gremlins and roll into the tree just north of the gate for Tonic #38 (Shadow Puppets). Pay 15 Coins to lower the gate to the next area.
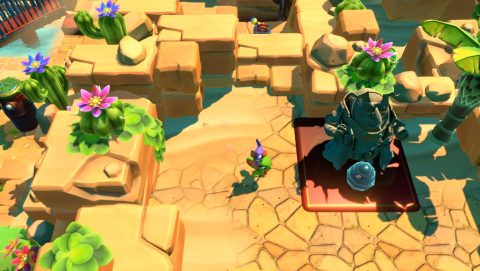
Desert Area
Talk to the NPC pipe and he’ll tell you that to get into the cabin you’ll need to find a Key. Buddy slam on the things moving under the sand to find Tonic #29 (Sepia Film) and a few Quills.
Continue to the west to find the Trowzer and then a large Pipe NPC. Enter the chapter just to the left.
Take up the Pagie Challenge to the left and bounce on the Jetpack Gremlins while avoiding the moving sawblades. The Pagie will lift up steps so you can continue on your way.
There are two things to do here. The first is to pay 1000 Quills to open the cage so you can grab the Key. The second is to buddy slam the rock in the pond to open up a stairway to chapter 11.
For now grab the Key and take it back to the cabin. Push the piece of red pipe to the back wall to connect the pipes together. The ones outside will break apart in three places.
Buddy slam the ledge on the bottom left to reveal a Waterberry Bush. Use the water berry to put out the fire. Head outside and jump onto the roof. Drop down the chimney back into the cabin.
Roll into the wall to drop Tonic #30 (Sounds Like Secrets) from the shelf. Take the exit out to the east. Continue north an droll under the wall with vine for a secret area with a Beettalion.
Go back outside to the bottom left and then enter the next cave to the right. You’ll find the next chapter on a swinging platform.
Make your way across the bridges and hit the Switch to lower the blocks. Continue along the next bridge and make it swing as much as you can. You should be able to jump into the alcove in the wall on the left side for Tonic #31 (Res Resolution).
Jump to the center bridge and grab a Scorchberry. Use it to clear the bridge to the right. Jump over the fence to the north and hit the Switch to lower the blocks.
Use the rope bridge to the right to jump over the cage and get to the Scorchberries. Clear the weeds under the bridge and then use the Scorchberries to clear the next few sections.
Once more use the bridge to swing up to Tonic #32 (VHS) on a ledge on the right wall. Make your way along the bridges to the south and clear the thornweeds once more.
Use the bridge here to swing up to the higher section of the central platform. Run to the north for Tonice #33 (RES Colours).
Come back to the south and hit the Switch to lower the blocks around the chapter. To change to the alternate version swing on the bridge.
Chapter 10: Ropeburn Ridge – Rerouted
Leave the cave and head all the way to the west where to the small pond. Slam on the rock in the middle if you haven’t already and then go down the stairs. Walk to the north to find the next chapter on a conveyor belt.
Talk to the small pipe to the north to find out he wants his Crate. Grab a Scorchberry and use it to clear the thornweeds to the southwest. Push the Flower to the south and bounce up to the platform.
Bounce over the fence to the right and push off the Crate with the Flower on it. Push it next to the ledge to the north.
Move the first Flower and bounce up on the left side to get a Bomb. Use it to break the stone blocks on the right side. you should now have access to the Water Bombs. Use one on the plant by the wall and jump all the way up to the Crate above.
Push the Crate off the bridge and then push it onto the pressure plate to reverse the conveyor.
Chapter 11: Conveyor Chaos – Crosswire
Push the Flower on the left side to the south. Grab a Water Bomb and bounce up to the platform. Quickly water the small plant and it will turn into Tonic #34 (Quillsplosion).
Head outside and push the pipes back into place. To reach the Switch so you can turn one of the pipes around you’ll need to jump from one of the other broken pipes. Once they’re all in place the air flow will be back again. You can now take up the alternate version of chapter 9.
Chapter 9: Urban Uprise – Updraft
To the south of this area you’ll find Trowzer’s Paywall. Give him 20 Coins to lower the gate to the next area.
Lake Area
When you enter this area talk to Nimbo to the left. He’ll tell you that he’s blocked up but you can thaw him out to turn the frozen lake back into water. Continue down the steps to the left and slam the moving thing under the grass to find Tonic #37 (Arthouse Film).
Use the steps in the grass to jump onto the wooden fence. Run along to the east, jumping over the gap in the middle and slam the wooden post in the far right corner. This reveals Tonic #38 (Gritty Comic).
Drop down and knock over the platform so you can get to the frozen lake and back easily. Grab a Water Fruit and use it to grow the Scorchberry plant to the north. Use a Scorchberry to burn away the thornbushes blocking the entrance to the east. Go through to find Tonic #39 (Snow Problem). Open the gate to the 4-way intersection and then come back out.
Drop onto the frozen lake and slide around to Chapter 12 on the western side. You’ll need to slide to the southwest corner and then north to the frozen chapter.
Chapter 12: Buzzsaw Falls – Frozen
Head back up to Nimbo and throw a Scorchberry at him to thaw the lake. Drop back into the lake and go back to Chapter 12.
Walk into the cave under the waterfall. There’s a tonic in a cage but you need to kill all the little Gremlins to get to it. Some of the Gremlins are on the platforms above so you’ll need to use the flowers to jump up and across to them. Once the Gremlins have been killed drop down and grab Tonic #40 (Roll Faster).
Leave the cave and grab the box covering Chapter 13. Drag it up to the waterfall entrance as close as you can. Use a Freeze Berry to freeze Nimbo and the lake. Drop down to the lake and use the box to enter the frozen cave. Slide around until you can use the flower to get up to the higher platforms. Make your way around to Tonic #41 (Run Faster).
Slide out of the cave and thaw out Nimbo once more. Drop down to the lake and start the next chapter that was under the box.
Drag the box back to next to Chapter 13. Put it in a place that you can slide to when the lake is frozen. Go back to Nimbo, freeze him and then slide down to Chapter 13.
Chapter 13: Cliffside Quest – Cold
Get out of the lake and thaw it out once more if you want. Head to the left of Nimbo and find the end of the flag’s shadow. Slam down on the ground to find Tonic #42 (Felt Tip Outline).
Head to the west and then north to the line of trees. The second tree from the left has a handle on the tree stump. Pull it out and push it through the last tree on the right. Use it to get up to Tonic #43 (Rainbow).
Go back through the tree stump you just pulled out and take up the Pagie Challenge. For this challenge you need to make your way past the Spiders to the Frog. Once that’s completed the Pagie will lift up steps to the next section.
Talk to the Pipe NPC and then use the Levers to make a bridge across the small lake from east to west. Walk across and try the next chapter. There is a secret exit in this chapter so you may want to try it twice.
Roll into the wall under the ledge with the Blue Key and it will drop down. Take it over to the Pagie in the cage to free it. Take up the Pagie Challenge. For this one you’ll need to swim past the two spikes to hit the Slime at the end.
Once the challenge is completed the Pagie will lower the rock wall to the left so you can get to the Lever. Pull the Lever to spin chapter 14 upside down. Use the other two Levers to turn the bridge so you can get across from south to north.
Chapter 14: Hazard Hangar – Hung
Head up to the Lever on the rocks and jump across to the top of the bridge. Make your way across the top of the bridge to the southwest. You may want to turn the bridge pieces around so it’s easier to run across. Enter the cave on the other side and smash down on the right eye for Tonic #44 (Gritty Film).
Head back out and climb up the rock steps again. This time run to the right. Buddy slam the ground at the base of the vine with blue flowers for Tonic #45 (Saturated Film).
Just to the south hit the Lever to flip over the bridge so you can get across. Grab a bomb and blow up the stone blocks to the east.
Grab another bomb and quickly run to the east. Use it to break the blocks in the wall just north of the pipe turner. Inside you’ll find a sign who’ll give you a clue to the next tonic. Buddy slam the northwest corner for Tonic #46 (No Tailee).
Head back the way you came and grab another bomb. Use it on the stone block to the south of the pipe and enter the cave. Inside you’ll find Tonic #47 (H2Go).
Hit the Lever to open the final gate of the 4-way intersection. Once all four are open Tonic #48 (Super Buddy Slam) will drop down.
Go back the way you came and head back just past the bomb bush. Hit the Switch to raise the bridge and drop down the hole. Move the crate to the south so you can jump up to the bomb bush. Blow up the stone blocks until the second crate drops down. Use the crates to press both pressure plates and the platform with Tonic #49 (Chameleon Colours) will lower down.
Head up the steps and out the top exit. Run across the thin top of the bridge and jump across to the highest rock ledge. To the south you’ll find another Beettalion.
Head back down and make your way to the south of this area. Break the box and use the flower to get up to the large tree stumps. Take up the Pagie Challenge. For this one you’ll need to bounce on 5 Frogs while avoiding the thorns. Once it’s completed the tree stumps will move out of the way giving you access to the next Paywall.
First jump on the tree stumps to the wall to the south and run across it all the way to the east until you find Tonic #50 (Slow Mo). Go back to the Paywall and pay Trowzer 25 Coins to get to the next area.
Beach Area
When you enter you’ll notice a Trolley to your left. It has nothing much to say so walk to the south and buddy slam three times on the ground just south of the wooden walkway.
The walkway will rise up into steps. Jump up to the wooden platform for Tonic #51 (Secret Sonar). Walk to the south to find Ollie by a sandcastle. The sandcastle is covering up a chapter but you’ll deal with that later.
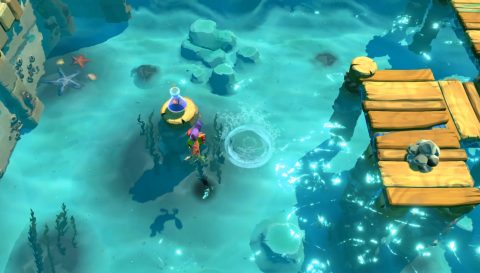
Swim out into the ocean and you’ll see a tonic under the water. To retrieve it open your map and click on it from the map screen. Swim out to it for Tonic #52 (Painted).
Swim back to shore and a little to the east and north of Ollie you’ll find chapter 16 on a red bridge.
Walk around the sand by the sandcastle just to the south and buddy slam the things moving under the sand. One of them is a Pagie which will move to the end of the small jetty. Take up the Pagie Challenge which involves freeing a Psycho Snail with a Mine and then getting it to drop through the bottom trapdoor. Once it’s been completed the rest of the jetty will rise up forming a bridge to the lighthouse.
Walk along the jetty to the pile of rocks and throw them at the Sharks. The Trolley stuck on the tree stump will swim away leaving Tonic #53 (Cartoony) for you to pick up.
Swim over to the eastern side of the beach and use the Scorchberries to get rid of the thornbushes on the moving platform. Grab another Scorchberry and use it to free the Bomb Bush of thornbushes by the wall to the north on the other side of the red bridge.
Use a bomb to blow up the stone under the red bridge. Water will fill up this area. Swim over to the west and head down the stairs. Inside you’ll find a sign and Treasure Chest with Quills. Buddy slam the ground in the top left corner for Tonic #54 (Tough-Twirl).
Head back to the north side of the red bridge and pull the Switch. This raises the bridge and the chapter. Swim around to the other side and try the alternate version of chapter 16.
Chapter 16: Queasy Quay – Climb
There’s a secret exit in Chapter 16 so make sure you go through it twice if you want all the Beettalions.
Grab another Bomb from just north of the red bridge and quickly take it back to the sandcastle by Ollie. This will free up the chapter underneath.
Wait for the water to fill up around the chapter for the alternate version.
Chapter 15: Turbine Trouble – Tidal
Grab another Bomb and this time blow up the sandcastle on the eastern side with the Pagie. Take up the Pagie Challenge to blow up the flaming Robots with the Mines. Once complete the Pagie will open up the path to the east back to the starting area.
Walk across the bridge to the lighthouse for the final chapter in this area.
If you enter the lighthouse from the front you won’t be able to access the Switch. Instead enter from the back and the flip the Switch. The platforms will lower so you can go through the upper exit.
On the second floor pull the horizontal slab onto the wire to activate the stairs. Go up to the third floor. Pull the slab onto the straight wire on the left to open the door in the room below.
Go downstairs and pull the spare slab onto the wire on the right. This powers one of the wires in the room above. Go back up to the third floor and pull the slab across to the wire on the right to open the door. Go through and roll into the Trolley to bump it off the edge. From up here you can now access the alternate chapter.
Chapter 17: Boom-Bloom Blast – Breakthrough
Swim to the west and slam on the sand just north of the Treasure Chest for Tonic #55 (Torpedo).
From the edge of the raised sand jump to the edge of the platform to the left. It may take a few tries but if you roll and jump right at the edge you’ll be able to make it. Follow the platform around to the north for a Beettalion.
Dive back into the water and make your way to the southeast corner. You’ll find a Frog by an entrance to a cave. Talk to him to find out he’s lost his fishing rod. If you’ve spotted it by the platform to the west of the starting area then he’ll head back to get it. Later he’ll unlock the alternate version of Chapter 1. For now enter the cave.
Make your way across the river of water by jumping from platform to platform. When you reach the end jump into the water and let it drag you back to Tonic #56 (Dot Matrix).
If you take the exit to the east you’ll come back out to Shipwreck Creek. If you’re done with the Beach Area make your way back to the Hive.
Climb up to the ledge and talk to the Frog. He’ll pull out something from the chapter and reveal the alternate version.
Chapter 1: Capital Causeway – Chaos
Go back to the Desert Area and speak to Trowzer. Give him 30 Coins so he can make some dinner. He ends up burning his house down, revealing a Secret Area behind it. There’s also a tonic here, Tonic #57 (4th Tonic Ssslot!).
Secret Area
At the start of the secret area you’ll find a Pagie Challenge. This one is fairly easy to deal with. Kill the bouncing frogs at the bottom and make your way up and around past the sawblades to the final frog. One the challenge has been completed the Pagie will remove the toxic gas.
Enter the building ahead and make your way around the thorns to the exit to the west. Roll over the platform to get back to the start if you want. Climb up the steps to the next Pagie Challenge. For this one you’ll need to grab the Mine and make your way up the sticky honey to the Crab and Gremlin. Once it’s completed more steps will lower so you can get up.
Head up the next set of steps and drop the crate onto the pressure plates. The wind will blow it back and forth. As it does the other fans will turn on and off so you can make your way across.
Head across to the left and push down the platform to open up the shortcut. Enter the building to the north for the next chapter.
Chapter 19: Scareship Shootout
Head up the steps past the oven and use the flower to bounce up to the ledge on the left and then across to the ledge on the right. Use the Rocks to hit the lever and turn off the fans.
Continue to the north and take the flowers up to the ledge above. Grab a Rock and follow the same path back up. This time quickly throw the Rock at the lever to turn off the next fan.
Use the flower to jump up and go through the exit to the north. Bounce up to the sign and then push the Crate off the edge. Drag the Crate to the south and put it on the grate. Jump onto the ledge with the pressure plate and stand on it. The Crate will fall down to the oven below.
Make your way back to the oven who will now be coughing. When he coughs on the chapter it will turn to the alternate version.
Chapter 19: Scareship Shootout – Smoggy
Leave the building and walk to the east. You’ll find a Crate NPC who doesn’t want to be moved. If only you could push him onto the pressure plate so the door would open!
Continue walking to the east and then to the north under the fans. Push the crate onto the pressure plate ahead so the platform lowers down. Jump onto the crate and then onto the platform. Push the second crate off the ledge and then drag it south so it’s under the wind. Drag the first Crate back to the same position. Head back to the south and walk up to the fan. You can now use the Crates to get blown across to the other side.
Take up the Pagie Challenge to destory the Helicopter Enemies with the rockets. Once the challenge is complete the Pagie will remove the toxic gas from the area.
Grab a Bomb and use it to the destroy the wall to the east. Go through to an outside area where you’ll find Tonic #58 (Run Even Faster).
Go back inside and use a Bomb to blow up the breakable block on the north wall. Drag out a Crate and push it into the stream of wind. Use it to climb up to the ledge and push off the second Crate.
Drop down after it and drag it back all the way to the pressure plate by the Crate NPC. It will break and the Crate NPC will move to the pressure plate by himself. Go through the door that just opened to the Pumping Plant.
To get to the alternate version of this chapter you’ll need to turn on the electricity. Move the horizontal wire block into place so the door opens to the next room.
Grab the spare wire block in the next room and move it to the northwest platform. Use it to jump up so you can push off the 4-way wire block.
Push the first wire block onto the yellow platform to the south and the 4-way wire block onto the bottom wire. You should now be able to jump up to the southwest platform.
Push off the third wire block and move it onto the yellow platform to the north. Take the 4-way wire block and move it to the wire on the west side. Take the other 2-way wire block and move it to the wire on the east side. This should lift up the yellow platform. Place the wire block next to the wall to connect the wire on the wall and the 4-way wire block on the east side.
Power now should be running to the room to the east. Run back and try the next chapter.
Chapter 18: Pumping Plant – Powered
Leave the Pumping Plant and make your way back to the west. You’ll face another Pagie Challenge. Swing across the ropes to kill the little creature to complete the challenge. The Pagie will remove the toxic cloud from the area. Continue to the west and jump on the chapter on the cart.
From the chapter jump to the ledge to the west. Slam down on the ground just at the foot of the vine and a Bomb Shrub will grow. Grab a Bomb and use it to blow up the stone block in the west wall.
Go through to the cave and move the Crate onto the pressure plate. Only the north side of the Crate has a handle. Climb up the steps to Tonic #59 (Roll Even Faster).
Head outside and use the flowers to bounce up to the ledge on the north side. Go inside the building and make your way up to the very top.
You need to bring a Crate from the top floor all the way to the bottom. At the top floor use the pressure plates to bring a Crate down and place it on the trapdoor. Stand on the pressure plate next to it to drop the Crate to the floor below.
On the next floor bring the Crate up to the left side of the ledge with the lever, grab a rock, jump onto the crate and throw it at the lever. Drop the Crate down to the floor below.
On the next floor you’ll need to hit 3 Levers to open the center cage. Use the Rocks and move the Crate around to reach all 3 Levers. Once that’s done drop the crate down to the floor below.
Go down to the next floor and use the pressure plate to drop the Crate to the outside area. Go outside and use the final pressure plate to drop the crate down to the floor. Push the Crate onto the tracks so it stops the cart with the chapter.
Chapter 20: Scareship Scroll – Docked
Jump from the Crate to the ledge to the southwest for Tonic #59 (Negative Film). Head back to the east, past the entrance, and use the flower near to the Crate NPC to get up to the platform above. Slam on the top of the roof with a faint circle on it. This reveals Tonic #60 (Spotlight).
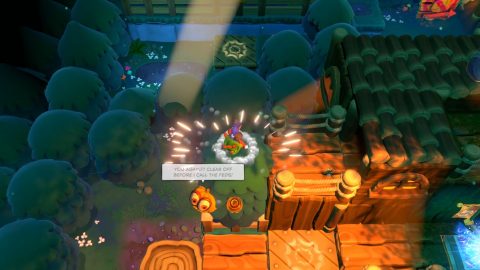
Go back to the entrance to the Secret Area and speak to Trowzer. Give him the 99 Coins for the real Fourth Slot for your tonics.
Make your way back to the Hive and use the Hive Tents on the east side to get up to the ledge. Walk to the north for Tonic #61 (TickTockTickTock!).
The final tonic can only be found by completing The Impossible Lair straight after the tutorial at the start of the game. If you can do it without any bee helpers you’ll get Tonic #62 (The Golden Try).
Once you’re done exploring the overworld return to the hive to take on Capital B.