Ch 15: Turbine Trouble
Back to Yooka-Laylee and the Impossible lair
From the start head to the right through the purple doors and then go through the green door above. Drop down the trapdoor and take the wheel across to another green door for Checkmate 1.
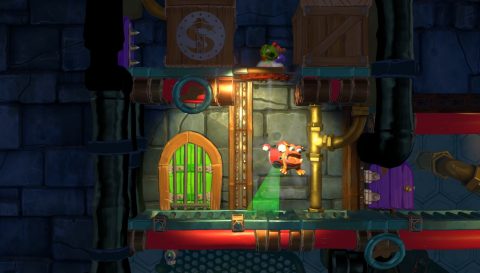
Roll through the purple door to open it. Wait for the copycat gremlin and then jump on him up through the trapdoor above to the room with Coin #1.
Make your way to the right and drop down the trapdoor. Continue down and around the waterwheel to Checkmate 2. When you dive into the next section of water the wall will close behind you. Continue up and around to the purple doors and go through. Just past the next trapdoor you’ll find Checkmate 3.
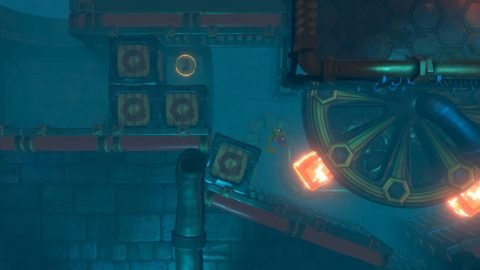
Roll down the ramp and drop into the water past the next wheel. Swim down and to the left. Time your swim dash to break the boxes under the wheel. Hide there until you get a chance to swim dash to the left. On the other side you’ll find Coin #2.
Swim back to the right and up past the next wheel. There’s a Blue Quill above which you can grab if you want. Otherwise continue swimming past the wheels to the right.
Swim up out of the water at the last wheel for Checkmate 4. Make your way up the netting and then ride the wheels to the top. Jump up the netting and then break the boxes to the left. Roll through the purple door and jump over the wheel for Coin #3.

Head back to the right for Checkmate 5. Continue through the purple door to the right. Roll and jump from the netting on the right so you can grab the rope. Climb up and grab the Mine from the box.

Drop down to the alcove on the left side of the wheel and use the Mine to break the cage with Coin #4.
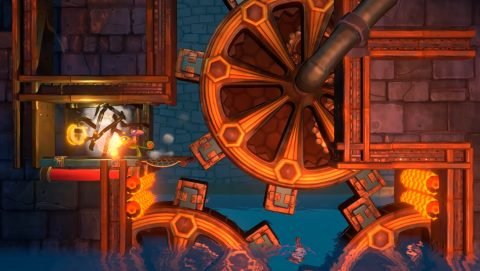
Head down between the wheels and break the boxes at the bottom right. Make your way up past the cannons to the green door. Wait for the wheel with molten spokes to turn. Once it’s almost done a complete rotation you’ll see Coin #5. Jump up and grab it.
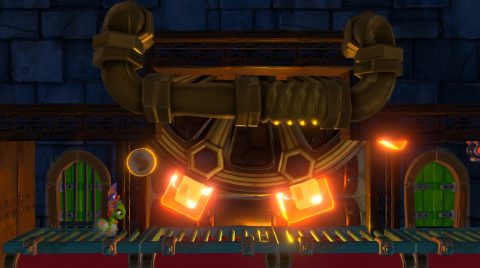
Roll under the wheel and go through the next green door. On the other side you’ll find Checkmate 6. Head down and go through the purple doors. Make your way up the cannons between the molten wheels. Up the top and to the left you’ll find the Beettalion. Break it for Combee.
Next: Chapter 15: Turbine Trouble – Tidal
Back: Chapter 14: Hazard Hangar – Hung