Ch 9: Urban Uprise
Back to Yooka-Laylee and the Impossible lair
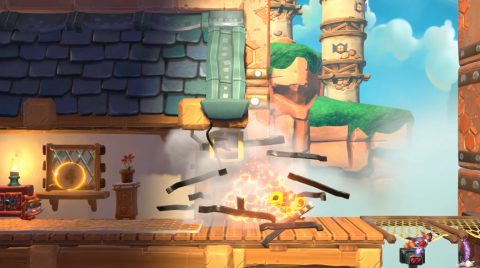
From the start walk to the left and bounce off the gremlin up to the cannon. You’ll get shot around to a Green Quill. Follow the Quills to a Blue Quill. Grab all the Quills in time for a Key. Take the Key to the green door to the right.
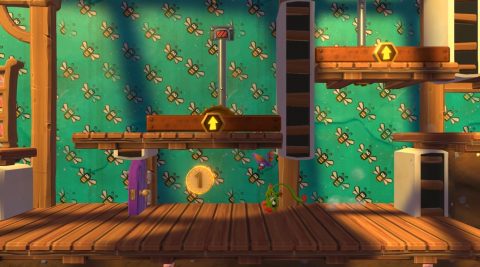
Inside you’ll find Coin #1 although you’ll need to follow the lifts around to get to it.
Go back through the green door and then roll through the purple door on the lower level. Take the lifts up to Checkmate 1.
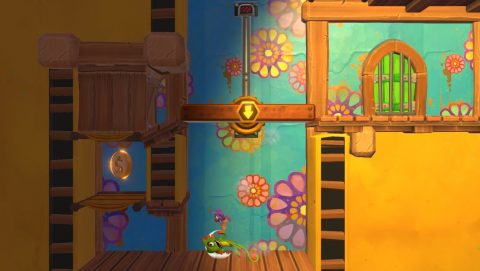
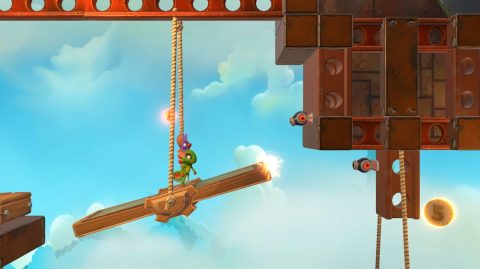
Continue make your way up to the seesaw platforms and to the left to Checkmate 2. Go through the green door above. Ride the lift up a little and then roll off it. Roll under it for a secret area with Coin #2.
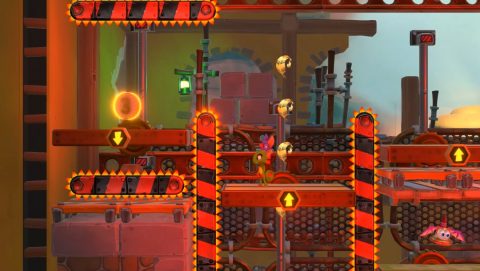
Make your way up and to the right for Checkmate 3. Head up the lift past the sawblades and across the platforms to the left. Make your way up a long lift and then jump over the sawblade to Coin #3. The lift with the coin lowers when you stand on it so quickly jump back to the other lift.
Make your way up to the purple door and Checkmate 4. Break the box with the Mine and grab it. Ride the lift up while avoiding the helicopter gremlins. Use the Mine to break the cage to the left and grab Coin #4.
Head to the right to Checkmate 5, across the seesaw platforms and to another lift. Continue up to Checkmate 6. Just above you’ll find the Beettalion. Don’t break it just yet. Instead jump over it and take a long ride up the lift to the right. Up the top you’ll find a Key. Wait for the lift to drop down and then fall down after it.
Use the Key to open the green door to the left of the Beettalion. Inside you’ll find a couple of seesaws leading to Coin #5.
Grab it and then head back through the green door to break the Beettalion. Inside you’ll find Beevanson.
Next: Chapter 9: Urban Uprise – Updraft
Back: Chapter 8: Windmill Way – Windy