Ch 17: Boom-Bloom Blast – Breakthrough
Back to Yooka Laylee and the Impossible Lair
Like the original version of this level you’ll need to use the cannons to shoot your way across gaps and around obstacles. The first coin can be found by dropping down the gap between the thorns and the wooden platform. A cannon will shoot you underneath where you can pick up Coin #1.

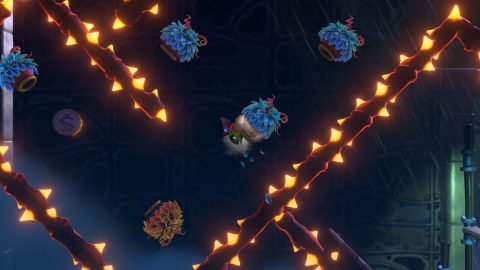
Use the cannons to make your way up. You’ll see the next coin but it’s hard to get to. Drop down and veer to the right just as the yellow cannon is coming back towards you and you should pick up Coin #2.
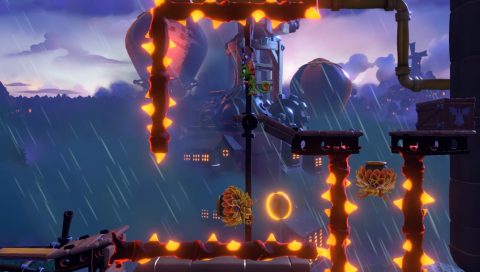
Continue along the cannons to Checkmate 1. The next coin is quite difficult to reach. Use the cannons to get up and hit the Blue Quill. Collect all the Quills for a Snail Shell. Roll past the Spiders to the left and ride on the Blue Cannon. Use the Snail Shell to break the box with the Mine.
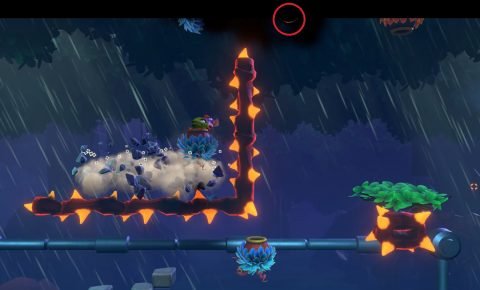
Grab the Mine and continue riding on the cannon. Bounce on the hovering enemy and shoot the Mine at the cage to reveal a green door. Jump up and go through.
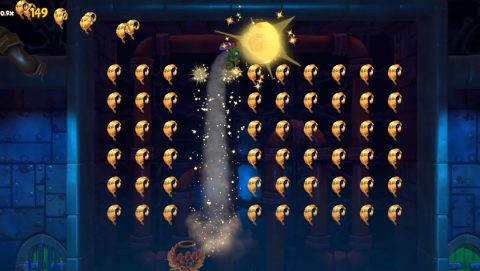
Use the cannon to grab all the Quills and reach Coin #3 at the very top.
Head through the green door to Checkmate 2 and continue making your way around the thorns using the cannons. When you get to the area filled with cannons make your way to the bottom left. Shoot into the gap in the thorns for a secret area where you’ll find Coin #4.
Make your way along the cannons to Checkmate 3. Drop down and now use the cannons to make your way back to the right.
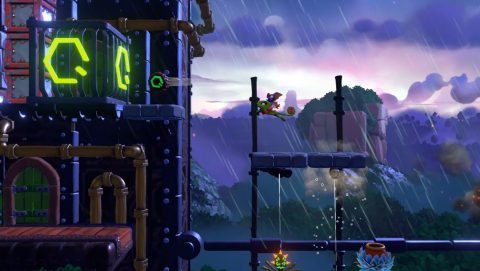
When you get to the breakable platforms with an enemy hovering above jump up and use the cannon. You’ll be shot up and across to Coin #5.
Continue making your way along the cannon until you can jump across the Red Quills to the Beettalion where you’ll find Camerhoney.
Next: Chapter 18: Pumping Plant
Back: Chapter 17: Boom-Bloom Blast