
Ch 19: Scareship Shootout
Back to Yooka Laylee and the Impossible Lair
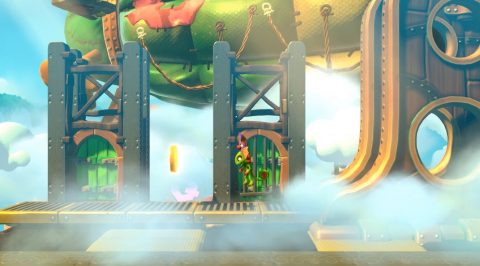
From the start dodge the flames to the right and go through the green door. Bounce on the Robot Flamer to the right so you can get up to the box with the Key. Break the box and use the Key to unlock the green door below.
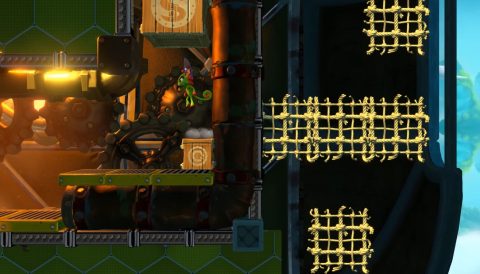
On the other side make your way through the purple doors and avoid the flamers. Climb down the netting for a Mine in a box if you want it then climb up the netting and grab Coin #1 from the secret room to the right.
Roll through the purple door to the left and continue through the next door. Climb up the netting and start making your way back to the right to Checkmate 1.
If you have the Mine from earlier you can use it to break the cage above. Otherwise you can roll through the lower purple door on the right to get a new one.
Break the cage with the mine and go through to the left. Dodge past the flamers and make your way up to the green door. On the other side you’ll find Coin #2.
Go back through the other green door and you’ll be taken back to the start of this secret section. Use the netting to jump across to the right and go through the green door.
Roll down the ramps while avoiding the flamers and cannons. Enter through the green door at the bottom for Checkmate 2.
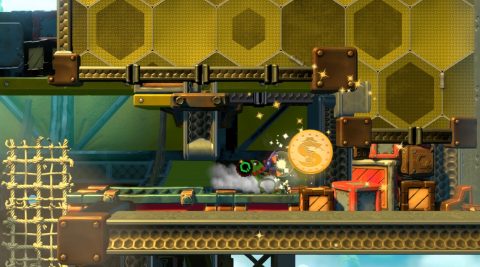
Bounce across the Robot to the hidden area to the right. Don’t break the box with the Mine. Jump on it to break the box with Coin #3 above.
Go back and drop through the trapdoor. Make your way over to the left to grab the Key and come back to unlock the green door and go through.
Make your way up the trapdoors to the green door above. Go through for Checkmate 3. Climb up the netting to the right and smash through the next purple door. Make your way across to another green door.
Hit the Blue Quill and then pick up all the Quills for a Mine. Grab the Mine and use it to destroy the Robot Flamer guarding Coin #4.

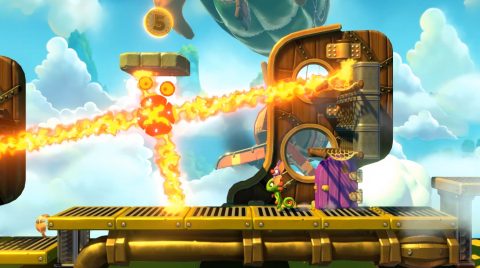
Jump back across the wheel and go through the green door. Roll through the purple door to the left and make your way around to Coin #5 above the flamer. Try to stay within the streams of flames as you drop back down.
Jump over the wall to the left for the Beettalion. Break it for a bee called Bumbleson.
Next: Chapter 19: Scareship Shootout – Smoggy
Back: Chapter 18: Pumping Plant – Powered
