Ch 14: Hazard Hangar
Back to Yooka-Laylee and the Impossible lair
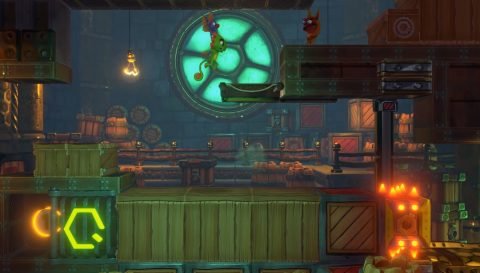
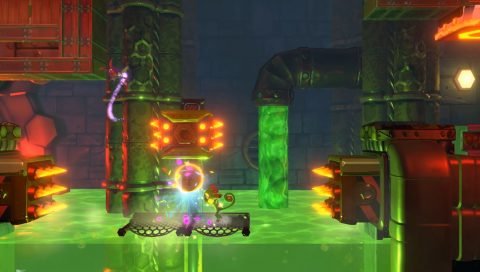
From the start make your way past he crushers to the right and take a rolling jump to the upper ledge. Break the box with the Mine and use it to free Coin #1 down below.
Continue to the right and make your way across the slime to Checkmate 1. Head past the Laylee Bell and over the gap with the spiked platforms to Checkmate 2.
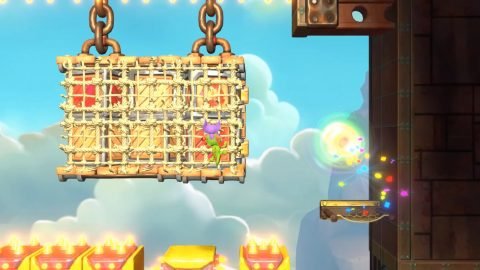
Jump through the half pipes with the bouncy Frogs and past the spiked platforms so you can get on top of the half pipe. Break the box with the Mine in it just to the left and take it to the cage with Coin #2 a little to the right.
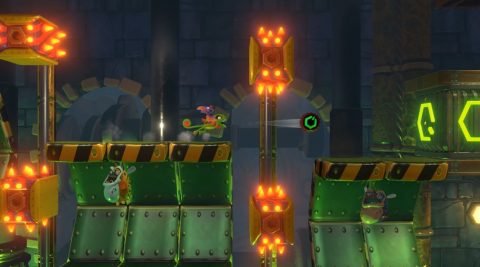
Drop down to the half pipe below and continue to the right. Past the Laylee Bell head up the spiked platforms and then past the crusher to Checkmate 3.
Ride the spiked platform down and drop down the netting to the right. Duck under the spikes and roll across for Coin #3.
Ride the platform back and this time jump up the netting. Make your way to the right past the spiked platforms and crusher to Checkmate 4.
Drop down for the Blue Quill. Pick up all the Quills and Coin #4 will appear below.
Head to the right to Checkmate 5 and ride the crates across to the right. Make sure to hang onto the ropes. For the regular exit get off when you see Checkmate 5 to the right.
Make your way past the homing bombs and in a room to the bottom left you’ll find Coin #5 hidden in a box.
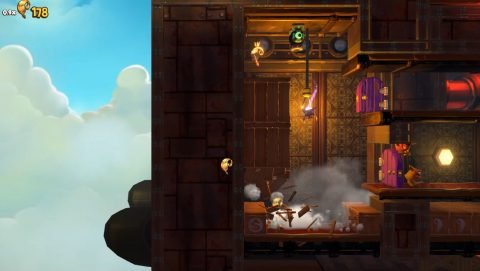
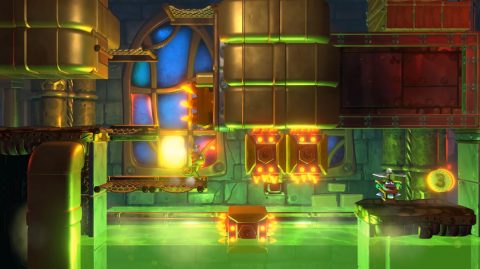
Continue to the right to the end of the building and use the cannon to be shot across to the next one. Make your way along the cannons to the Beettalion egg. Break it to rescue Bumblelee.
Secret Exit
Make your way through the level until you can grab onto the moving crates again. This time ignore Checkmate 5 and ride the crates up through the moving spiked platform. Break the box with the Blue Quill and collect all the Quills. A portal will appear over the Blue Quill.
Go through it to be teleported out to the Beettalion avove.
Next: Chapter 14: Hazard Hangar – Hung
Back: Cliffside Quest – Cold