Ch 7: Production Path
Back to Yooka-Laylee and the Impossible lair
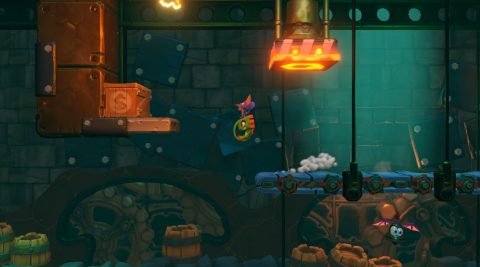
From the start head to the right and watch out for the stomping crushers. This level is made more difficult by the numerous conveyor belts that move in different directions and different speeds.
The first coin can be found by jumping on the conveyor belt above the Laylee Bell. From here dodge the crusher and take a big jump to to the left to the box with Coin #1.
Jump back and continue to the right to Checkmate 1. Run past the next crusher and over the two wheels to Checkmate 2.
Not far to the right you’ll find Checkmate 3 just after the conveyors that change direction. Dodge past the next set of crushers to another Laylee Bell if you need it. Make your way up the spiked moving platforms to the box with Coin #2.
Just to the right you’ll find Checkmate 4. Continue past the upside down crushers and over the conveyor belts and next wheels to Checkmate 5.
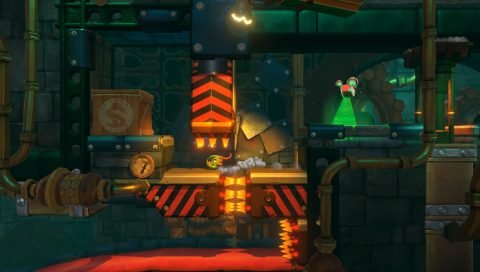
Head past the fast moving conveyor and then up and to the left. Past the fire blades you’ll find Coin #3 in a box.

Head to the right and take the crusher up to Checkmate 6. Make your way past the slow moving crushers and then across the next large wheel.
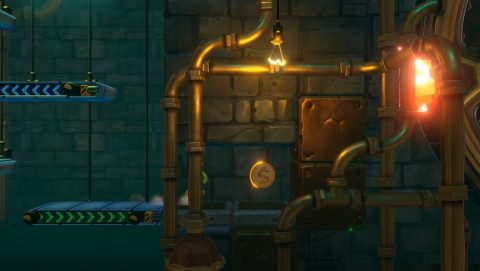
Continue all the way to the right and drop down for Checkmate 7. Ride the wheel with the molten spokes and then up the conveyors. At the top left you’ll find a hidden box with a Mine. Grab it and then use it to break the cage in the bottom right. This is where you’ll find Coin #4.
Make your way back up the conveyors and then over the wheel to the Beetalion. Don’t break it yet. Instead jump over it and head up the conveyor to the right. Jump up and back to the left for Coin #5.

Drop down and break the Beettalion egg for Griffinsect.
Next: Ch 7: Production Path – Panic
Back: Ch 6: Sawblade Evade – Stuck