Ch 11: Conveyor Chaos – Crosswire
Back to Yooka-Laylee and the Impossible lair
From the start drop down the trapdoor, grab the Mine and take the cannon back up. Run along the conveyor back to the start and use the Mine to break the cage for Coin #1.
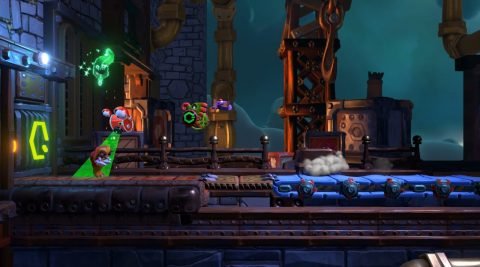
Head across to the right for Checkmate 1 and then to Checkmate 2. Navigate your way through the next set of conveyors but before you get to Checkmate 3 hit the Blue Quill. Quickly grab all the regular Quills and Coin #2 will appear on the top conveyor.
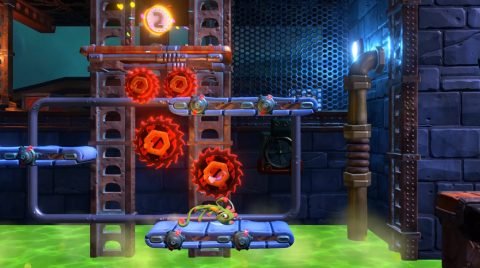
Continue along the conveyors while avoiding the sawblades until you reach the windmill conveyors. From the second one jump back to the left and you should be able to pick up Coin #3.
Continue up to the right for Checkmate 4. Head up the conveyor ramps to the top where you’ll find Checkmate 5. Coin #4 is on the ledge above.
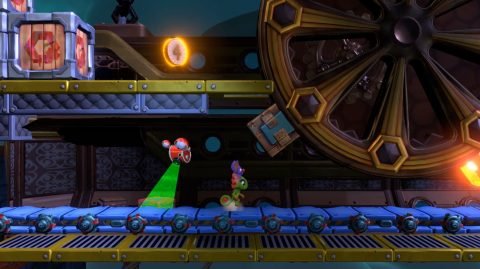
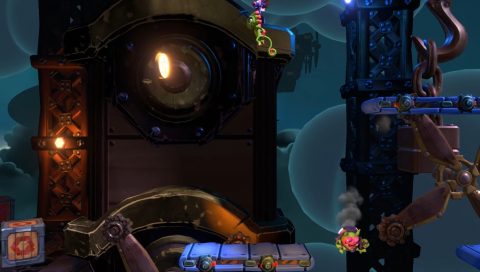
To get to it you’ll need to jump on the jetpack enemy floating around the next windmill so you can reach a Quill. The Quill will turn into a cannon which will shoot you back to the next coin.
Climb back over the wheel and continue across the windmill conveyors to Checkmate 6. Head to the right until you come to Checkmate 7. There’s a lower path here but it only leads to more quills.
Make your way along the conveyors to the Beettalion egg. Before you break it smash the box to the right for Coin #5.

Next: Chapter 12: Buzzsaw Falls
Back: Chapter 11: Conveyor Chaos