Ch 3: Wild Web Woods – Wilder
Back to Yooka-Laylee and the Impossible lair
From the start head to the left and jump onto the hidden bench for Coin #1. You’ll need to dodge all the little dog creatures along the way.
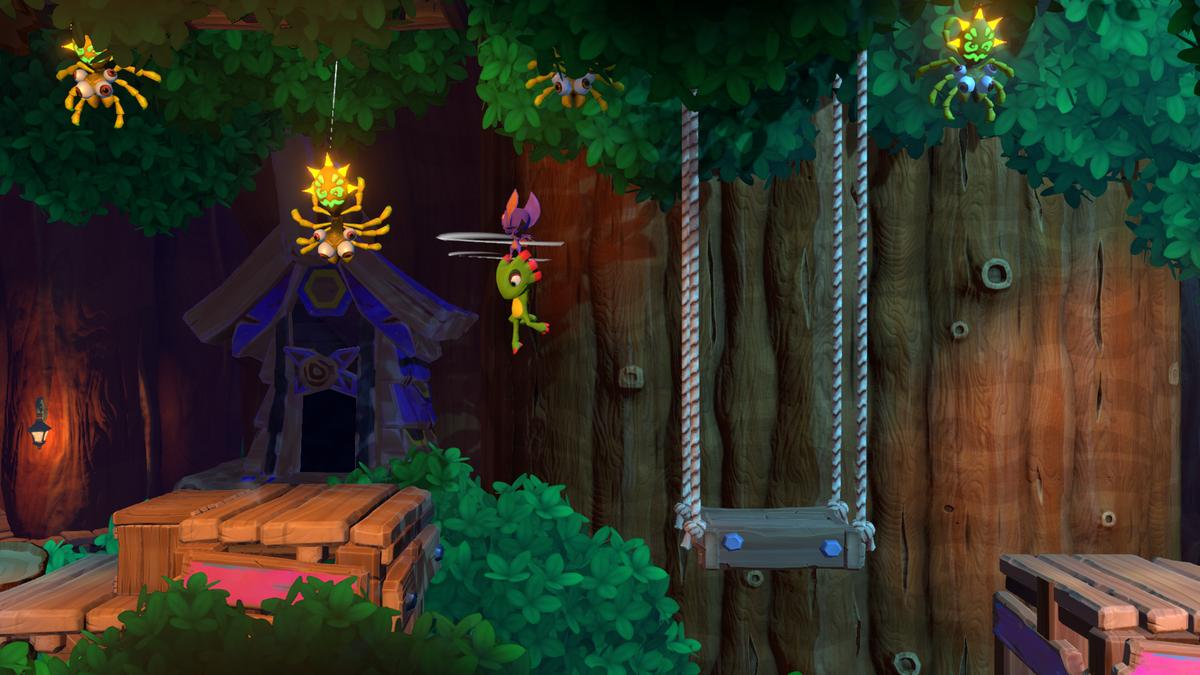
Make your way to the right as fast as you can while the little dog creatures chase you and then roll through the hollow log while avoiding the Spiders.
Continue up the ramp and climb up the rope to Checkmate 1. Drop down the other side, grab the Fruit from the hidden area to the left and then run half way up the ramp to the right.
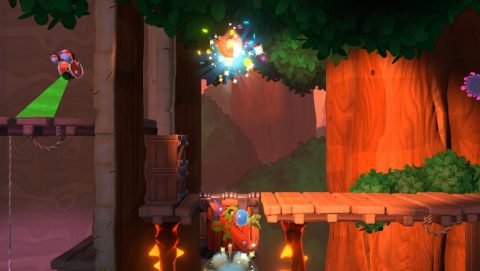
Shoot the Fruit at the box with the coin symbol above and Coin #2 will slowly float down.
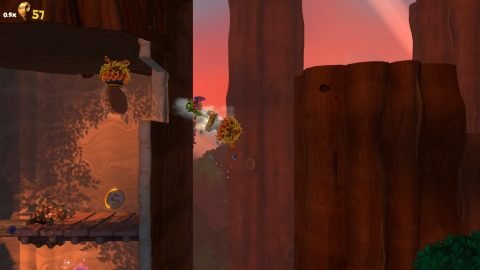
Continue up the ramp to the right and along the wooden platform. Swing from the rope to Checkmate 2, drop down the other side and break the box with the Bouncy Flower inside. Drop the flower down under the cannon and bounce up to the cannon. You’ll be shot around to Coin #3.
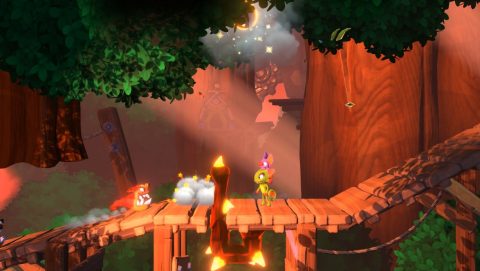
Drop down back to the Checkmate and this time continue to the right past the hanging platforms. Use the Bouncy Flower and the ropes to climb up to Checkmate 3.
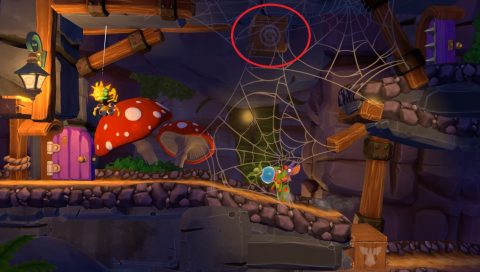
Just to the right break through the trapdoor for the Blue Quill. Grab all the Quills in time and Coin #4 will appear. Use the Cannon below the trapdoor to reach it.
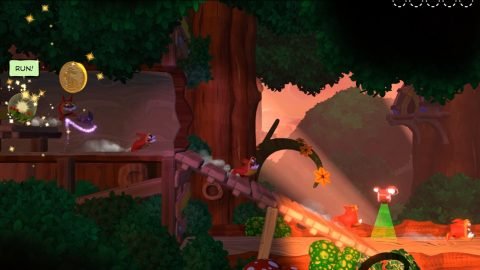
Continue making your way through the level to the right. Along the way you’ll break a box with Fruit inside. Make sure you grab it as you’ll need it for the next coin.
Continue to the right until you see the box with the Mine inside. Break it with the Fruit and grab the Mine.
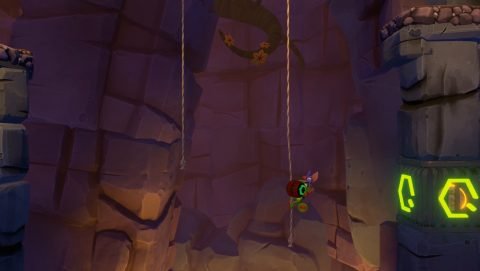
Make your way to the right to the ropes and slide down the last rope. Use the Mine to blow up the cage to the right and grab Coin #5.
Climb up the rope and continue to the right. Roll through the purple doors and swing across the rope to the Beettalion called Lilbee Ann.
Next: Ch 4: Frantic Fountains
Back: Ch 3: Wild Web Woods