
Ch 20: Scareship Scroll – Docked
Back to Yooka Laylee and the Impossible Lair
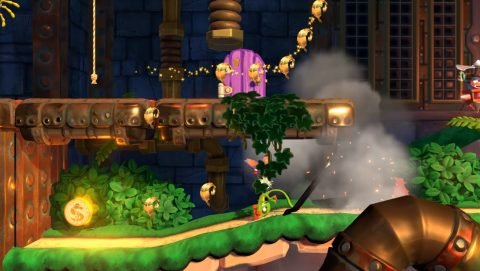
From the start climb up the rope to the left and grab the Mine from the box. Drop down and make your way to the right through the purple doors. Use the Mine to break the cage and go through for Coin #1.
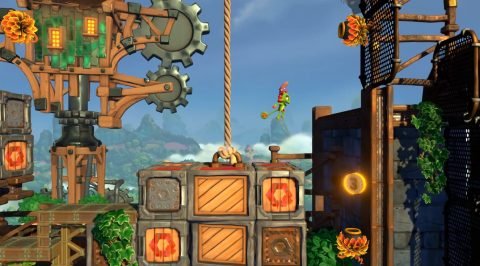
Make your way to the right and jump across the dangling crates to Checkmate 1. From here drop down the cliff on the right and enter the secret cave for a box with a Mine.
Ride the crates up and then ride the next set of crates down. Throw the Mine at one of the Helicopter Enemies so you can jump in between them to grab Coin #2.

Continue to the right and climb across the nets. Make your way either under or over the crates to Coin #3.
Let the cannons shoot you back to the nets and climb down. Dodge the Spiders as you make your way across the nets to the right to Checkmate 2.
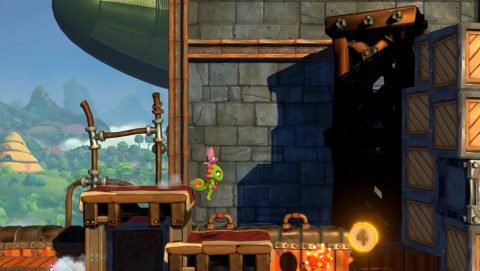
Head to the right to the green door but don’t kill the little gremlins. Follow them to the right and use them to jump over the wall to Coin #4.
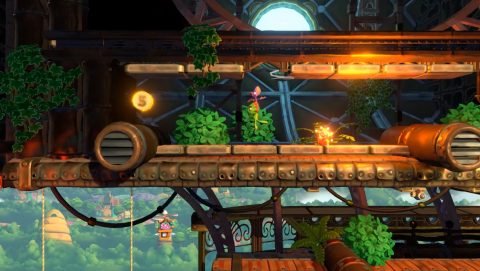
Jump back and go through the green door. Head to the right and climb across the netting to Checkmate 3. Jump across to the airship. You’ll need to wait here while the airship lifts up and carries you across to the right. While you’re waiting enemies will drop down from the roof and you’ll need to avoid the molten rollers.
Once the airship stops use the cannons to make it to Checkmate 4. Jump across the crates with the Psycho Snails and then jump across the ropes. Make your way past the pipes to the right and climb up the rope.
Head past the Beettalion and grab the Mine in the box behind it. Come back the way you came and break the cage with the Mine. Go through and grab Coin #5 while avoiding the Psycho Snail.
Head back to break the Beettalion to rescue a bee named Yagbeeyan.
Next: The Impossible Lair
Back: Chapter 20: Scareship Scroll
