
Ch 6: Sawblade Evade – Stuck
Back to Yooka-Laylee and the Impossible lair
Head all the way to the right and grab the Key in the box. Climb up the sticky wall and use the key on the locked door.
Make your way up the next sticky wall and jump across to the sticky wall to the right. Climb up off the screen and drop down on the right. You’ll only see your shadow when you’re off screen. Grab the Key and drop down.
Open the locked door and go through for Coin #1.
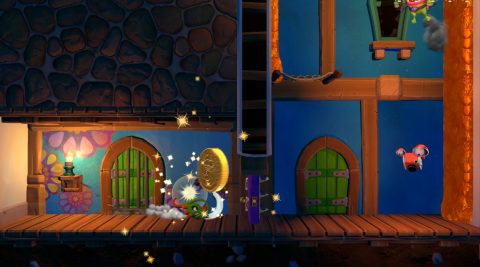
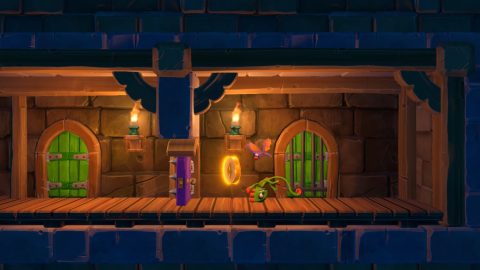
Go through the purple door for Checkmate 1 and then jump up the rope platforms. Drop down the other side and climb up the next room for the Blue Quill. When you grab all the Quills in the next room Coin #2 will appear.
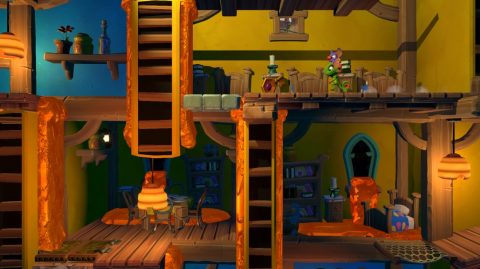
Go through the green door to the next area. Make your way down to Checkmate 2. Head across to the right past the sticky blades.
Climb up to the box with the Laylee Bell and then continue climbing up to the green door. Inside you’ll find Checkmate 3.
Climb up the sticky wall and go through the purple door to the right. Climb up the outside of the wall and run along the roof off screen. You’ll find Coin #3 up on the roof.
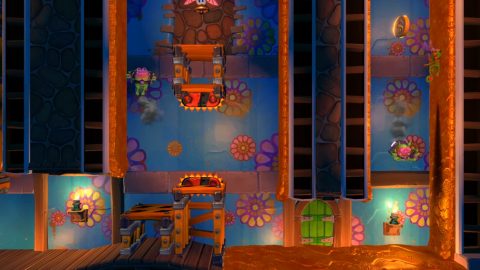
Head to the right through the purple door and climb up the sticky wall. Make your way around to the room with the stuck sawblades. Climb up the sticky wall at the end and continue up past the green door. Head to the left to a secret area with a second green door. Go through this one and you’ll find Coin #4.
Go past Checkmate 4 and make your way up to the top and go through the purple door and then the green door to Checkmate 5.
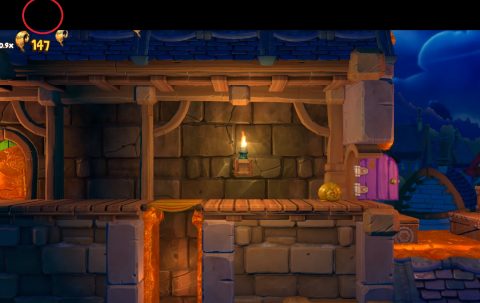
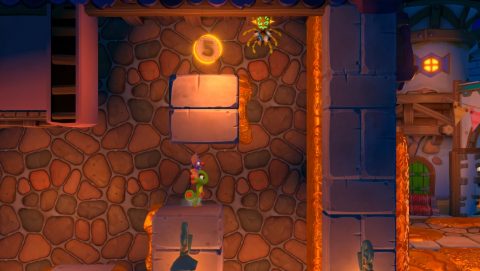
Head past the spiders and up the sticky wall. Coin #5 can be found in the next room on top of a block. Bait out the Spider and then jump across to it.
Drop down and head to the right for the Beettalion egg with a bee called Dayleetle.
Next: Ch 7: Production Path
Back: Ch 6: Sawblade Evade
