Ch 9: Urban Uprise – Updraft
Back to Yooka-Laylee and the Impossible lair
This level introduces little whirlwinds that help you to float upwards. From the start float up the first whirlwind and use it to get to the upper level of the house to the right. Inside you’ll find a box with Coin #1.

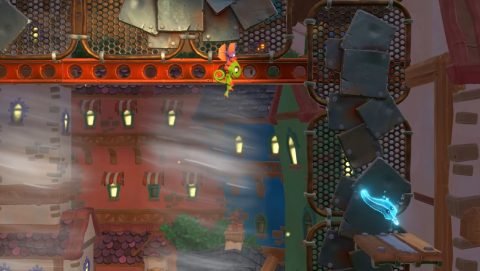
Continue to the right and take the whirlwind up. Make your way across to the right and up another whirlwind to Checkmate 1.
Head to the left and float all the way to the top for a box with Fruit inside. Grab it and drop back down. Head into the room to the right and use the Fruit to kill the helicopter enemy. Grab the Blue Quill and then all the regular Quills. Once you get them in time Coin #2 will appear at the entrance.
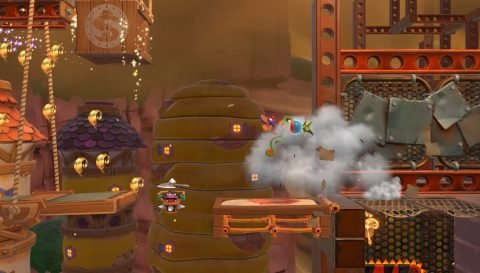
Make your way up the whirlwinds to Checkmate 2. Continue up and just before the bridge enter the secret room to the right. Break the box for a Fruit. Use the Fruit while standing on the seesaw platform to break the box above with Coin #3.
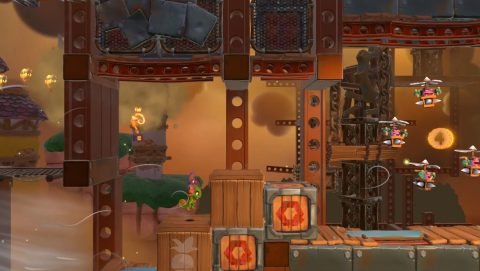
Continue up to Checkmate 3 just beyond the purple door. Make your way past the whirlwinds an helicopter enemies up to Checkmate 4. In the room above this checkmate you’ll find Coin #4 guarded by a few helicopter enemies.
Head back and continue making your way through the whirlwinds. When you find a whirlwind with cannons on the side and a purple door up the top look for a secret room to the right. This is where you’ll find Coin #5.

Make your way through the purple door and up to the Beettalion egg where you’ll find Buzzymore.
Next: Chapter 10: Ropeburn Ridge
Back: Chapter 9: Urban Uprise