Ch 8: Windmill Way – Windy
Back to Yooka-Laylee and the Impossible lair
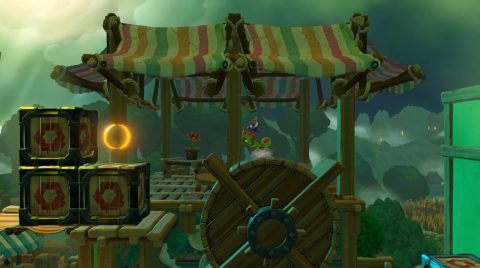
From the start ride up the windmill and jump across to the dangling object which is now blowing in the wind. When it blows up to the right jump straight up. If you time it right you’ll find a hidden Cannon. This will shoot you around to Coin #1.
Make your way across the windmills to the right and onto the dangling object. From here jump into the upper level of the house for Checkmate 1.
Climb up the ropes and continue into the next house. Make your way down to the bottom. You’ll notice a coin in a cage but you’ll need a Mine to free it. Hit the Blue Quill and then pick up all the Quills for a Mine. Use it to get to Coin #2.
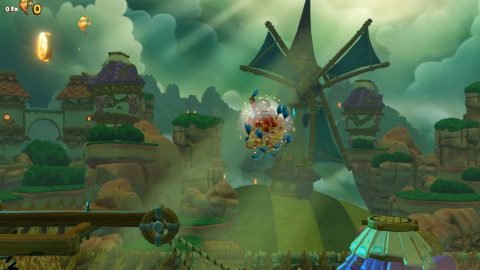
Continue to the right to Checkmate 2, go through the next house and up the ramp. You’ll notice a large windmill. Stand on one of the spokes of the wheel and jump up to Coin #3.
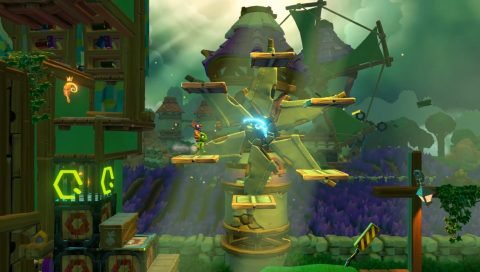
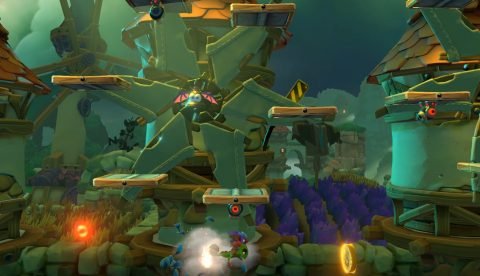
Head into the next building and ride the wheels up while avoiding the small cannons. Take the exit in the top right to Checkmate 3.
Take a series of jumps across the dangling objects and windmills. Once again you’ll need to take the top entrance into the building where you’ll find Checkmate 4.
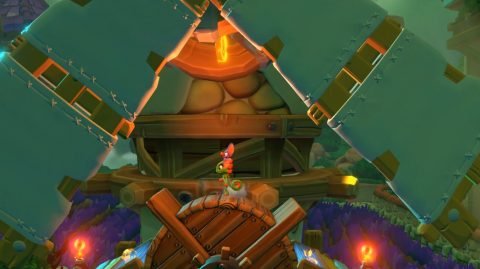
Avoid the Psycho Snail and make your way past the colored windmills. Bash down the bridges and head into the next building to Checkmate 5. Climb up to the top for Coin #4.
Continue to the right past a difficult series of jumps across the colored windmills. At the first platform windmill drop down to the Quill. This turns into a cannon that will shoot you across to Coin #5.
Continue to the right for the Beettalion egg. Break it to release Duncomb.
Next: Ch 9: Urban Uprise
Back: Ch 8: Windmill Way