
Ch 1: Capital Causeway
Back to Yooka-Laylee and the Impossible Lair
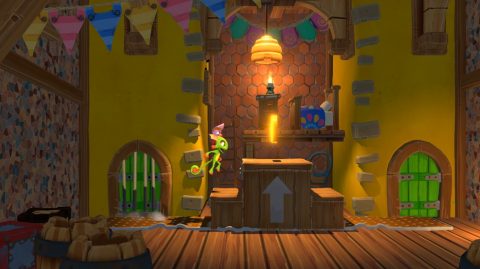
From the start bash through the door to the right and jump on the box. Roll and jump into the room above for Coin #1.

Continue to the right for the first Checkmate. If you die you’ll return to the last checkmate that you’ve unlocked.
Continue to the right and jump on the Red Quill for some extra quills. Continue to the right for Checkmate 2. Use the cannons to get over the wall of crates and then roll into the bridge to knock it down.
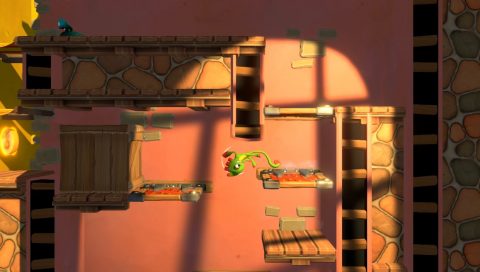
Continue to the right and enter the green door. Just above the box you’ll find Coin #2.
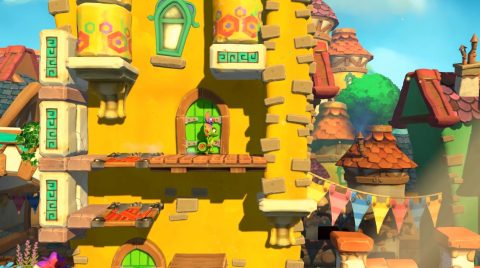
Leave through the other green door and continue to the right. You’ll find a green door by some boxes. Don’t break the boxes. Instead jump on them and then through the trapdoors to the green door above.
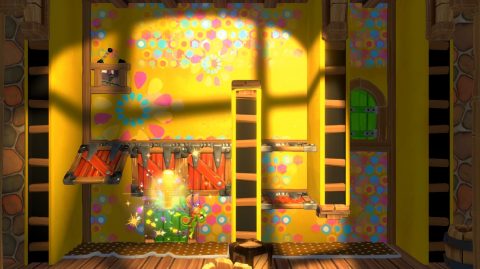
Inside you’ll find a Blue Quill. Run into it to spawn other quills. Pick them all up before they disappear and Coin #3 will appear.
Go through the bottom green door which leads back outside. Continue to the right and head through the room with the next Checkmate 3. Jump up the 3 trapdoors into the room above where you’ll find Coin #4.
Head to the right and swim over the pool. You can grab the Red Quill along the way if you want. Jump out the other side to the next Checkmate 4.
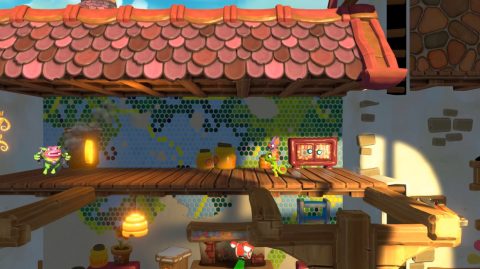
Continue to the right and jump onto the roof. Smash all of the boxes to reveal a green door. Head inside and make your way around to Checkmate 5. Head up the trapdoors and smash the box to the left to get to Coin #5.
Jump up to the roof and make your way to the right for the first Beetalion called Buzzerland.
Back: Yooka-Laylee Next: Ch 1: Capital Causeway – Chaos
